Advertisement
Quick Links
Advertisement

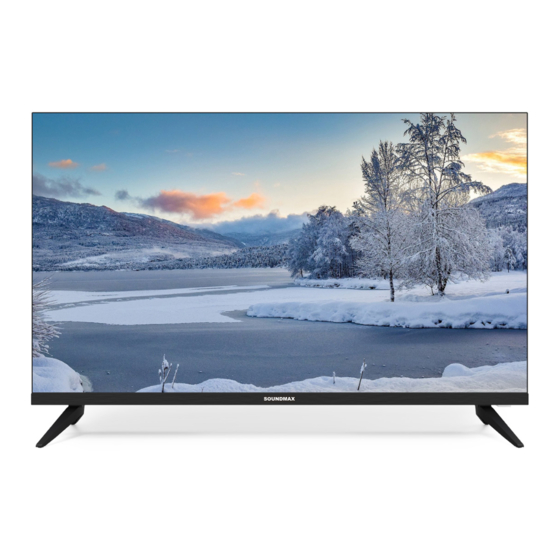
Summary of Contents for SoundMax SM-LED32M14S
- Page 1 SM-LED32M14S...
- Page 2 Stand installation Remote controller exploitation Lock setting Common setting SMART TV General Information...
- Page 4 A 100*100 mm VESA wall-mount bracket (not included) and M4 threads should be used for wall mounting. 4 мм WARNING In order to avoid damage, make sure a set of tools to carry out installation to secure the unit on the wall according work of a technically complex product, to the wall mounting instruction.
-
Page 5: Outdoor Antenna Connection
Outdoor antenna connection Use 75 Ohm cable plug or 300-75 Ohm impedance converter to plug in antenna input terminal on the rear of the cabinet. Other connections Connector Connection Connect the video and audio source to the mini AV input using Mini AV input an RCA cable (not included). - Page 6 INPUT: access to the available input channels 1. Ethernet port MENU: access to the main menu 2. Earphone socket 3. Coaxial audio output CH+/CH-: access to the next or previous 4. HDMI 1 (ARC) input channels 5. HDMI 2 input 6.
- Page 8 Remote controller exploitation • Take the battery out of the RC if it is not used for a long time. • Do not mix new and used batteries or can leak and severely damage the RC. • Do not expose the RC to shock, liquids, and do not place it in an area with high humidity.
- Page 9 Sound Mode Sound Out Bass Treble Balance SOUND Hearing Impaired Audio Description More Settings AVC : toggle auto-volume control on/off. Volume automatically remains on the same level on different programs. Each broadcasting station has its own signal conditions, and volume adjustment may be needed every time when the channel is changed.
- Page 10 Change Password System Lock Parental Guidance Key Lock 0000. Parental Guidance: set the access to age-sensitive content. Keyboard Lock: lock and unlock the buttons on the TV set.
- Page 11 Common PVR Setting Timer Settings Blue Screen Teletext Audio Language 1st COMMON Audio Language 2nd HDMI CEC Setup Hotel Mode Menu Reset • PVR Setting: access the video recording settings. • Timer Settings: OSD Timer: set the OSD display time. Autostandby Timer: select the time to automatic switch to standby mode if no action is provided.
- Page 13 ARM CA55*4, 1.5 GHz, G31MP2*2...
- Page 15 USB input Mini AV input SMART TV 713 х 420 х 71 mm 713 x 469 x 200 mm 3.6 kg...
- Page 17 Установка/Подключение Пользование ПДУ Общие настройки SMART TV Общая информация Технические характеристики...
- Page 18 • • • •...
- Page 20 входит). Производитель не несет ответственности за неправильно 4 мм...
- Page 21 Мини-AV-вход предназначен для подключения внешнего источника Мини-AV-вход видео- и аудиосигнала с помощью специального кабеля RCA (в комплект не входит).
- Page 22 INPUT: выбрать источник сигнала 1. Порт Ethernet MENU: открыть главное меню 2. Разъем для наушников 3. Коаксиальный аудиовыход CH+/CH-: перейти к следующему/пре- 4. Вход HDMI 1 (ARC) дыдущему каналу 5. Вход HDMI 2 6. Антенный вход VOL+/VOL-: сделать громче/тише 7. Порты USB 8.
- Page 24 Пользование ПДУ • Чтобы сигнала ПДУ было достаточно для управления, он должен находиться в преде- лах 8 метров от устройства и отклоняться от него влево и вправо не больше, чем на 30 градусов. • Не используйте одновременно новые и использованные батарейки или батарейки разных...
- Page 25 Подсветка: настройте уровень светодиоидной подсветки экрана. Четкость...
- Page 26 • • •...
- Page 27 0000.
- Page 29 ARM CA55*4, 1.5 GHz, G31MP2*2 Гб Гб...
- Page 31 Вход USB Вход mini-AV SMART TV...
- Page 32 713 х 420 х 71 мм 713 x 469 x 200 мм 3.6 кг...
- Page 33 SM-LED32M14S_BMI-8792_IM_01...


Need help?
Do you have a question about the SM-LED32M14S and is the answer not in the manual?
Questions and answers