Advertisement
Quick Links
Advertisement

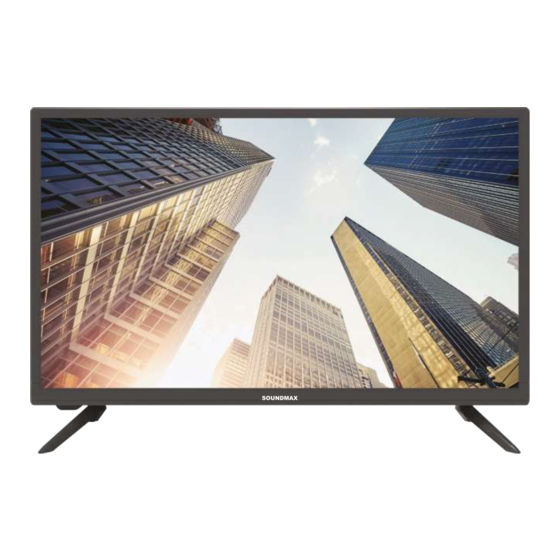
Summary of Contents for SoundMax SM-LED24M11
- Page 1 SM-LED24M11...
- Page 2 Stand installation Remote controller exploitation Screen setting...
- Page 4 A 100*100 mm VESA wall-mount bracket (not included) and M4 threads should be used for wall mounting. WARNING In order to avoid damage, make sure a set of tools to carry out installation to secure the unit on the wall according work of a technically complex product, to the wall mounting instruction.
-
Page 5: Outdoor Antenna Connection
Connection Outdoor antenna connection Use 75 Ohm cable plug or 300-75 Ohm impedance converter to plug in antenna input terminal on the rear of the cabinet. Other connections Connector Connection CVBS input Connect the video source to the AV input using a CVBS cable (not included). - Page 6 1. Earphone output INPUT: access to the available 2. VGA input input channels 3. CVBS composite input MENU: access to the main 4. Stereo audio input menu 5. PC audio input 6. RF antenna CH+/CH-: to switch to the 7. COAXIAL output next or previous channels 8.
- Page 7 1. POWER ( ) button 2. Number buttons 3. -/-- (set up the digit of channel) button 4. AUDIO button 5. FAV+ button 6. P.MODE button 7. Channel switch (CH+/-) button 8. SLEEP button 9. INPUT button 10. Cursor buttons (up/down/left/right) 11.
- Page 8 Remote controller exploitation...
- Page 12 Aspect Ratio: select the aspect ratio from the suggested options. oggle showing blue Blue Screen: t screen when there is no signal. First Time Installation: redo the initial setup. Reset: reset the parameters to the initial factory settings. Software Update (USB): update TV software using the USB storage device.
- Page 16 23,6 " (60 cm) 9,5 ms 2 x 3 W VGA input 552 x 371 x 154 mm 552 x 330 x 76 mm 2.3 kg...
- Page 17 Установка/Подключение...
- Page 18 • • • •...
- Page 20 входит). Производитель не несет ответственности за неправильно...
- Page 23 3. -/-- (RETURN/...
- Page 33 Вход VGA DTV 700, ATV 99...
- Page 34 SM-LED24M11_BMI-8792_IM_01...


Need help?
Do you have a question about the SM-LED24M11 and is the answer not in the manual?
Questions and answers