Advertisement
Quick Links
Advertisement

Related Manuals for SIMPLIHOME brooklyn+max WyndenHall Hunter AXCHUN-15-NL


Summary of Contents for SIMPLIHOME brooklyn+max WyndenHall Hunter AXCHUN-15-NL
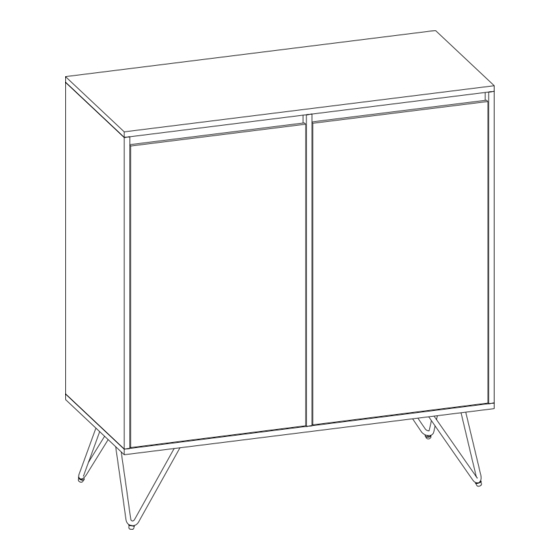
- Page 1 Hunter / Moreno / Diaz Medium Storage Cabinet MODEL # AXCHUN-15-NL...
-
Page 7: Bottom Panel
Model # AXCHUN-15-NL Part Description LEFT PANEL TOP PANEL RIGHT PANEL QTY 1 QTY 1 QTY 1 CENTER PANEL BACK PANEL BOTTOM PANEL QTY 1 QTY 2 QTY 1 LEFT DOOR RIGHT DOOR ADJUSTABLE SHELF QTY 1 QTY 1 QTY 4 QTY 4... - Page 8 Model # AXCHUN-15-NL Hardware Description ALLEN KEY BOLT ALLEN KEY BOLT M6 x 25 mm M6 x 15 mm QTY 18 QTY 12 WASHER ALLEN KEY Ø18 x 7 x 2 mm 4 mm QTY 30 QTY 1 SHELF SUPPORT FURNITURE TIP OVER RESTRAINT QTY 16 QTY - 2 SETS...
- Page 9 Model # AXCHUN-15-NL...
- Page 10 Model # AXCHUN-15-NL 1. Place Top Panel A upside down on a flat, smooth surface. 2. Align holes on Left Panel B and Right Panel C with holes on Top Panel A . 3. Attach Left Panel B and Right Panel C to Top Panel A using Allen Key Bolts 1 and Washers 3 .
- Page 11 Model # AXCHUN-15-NL 1. Align holes on Center Panel D with holes on Top Panel A . 2. Attach Center Panel D to Top Panel A using Allen Key Bolts 1 and Washers 3 . 3. Use Allen Key 4 to tighten.
- Page 12 Model # AXCHUN-15-NL 1. Insert Back Panel E . 2. Align holes on Left Panel B , Right Panel C and Center Panel D with holes on Bottom Panel F and attach by using Allen Key Bolts 1 and Washers 3 . 3.
- Page 13 Model # AXCHUN-15-NL 1. Align holes on Legs J with holes on Bottom Panel F . 2. Attach Legs J to Bottom Panel F using Allen Key Bolts 2 and Washers 3 . 3. Use Allen Key 4 to tighten.
- Page 14 Model # AXCHUN-15-NL 1. Insert Shelf Supports 5 in holes in on Left Panel B , Right Panel C and Center Panel D . 2. Place Adjustable Shelves I in Cabinets.
- Page 15 Model # AXCHUN-15-NL Step 6 Attach Doors G and H using adjustable hinges on Doors.
- Page 16 Model # AXCHUN-15-NL Step 7 Note: Levelers on bottom of legs can be adjusted if floor is uneven.
- Page 17 Furniture Tip Over Restraint Assembly WARNING Serious or fatal crushing injuries can occur from furniture p-over. If the furniture p over restraint kit is not in the box, please contact our customer service department in order to obtain another kit before using the furniture. Step 8 NOTE: The screwdriver is not included in the hardware pack.
- Page 18 Furniture Anti-Tipping Restraint Instructions Attach one of the mounting brackets securely to the back edge o f the furniture. Use the shorter screw. √ 2. Determine where Furniture is to be placed and mark location o n the wall for mounting bracket screw hole approximately 2 inches below the bracket mounted to the furniture.
Need help?
Do you have a question about the brooklyn+max WyndenHall Hunter AXCHUN-15-NL and is the answer not in the manual?
Questions and answers