
Related Manuals for Dometic SeaLand DTM4


Summary of Contents for Dometic SeaLand DTM4
- Page 1 tanK MonItor sYsteMs dtm4 tANK mONItOR dtm8 tANK mONItOR dtm12 tANK mONItOR InstallatIon and operatIon Manual...
-
Page 2: Table Of Contents
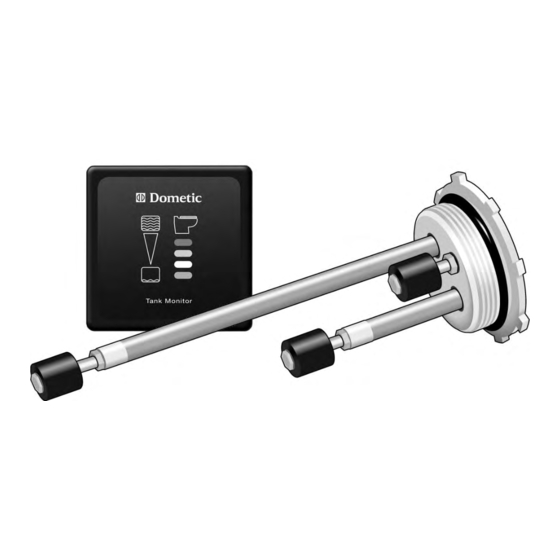
Systems Dometic Tank Monitor Systems permit remote sensing of liquid levels in black or gray waste water, or potable freshwater tanks. Three float switches, which activate a set of four lights, are installed in the desired tank. One float activates a “Full”... -
Page 3: Features
feAtuReS (continued) • Four lighted level indicators for each tank application. one light is always “on” to indicate system power. • Flexible probe design eliminates false readings from fouled float switches. • available probe lengths fit tanks up to 22 inches (559 mm) or 45 inches (1143 mm) in depth. •... -
Page 4: Installation
TANK MONITOR SYSTEMS INStAllAtION Adjustable tank Probe cap 1. the tank probe cap is designed for a 3-inch Fpt opening. order part number 230272 if tank is made of rigid material and is not a sealand holding tank. 2. loosen compression nuts on adjustable probes and install the cap into the tank. slide the #1 probe down until the float touches the bottom of the tank. -
Page 5: Wiring Diagrams
INStAllAtION (continued) universal tank flange Kit (optional) 1. Find and mark the top center of the tank. flange Kit Assembly 2. Cut a 4 1/16-inch diameter hole in the top center of the tank. 3. slip the flange into the hole and mark the location of the five mounting holes. - Page 6 TANK MONITOR SYSTEMS WIRINg dIAgRAmS (continued) dtm8 tank monitor System for Blackwater and freshwater tanks Use 18GA. or lArGer strAnded copper wire. dtm8 tANK BLACKWATER TANK NoTE: recessed shoUlder, the mONItOR white BAnd, or the letters "n-o" of the “eMpty” floAt Are downwArd.
-
Page 7: Parts Lists
WIRINg dIAgRAmS (continued) Shut-down Relay with dtm4 tank monitor System Use 12 or 14 GAUGe strAnded copper wire on pins dtm4 tANK 10 And 11. mONItOR with with relAy instAlled And dtM4 Model wired for shut-down relay A BlAckwAter tAnk, the “fUll” floAt switch will shUt off electricAl power to the toilet systeM. - Page 8 If this dometic product is placed in commercial or business use, it will be warranted, to the original purchaser only, to be free of defects in material and workmanship for a period of ninety (90) days from the date of purchase.
- Page 9 INStAllAtION temPlAte – mONItOR PANel use this template with dometic Monitor panel installation instructions on page 4.
Need help?
Do you have a question about the SeaLand DTM4 and is the answer not in the manual?
Questions and answers