Table of Contents
Advertisement
Quick Links
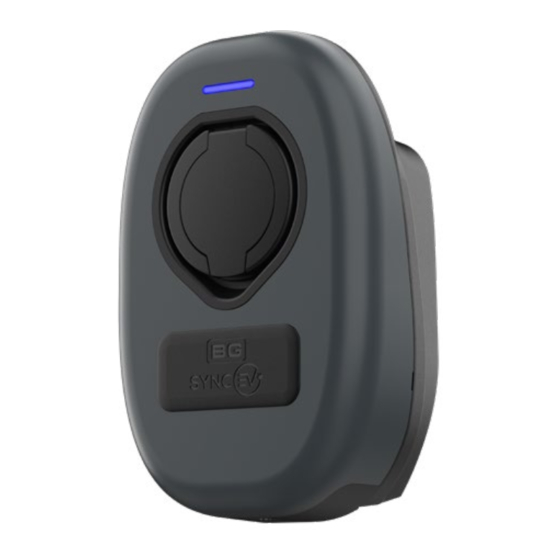
Wall Charger 2
Installation
Guide
7.4kW SOCKET SINGLE PHASE :
EVWC2S7G (7.4KW / WI-FI / LAN)
EVWC2S7GG (7.4KW / WI-FI / LAN / 4G)
EVWC2S7GGR (7.4KW / WI-FI / LAN / 4G / RFID)
click to navigate directly to the page
Commercial Installation & Commissioning
Contents
Introduction / Box contents
Safety information
Installation & testing
Troubleshooting
Domestic Commissioning
Stage 1 (Installer app)
Domestic Commissioning
Stage 2 (User app setup)
Technical
syncev.co.uk
EVWC2S7G EVWC2S7GG EVWC2S7GGR V2 0124 NH
Advertisement
Table of Contents


Need help?
Do you have a question about the EVWC2S7GG and is the answer not in the manual?
Questions and answers