
Related Manuals for Planet VTS-700WP


Summary of Contents for Planet VTS-700WP
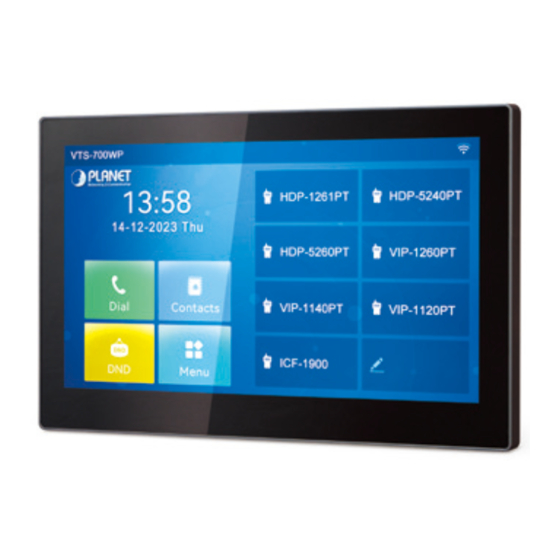
- Page 1 7-inch SIP Indoor Touch Screen PoE Video Intercom with Built-in Wi-Fi VTS-700WP Quick Installation Guide...
-
Page 2: Table Of Contents
3.2 Interface ..................5 3.3 External Device Connection Diagram ..........6 4. Wall-mount Installation ................. 7 5. Search VTS-700WP and Web Login ............9 5.1 Search VTS-700WP ................. 9 5.2 Starting Web Management and IP Indoor Unit Setting ...... 9 5.3 Local Operation ................ -
Page 3: Package Contents
1. Package Contents Thank you for purchasing PLANET SIP Indoor Touch Screen PoE Video Intercom, VTS-700WP. Open the box of the SIP Indoor Touch Screen PoE Video Intercom and carefully unpack it. The box should contain the following items: Touch Screen PoE Video... -
Page 4: Physical Specifications
2. Physical Specifications Model Dimensions VTS-700WP 177.38 x 113.99 x 22.5 (mm) 2.1 Wall-mounted Kit Specifications... -
Page 5: Product Appearance Descriptions
3. Product Appearance Descriptions 3.1 Panel Speaker 3.2 Interface There are some interfaces on the back of the device for connecting power supply, alarm, etc. The connections are as follows: ① ② ③... -
Page 6: External Device Connection Diagram
Description Interface Power interface: 12V/1A input 10/100M adaptive RJ45 interface (It is recommended to use CAT5 or CAT5e network cable.) 12V/1A input 1 doorbell interface DB_IN1 COM1 3 short-circuit output interfaces can be connected to electric locks, alarm, etc. 8 alarm input interfaces for connecting switches, ALM_IN_1 ALM_IN_2 ALM_IN_3... -
Page 7: Wall-Mount Installation
4. Wall-mount Installation Step 1. Install wall bracket Without embedded box in the wall 1. Mark four fixation holes on the wall with the wall bracket 2. Remove the bracket, drill the four fixation holes on the wall, and insert the four wall anchors provided 3. Tighten the wall bracket on the wall with the four TA4*30mm screws TA4*30mm Screw... - Page 8 With 86 embedded box in the wall A. Fix the wall bracket on the 86 embedded box with the two PM4*16mm screws PM4*16mm Screw*2 Step 2. Connect peripherals If you need to connect other input and output devices, please connect to the host through the cable Step 3.
-
Page 9: Search Vts-700Wp And Web Login
5. Search VTS-700WP and Web Login 5.1 Search VTS-700WP Open the Planet SmartDiscoveryLite Utility. Press the Refresh button to search the VTS-700WP and find the IP address. 5.2 Starting Web Management and IP Indoor Unit Setting Step 1: Log in the web setting page of Indoor Unit Enter the IP address of indoor unit (e.g., https://192.168.0.20) in the... - Page 10 Step 2: Add the SIP account. Set SIP server address, port, user name, password and SIP user with assigned SIP account parameters. Select “Activate”, and then click Apply to save this setting. Step 3: Unlock Setting ApplicationDoor phone SettingsAddOK. Title: Door Phone mode Number: The SIP account of DoorPhone Line: The SIP line of Indoor Unit Access Codec: Consistent with the access code in door phone access table...
-
Page 11: Local Operation
5.3 Local Operation 1. Answer/hang up calls When the door phone calls the indoor unit, click the button to answer the call, and click the button to hang up the call. 2. Unlock the door During the call of indoor unit and door phone, click the button to unlock the door. -
Page 12: Customer Support
6. Customer Support Thank you for purchasing PLANET products. You can browse our online FAQs resource and User’s Manual on PLANET Web site first to check if it could solve your issue. If you need more support information, please contact PLANET VoIP support team.
Need help?
Do you have a question about the VTS-700WP and is the answer not in the manual?
Questions and answers