Advertisement
Quick Links
Please read these instruction before installation.
Safety: Handle the product with care. When drilling walls check for hidden pipes and electric cables.
Use safety eye wear when drilling. Keep all small parts and screws away from children. This is a heavy item
so seek help when handling and installing if necessary.
Customer support: We have taken great care to ensure that this product reaches you in perfect condition.
However, should any parts be damaged or missing please contact your local Wickes branch. This does not
affect your statutory rights. In addition if you require replacement parts, your local Wickes branch will be only to
happy to assist.
Cleaning: Clean with warm water, a clean cloth or soft sponge. Use normal domestic soaps that have no
abrasive ingredients. Then wipe with fresh water, removing all traces of cleaning agent, to prevent streaks
forming. Dry the surface with a clean, absorbent cloth or paper towels.
The following cleaning agents should not be used under any circumstances:
Scouring and abrasive agent (abrasive powders, scouring pads, steel wool)
•
Polish, washing powder, furniture cleaner bleach
•
Detergents with strong acids and acidic salts
•
Steam cleaning equipment
•
12896 VANITY 550_8 page_A5 Wickes.indd 1
12896 VANITY 550_8 page_A5 Wickes.indd 1
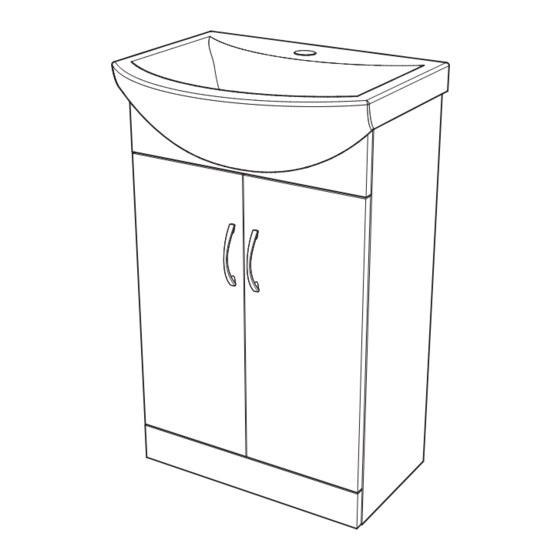
ASSEMBLY GUIDE
TAKEAWAY - VANITY UNIT 450 & 550
Version 1
08/06/2021 14:00:05
08/06/2021 14:00:05
Advertisement

Related Manuals for Wickes TAKEAWAY VANITY UNIT 45


Summary of Contents for Wickes TAKEAWAY VANITY UNIT 45
- Page 1 Customer support: We have taken great care to ensure that this product reaches you in perfect condition. However, should any parts be damaged or missing please contact your local Wickes branch. This does not affect your statutory rights. In addition if you require replacement parts, your local Wickes branch will be only to happy to assist.
- Page 2 B x8 C x4 D x8 E x4 F x2 Soft Close G x2 H x10 I x2 J x4 K x4 L x2 12896 VANITY 550_8 page_A5 Wickes.indd 2 12896 VANITY 550_8 page_A5 Wickes.indd 2 08/06/2021 14:00:06 08/06/2021 14:00:06...
- Page 3 STEP 1 STEP 2 12896 VANITY 550_8 page_A5 Wickes.indd 3 12896 VANITY 550_8 page_A5 Wickes.indd 3 08/06/2021 14:00:06 08/06/2021 14:00:06...
- Page 4 STEP 3 12896 VANITY 550_8 page_A5 Wickes.indd 4 12896 VANITY 550_8 page_A5 Wickes.indd 4 08/06/2021 14:00:06 08/06/2021 14:00:06...
- Page 5 STEP 4 Removable back panel after installation. STEP 5 Soft Close Non Soft Close Only use one Soft Close per door Soft Close Soft Close 12896 VANITY 550_8 page_A5 Wickes.indd 5 12896 VANITY 550_8 page_A5 Wickes.indd 5 08/06/2021 14:00:07 08/06/2021 14:00:07...
- Page 6 Door Adjustments 12896 VANITY 550_8 page_A5 Wickes.indd 6 12896 VANITY 550_8 page_A5 Wickes.indd 6 08/06/2021 14:00:07 08/06/2021 14:00:07...
- Page 7 STEP 7 STEP 8 Wall fixing screws are not supplied, please use suitable fixings dependant upon wall construction. 12896 VANITY 550_8 page_A5 Wickes.indd 7 12896 VANITY 550_8 page_A5 Wickes.indd 7 08/06/2021 14:00:08 08/06/2021 14:00:08...
- Page 8 STEP 4 Secure basin using suitable fixings Use sealant between basin and vanity unit. dependant upon wall construction. Wall fixing screws are not supplied. 12896 VANITY 550_8 page_A5 Wickes.indd 8 12896 VANITY 550_8 page_A5 Wickes.indd 8 08/06/2021 14:00:08 08/06/2021 14:00:08...
Need help?
Do you have a question about the TAKEAWAY VANITY UNIT 45 and is the answer not in the manual?
Questions and answers