Table of Contents
Advertisement
Quick Links
Tools required (not supplied)
Basin Fixings required (not supplied)
Before fitting the unit
When you are ready to start, make sure that you have the right tools to hand,
plenty of space and a clean dry area for product assembly.
Keep children away from the work area and remember that all small parts,
plastic bags and tools should also be kept out of reach of children.
Ensure there are no hidden service pipes and cables where you intended to drill.
We do not recommend the use of power screwdrivers for the assembly of this
product.
Take care not to overtighten any screws or any other fixings
Warning
The basin must be secured in place and its weight supported by wall fixings.
The weight of the basin should not be supported by the vanity unit alone.
Wall fixings are not supplied with this pack as they will vary according to the
type of walls you have. Ensure correct wall fixings are used for wall type.
When working near a basin or bath, insert the plug into the waste to avoid
the possibility of losing any small parts.
INSTALLATION GUIDE
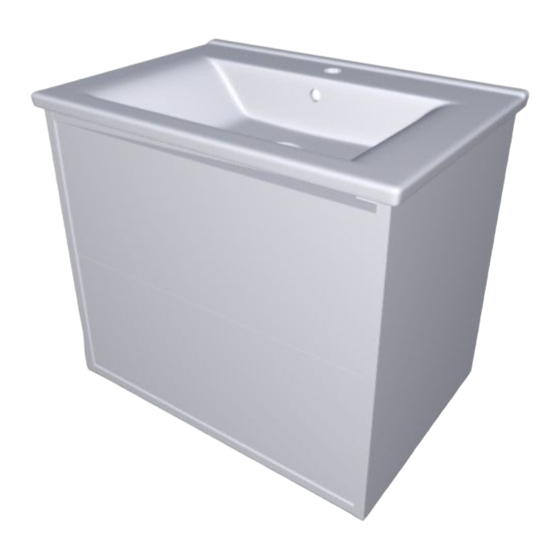
TALLINN VANITY UNIT
Wall fixing screws are not supplied, please use
suitable fixings dependent upon wall construction.
Advertisement
Table of Contents

Related Manuals for Wickes TALLINN VANITY UNIT


Summary of Contents for Wickes TALLINN VANITY UNIT
- Page 1 INSTALLATION GUIDE TALLINN VANITY UNIT Tools required (not supplied) Basin Fixings required (not supplied) Wall fixing screws are not supplied, please use suitable fixings dependent upon wall construction. Before fitting the unit When you are ready to start, make sure that you have the right tools to hand, plenty of space and a clean dry area for product assembly.
- Page 2 STEP 1 Using suitable fixings, install the Using suitable fixings, install the basin at a finished height of basin at a finished height of approximately 850mm from the approximately 850mm from the floor level. floor level. STEP 2 Using suitable wall fixings, install the unit directly below the basin.
- Page 3 Use the lower screw adjuster to Use the lower screw adjuster to raise or lower the unit raise or lower the unit Use the upper screw adjuster to Use the upper screw adjuster to secure the unit close to the wall secure the unit close to the wall...
- Page 4 Pay particular attention to the alignment of the basin lip and the top of the unit. STEP 3 Complete the installation by applying a bead of sealant between the lip of the basin and the unit and between the basin and the wall.
Need help?
Do you have a question about the TALLINN VANITY UNIT and is the answer not in the manual?
Questions and answers