Sign In
Upload
Download
Table of Contents
Contents
Add to my manuals
Delete from my manuals
Share
URL of this page:
HTML Link:
Bookmark this page
Add
Manual will be automatically added to "My Manuals"
Print this page
×
Bookmark added
×
Added to my manuals
Manuals
Brands
Sig Sauer Manuals
Measuring Instruments
ROMEO-X COMPACT
Operator's manual
Sig Sauer ROMEO-X COMPACT Operator's Manual
Open reflex sights
Hide thumbs
1
Table Of Contents
2
3
4
5
6
7
8
9
10
11
12
13
14
15
16
17
18
19
20
21
22
23
24
page
of
24
Go
/
24
Contents
Table of Contents
Troubleshooting
Bookmarks
Table of Contents
Table of Contents
Introduction
Contents
Key Features
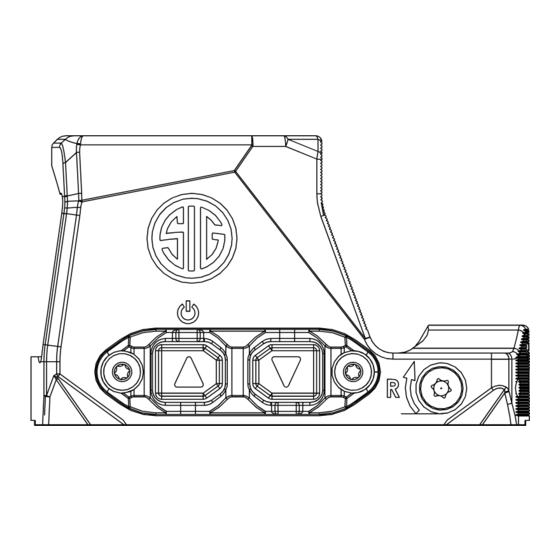
ROMEO-X Product Identification
Operation
Mounting the Sight
Sight Adjustments and Zeroing
Maintenance
Troubleshooting
Specifications
SIG SAUER Electro-Optics Infinite Guarantee
SIG SAUER Electronic Component Limited 5-Year Warranty
Advertisement
Quick Links
1
Key Features
2
Operation
3
Mounting the Sight
4
Sight Adjustments and Zeroing
Download this manual
ROMEO-X
COMPACT and PRO Open Reflex Sights
OPERATOR'S MANUAL
READ THE INSTRUCTIONS AND WARNINGS IN THIS MANUAL CAREFULLY BEFORE
USING THIS OPTIC; DO NOT DISCARD THIS MANUAL.
Table of
Contents
Previous
Page
Next
Page
1
2
3
4
5
Advertisement
Table of Contents
Need help?
Do you have a question about the ROMEO-X COMPACT and is the answer not in the manual?
Ask a question
Questions and answers
Related Manuals for Sig Sauer ROMEO-X COMPACT
Measuring Instruments Sig Sauer ROMEO-X PRO Operator's Manual
Open reflex sights (24 pages)
Measuring Instruments Sig Sauer KILO Operator's Manual
7x25 mm laser rangefinder with ballistic data xchange (61 pages)
Measuring Instruments Sig Sauer Kilo2000 Owners Mnaual
7x25mm digital laser rangefinder (32 pages)
Measuring Instruments Sig Sauer BUCKMASTERS 1500 Manual
6x22mm laser rangefinder with red led display and onboard ballistic calculator with 8 ballistic groups (2 pages)
Measuring Instruments Sig Sauer BDX KILO2400BDX Owner's Manual
7x25 mm laser rangefinder (54 pages)
Measuring Instruments Sig Sauer OPMOD KILO1400BDX Operator's Manual
5x20 mm laser rangefinder with ballistic data xchange (50 pages)
Measuring Instruments Sig Sauer KILO KILO2800 Owner's Manual
6x22 mm laser rangefinder (31 pages)
This manual is also suitable for:
Romeo-x pro
Table of Contents
Save PDF
Print
Rename the bookmark
Delete bookmark?
Delete from my manuals?
Login
Sign In
OR
Sign in with Facebook
Sign in with Google
Upload manual
Upload from disk
Upload from URL


Need help?
Do you have a question about the ROMEO-X COMPACT and is the answer not in the manual?
Questions and answers