Table of Contents
Advertisement
Quick Links
Advertisement
Table of Contents

Related Manuals for Whynter ARC-13PG


Summary of Contents for Whynter ARC-13PG
- Page 1 WHYNTER PORTABLE AIR CONDITIONER MODEL# : ARC-13PG Instruction Manual Thank you for your purchase of this WHYNTER product. Please read this Instruction Manual carefully before using product to ensure proper use. Keep this manual in a safe place for future reference.
- Page 2 Thank you for choosing the Whynter portable air conditioner. Please follow the instructions given in this booklet to obtain the very best performance from your portable air conditioner and take full advantage of the many advance features that your portable air conditioner offers you. We trust that your Whynter air conditioner will provide the performance and reliability that we stand for.
-
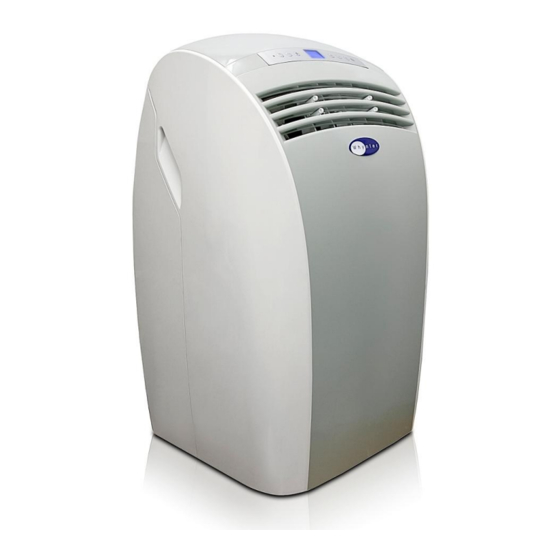
Page 3: Parts Overview
5. Attach the exhaust hose with the round connector to the round opening of the window slide bar. 6. When the air conditioner is not in use, remove the hose from the window slide bars and place the round cover (Part 4) to the round opening of the bar. -
Page 4: Unit Overview
UNIT OVERVIEW 1. Control panel 2. Air outlet grille 6. Outdoor exhaust 7. Handle 3. Air filter grille 4. Drain plug 5. Outdoor air inlet... - Page 5 Incorrect Assembly: Correct Assembly: Ensure curtains or other objects are not obstructing the air inlet filters. (Fig 3) Do not bend or crush the exhaust hose while in use. (Fig.3)
-
Page 6: Safety Precautions
Do not use an excessively wet cloth, industrial solvents, oil-based products to clean this portable air conditioner. Do not allow children to climb, stand or hang on the outside of the dispenser. The air conditioner could tip over and get damaged and seriously injure somebody. -
Page 7: Installation
4. Only extend the exhaust hose to the necessary length. The unit includes a 5' exhaust hose. We do not recommend extending the exhaust hose more than 9' long. If you are interested in purchasing an additional 5’ exhaust hose please contact info@whynter.com... - Page 8 4. Place the window kit on your window or sliding door, with the exhaust hole as near to the portable air conditioner as possible. 5. Close the window or sliding door, on the window kit. For long term installation, you may screw the window kit into your window frame.
-
Page 9: Control Panel
CONTROL PANEL Indicator Light: Standby mode LED (red). 1: Power – Turns the unit on and off. 4: Plus – Increases set temperature or timer hours. S1: Timer indicator S4: Timer function indicator S7: Dehumidifying mode S10: Fan only mode 2: Mode Control –... -
Page 10: Installing Batteries
SWITCHING ON THE AIR CONDITIONER The portable air conditioner can be switched on by the remote control or by pressing the Power button on the control panel. To transmit signals from the remote control to the air conditioner, point the front part of the remote handset towards the control panel on the air conditioner. Reception of the signal is confirmed by a beep. -
Page 11: Remote Control
REMOTE CONTROL BUTTONS B1: POWER – Turns the unit on and off. 1: Set temperature B2: MODE – Controls the 4 function 2: Delay time setting modes: Cooling, Automatic, Fan only & Dehumidification. B3: TUBRO – Turns the unit on Cooling 3. -
Page 12: Fan Only Mode
FAN ONLY MODE In this mode, only the fan of the air conditioner runs and circulates the air in the room. To activate this function mode, press the MODE button (B2 on remote control or 2 on control panel) until fan only symbol ( )appears on the displays. - Page 13 TURBO MODE In this mode, the air conditioner is set to run at the lowest temperature 61°F and high fan speed. To activate this function mode, press the TURBO button (B3 on remote control only). TIMER (DELAYED SWITCH ON / OFF) FUNCTION This function mode enables a delayed switch ON or delayed switch OFF of the air conditioner.
-
Page 14: Celsius / Fahrenheit Temperature Display
SETTING SWITCH OFF TIMER FROM CONTROL PANEL With the air conditioner operating in any function mode, press the Timer button (6 on control panel) and set the desired time delay OFF hours (from – 1 to 12 hours) by pressing the buttons. -
Page 15: Maintenance
CLEANING THE AIR FILTER To ensure the air intake is filtered properly and to assure that your air conditioner runs efficiently, it is crucial to clean the air filters regularly. The Fi alarm on the display indicates that the air filter needs to be cleaned. -
Page 16: Draining The Air Conditioner
When the container is almost full, insert the drain stopper back to the unit. Empty the container. Repeat steps 2, 3 & 4 until all the condensed water is emptied. You may also want to tilt the air conditioner backwards to drain out all the condensed water. -
Page 17: Troubleshooting
Give the compressor 3 minutes to turn on after the Cooling mode has been selected. Set the air conditioner to a lower temperature. It is recommended to set the temperature to at least 5°F of the ambient temperature. Either manually drain the water by removing the drain plug or allow the unit to exhaust the water itself by running the fan only mode. - Page 18 Make use the unit is leveled. Drain water from the drain plug at the back of the air conditioner. The fan speed difference is not very noticeable when the compressor is on.
-
Page 19: Technical Data
TECHNICAL DATA Cooling capacity Recommended room size* E.E.R. – Energy efficiency rate Power supply Maximum power input Maximum input Dehumidifying capacity Thermostat Refrigerant Compressor Air flow (max) Fan speeds Exhaust hose length Unit Dimensions Unit Weight 13,000 BTU 450 – 500 sq. ft. 11.06 115v/ 60Hz 910 Watts... -
Page 20: This Warranty Does Not Cover
THREE YEAR WARRANTY ON COMPRESSOR This WHYNTER portable air conditioner is warranted, to the original owner within the 48 continental states, for one year from the date of purchase against defects in material and workmanship under normal use and service. Should your WHYNTER portable air conditioner prove defective within one year from the date of purchase, return the defective part or unit, freight prepaid (within two months of purchase;...
Need help?
Do you have a question about the ARC-13PG and is the answer not in the manual?
Questions and answers