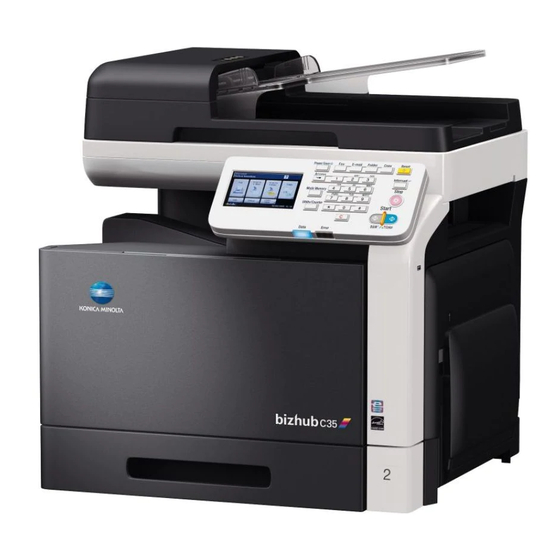
Konica Minolta bizhub C35 Setup Instructions
Hide thumbs
Also See for bizhub C35:
- Reference manual (510 pages) ,
- User manual (394 pages) ,
- Service manual (330 pages)

Related Manuals for Konica Minolta bizhub C35


Summary of Contents for Konica Minolta bizhub C35
- Page 1 C35 bizhub vCare/CS Remote Care HTTP (One-Way) Setup Instructions Version 1.2 Created: 12/13/10...
-
Page 2: Table Of Contents
Purpose: This documentation is for setting up bizhub C35 vCare/CSRC One–way (Simplex) HTTP communication.. Convention: bizhub vCare is the US brand used by KMBS for Konica Minolta’s worldwide CS Remote Care System (CSRC). Overview: The settings entered into the CS Remote Care section of the bizhub are intended to do the following: Set the MFP with the current date, time and time zone according to Military Time. -
Page 3: Administrative Requirements Prior To Mfp Http Setup
1. Device ID: The Device ID for MFP must match the 13 digit ID configured on CSRC Server. The Device ID is the serial number for the MFP. This setting is hard-coded in the bizhub C35 vCare/CSRC settings. 2. Center ID: This ID is used by the vCare/CSRC Communication Server. -
Page 4: Configuring Mfp For One-Way (Http) Communication
1. Press Utility/Counter -> [Meter Count] -> STOP - > 00 -> STOP -> 01. 2. Press Password -> 92729272 -> OK twice to enter Service Mode. Press [Down Arrow] twice and then [CS Remote Care] button. Konica Minolta bizhub C35 bizhub vCare HTTP Setup Guide Page 3 of 21... - Page 5 4. Press [Down Arrow] and then select [Ram Clear]. 5. Press Yes and then OK. Konica Minolta bizhub C35 bizhub vCare HTTP Setup Guide Page 4 of 21...
- Page 6 Eastern Time Zone: -05:00 b. Central Time Zone: -06:00 c. Mountain Time Zone: -07:00 d. Pacific Time Zone: -08:00 Press Close to exit the Time settings. Konica Minolta bizhub C35 bizhub vCare HTTP Setup Guide Page 5 of 21...
- Page 7 18. Press [Center ID] twice. Enter the Center ID provided by your vCare Administrator. Example: US510 19. Press Delete five times and enter Center ID provided by your vCare Administrator. 20. Press OK twice Konica Minolta bizhub C35 bizhub vCare HTTP Setup Guide Page 6 of 21...
- Page 8 Note: Press [!#?/] button to enter / (forward slash) to access the symbol screen. 22. Select Encryption and press No for the Encryption setting. 23. Press OK to exit this screen. Konica Minolta bizhub C35 bizhub vCare HTTP Setup Guide Page 7 of 21...
- Page 9 24. Press [Comm. Method]. 25. Press Simplex then OK and then Close. Konica Minolta bizhub C35 bizhub vCare HTTP Setup Guide Page 8 of 21...
-
Page 10: Configuring Webdav Settings
E. Configuring WebDAV Settings 1. Press [WebDAV Settings]. 2. Press [Down Arrow] and then [Enable SSL] . Set to NO. Konica Minolta bizhub C35 bizhub vCare HTTP Setup Guide Page 9 of 21... - Page 11 3. Press OK to save the SSL setting. 4. Press [WebDAV Auth.]. 5. Set [WebDAV Auth.] to On and then press OK. Konica Minolta bizhub C35 bizhub vCare HTTP Setup Guide Page 10 of 21...
- Page 12 6. Press WebDAV User Name button twice and enter HTTP WebDAV username (example: Account Name) then press OK. WebDav Account name provided by the vCare Administrator. Konica Minolta bizhub C35 bizhub vCare HTTP Setup Guide Page 11 of 21...
- Page 13 7. Select [WebDAV Password] twice and enter WebDAV account Password. Press OK then Close. WebDav Password provided by the vCare Administrator. Konica Minolta bizhub C35 bizhub vCare HTTP Setup Guide Page 12 of 21...
-
Page 14: Initial Connection To Vcare Server
Note: WebDav account WebDAV username and password supplied by vCare Administrator. F: Initial Connection to vCare Server 1. Press Subscribe button. 2. Press Yes then OK. Konica Minolta bizhub C35 bizhub vCare HTTP Setup Guide Page 13 of 21... -
Page 15: Setting The Notification Schedule
Note: Once “Completed” is displayed proceed to configuring your Reporting Schedule and Notification Items. G. Setting the Notification Schedule. 1. Press [Service Engr ID] (ID Code) . 2. Press [Number]. Konica Minolta bizhub C35 bizhub vCare HTTP Setup Guide Page 14 of 21... - Page 16 3. Press Delete button up to seven times and then press OK 4. Select [Maintenance Start.] and press Yes then OK. 5. Press [Down Arrow] and then CSRC Settings. Konica Minolta bizhub C35 bizhub vCare HTTP Setup Guide Page 15 of 21...
- Page 17 6. Press [Heart Beat Settings] and then No to disable Heart Beat. Press OK. 7. Press [Periodic Transmission]. Konica Minolta bizhub C35 bizhub vCare HTTP Setup Guide Page 16 of 21...
- Page 18 8. Select [Enable Trans.] then Select Yes and Ok 9. Select Interval. 10. Select Daily and OK. Konica Minolta bizhub C35 bizhub vCare HTTP Setup Guide Page 17 of 21...
-
Page 19: Configuring Notification Items
H. Configuring Notification Items 1. Select [Switches Settings]. 2. Select SC Error [SC] -> Set to On -> Press OK. Konica Minolta bizhub C35 bizhub vCare HTTP Setup Guide Page 18 of 21... - Page 20 Note: Press [Down Arrow] after setting Parts Life and Waste Full [TO] in step 3 to access next setting screen 4. Press Close to exit [Switches Setting] button 5. Select Report Settings. Konica Minolta bizhub C35 bizhub vCare HTTP Setup Guide Page 19 of 21...
- Page 21 Press [Sales Count] button -> Set to On -> Press OK. 7. Repeat step 6 for the following buttons: Error Count Service Count Life Count System Data History Data Adjustment Data Coverage Data Konica Minolta bizhub C35 bizhub vCare HTTP Setup Guide Page 20 of 21...
-
Page 22: Finalize The Vcare Install
1. Select [Maintenance End] (If this step is not performed you will have a Blinking Start Button and the unit will not report in to the vCare Server). Konica Minolta bizhub C35 bizhub vCare HTTP Setup Guide Page 21 of 21... - Page 23 2. Select Yes then Ok. Note: For KM Branches verify that your unit is communicating with the vCare system via the Hotline at 800-825-5664 or through your BSM. Konica Minolta bizhub C35 bizhub vCare HTTP Setup Guide Page 22 of 21...
Need help?
Do you have a question about the bizhub C35 and is the answer not in the manual?
Questions and answers