Advertisement
Quick Links
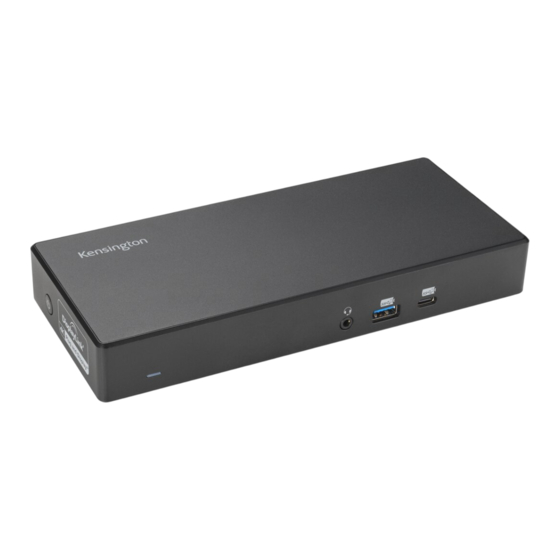
Kensington SD4782P USB-C & USB-A Dual 4K Docking Station
Inside the Box.
SD4782P USB-C & USB-A Dual 4K Docking Station
One USB-C 3.2 Gen2 Cable with Screw Lock and USB-A Adapter
One 170W Power Supply Unit
One NA Power Cord
One Quick Installation Guide
One Compliance Sheet
One Warranty Card
One Welcome Card
One 100W Power Splitter
Six Power Tip Adapters (retention rings included)
Register your docking station at kensington.com/register
Advertisement

Subscribe to Our Youtube Channel
Related Manuals for Kensington SD4782P


Summary of Contents for Kensington SD4782P
- Page 1 Kensington SD4782P USB-C & USB-A Dual 4K Docking Station Inside the Box. SD4782P USB-C & USB-A Dual 4K Docking Station One USB-C 3.2 Gen2 Cable with Screw Lock and USB-A Adapter One 170W Power Supply Unit One NA Power Cord...
- Page 2 1. Connect the power adapter to the DC 20V port on the back of the dock. Connect the power cable to the power adapter. Plug the power cable into a wall outlet.
- Page 3 2. Front of the dock from left to right: One LED light for indicating the docking station is powered on. One combo audio jack appropriate for headsets. One USB-A 3.2 Gen2 10Gbps (5V/1.5A) port appropriate charging smartphones. One USB-C 3.2 Gen2 10Gbps (5V/3A) port appropriate for connecting external hard drives. Back of the dock from left to right: Four USB-A 3.2 Gen1 5Gbps (5V/0.9A) ports appropriate for connecting mice, keyboards, and thumbdrives.
- Page 4 Side of the dock closest to DC20V port: One power button to turn your dock on and off as needed. Connect the end of the USB-C host cable with the screw lock connector to the USB-C host port on the back of the dock.
- Page 5 4. Video specifications. For Single 4K @ 60Hz, connect to one DP++ port or one HDMI port. For Dual 4K @ 60Hz, use any combination of the DP++ and HDMI ports.
- Page 6 5. Windows 10 / macOS / Chrome OS Visit www.kensington.com/software to download the optional Kensington DockWorks™ software. Visit www.displaylink.com/downloads to download the DisplayLink driver required for this dock. Follow the onscreen prompts to complete installations. Visit kensington.com/support if you have any questions about installation.
- Page 7 Mount docking station to the back of a monitor stand. Sold separately: K34050 mounting bracket. 1. Attach the mounting bracket to the back of the monitor stand. 2. Attach the dock to the mounting bracket.
- Page 8 Secure docking station with a Kensington cable lock. Sold separately: Recommended K65020WW MicroSaver® 2.0 Keyed Laptop Lock. Attach the lock using the standard lock slot noted with a square shaped K icon on the side of the docking station. Sold separately: Recommended K65021WW Slim NanoSaver® 2.0 Keyed Laptop Lock.
- Page 9 Power Splitter 1. Attach the appropriate power tip adapter for your host device. A Commonly used by most notebooks. C Commonly used by Dell. D1 Commonly used by Lenovo. H Commonly used by HP. I Commonly used by HP. E Commonly used by DynaBook & Toshiba.
- Page 10 Use the included retention rings to tether additional power tip adapters to the cable to accommodate shared workspaces or mixed deployments. 2. Connect the splitter's power tip to the host laptop and connect the splitter's power plug cable to the DC 20V port on the back of the dock.
- Page 11 3. Connect the power adapter to the splitter. Connect the power cable to the power adapter. Plug the power cable into a wall outlet. This will provide up to 100W power delivery to the USB-A host.
- Page 12 For support, visit kensington.com/support.
Need help?
Do you have a question about the SD4782P and is the answer not in the manual?
Questions and answers