Sign In
Upload
Download
Table of Contents
Contents
Add to my manuals
Delete from my manuals
Share
URL of this page:
HTML Link:
Bookmark this page
Add
Manual will be automatically added to "My Manuals"
Print this page
×
Bookmark added
×
Added to my manuals
Manuals
Brands
Royal Enfield Manuals
Diagnostic Equipment
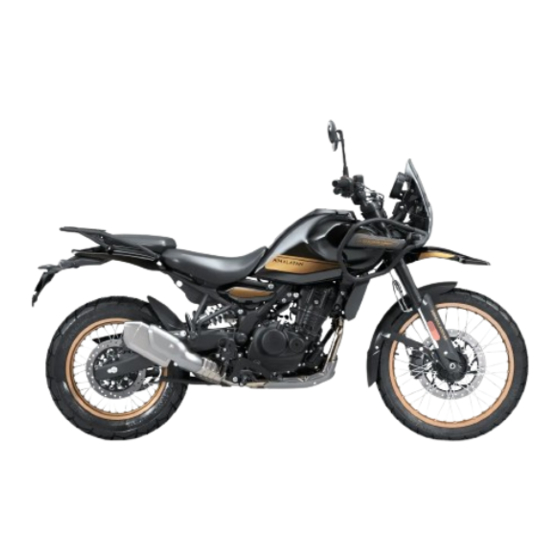
Himalayan
Owner's manual
Royal Enfield Himalayan Owner's Manual
Hide thumbs
Also See for Himalayan
:
Service manual
(215 pages)
,
Owner's manual
(109 pages)
1
2
3
4
Table Of Contents
5
6
7
8
9
10
11
12
13
14
15
16
17
18
19
20
21
22
23
24
25
26
27
28
29
30
31
32
33
34
35
36
37
38
39
40
41
42
43
44
45
46
47
48
49
50
51
52
53
54
55
56
57
58
59
60
61
62
63
64
65
66
67
68
69
70
71
72
73
74
75
76
77
78
79
80
81
82
83
84
85
86
87
88
89
90
91
92
93
94
95
96
97
98
99
100
101
102
103
104
105
106
107
108
109
110
111
112
113
114
115
116
117
118
119
120
121
122
123
124
125
126
127
128
129
130
131
132
133
134
135
136
137
138
139
140
141
page
of
141
Go
/
141
Contents
Table of Contents
Troubleshooting
Bookmarks
Table of Contents
Table of Contents
Safety Definitions
Personal and Motorcycle Information
Safe Riding Tips / Guidelines
Rules of the Road
Accessories and Luggage
Technical Specifications
Recommended Lubricants
Motorcycle Identification Numbers
Location of Key Parts
Operation of Controls
Warning Indications and Safety Systems
Pre-Operational Checks
Running in Period
Starting
Gear Shifting, Riding and Stopping
Parking
Tools Kit and First Aid Kit
Minor Maintenance Tips
Long Trip Precautions
Rear Suspension Setting
Washing Procedure
Storage Precautions
Troubleshooting
Environment Care
Periodical Maintenance
Warranty Terms and Conditions
Emission Warranty
Evaporative Emission Control System Warranty
Service/Maintenance Record
Notes
Advertisement
Quick Links
1
Technical Specifications
2
Recommended Lubricants
3
Operation of Controls
4
Running in Period
5
Minor Maintenance Tips
6
Periodical Maintenance
7
Service/Maintenance Record
Download this manual
ROYAL
ENFIELD
OWNER'S
MANUAL
Table of
Contents
Previous
Page
Next
Page
1
2
3
4
5
Advertisement
Table of Contents
Need help?
Do you have a question about the Himalayan and is the answer not in the manual?
Ask a question
Questions and answers
Related Manuals for Royal Enfield Himalayan
Motorcycle Royal Enfield Himalayan Service Manual
(215 pages)
Motorcycle Royal Enfield Himalayan Owner's Manual
(109 pages)
Diagnostic Equipment Royal Enfield NACS II-ROYAL User Manual
(19 pages)
Diagnostic Equipment Royal Enfield BS VI Owner's Manual
(141 pages)
This manual is also suitable for:
Bs vi
Table of Contents
Save PDF
Print
Rename the bookmark
Delete bookmark?
Delete from my manuals?
Login
Sign In
OR
Sign in with Facebook
Sign in with Google
Upload manual
Upload from disk
Upload from URL


Need help?
Do you have a question about the Himalayan and is the answer not in the manual?
Questions and answers