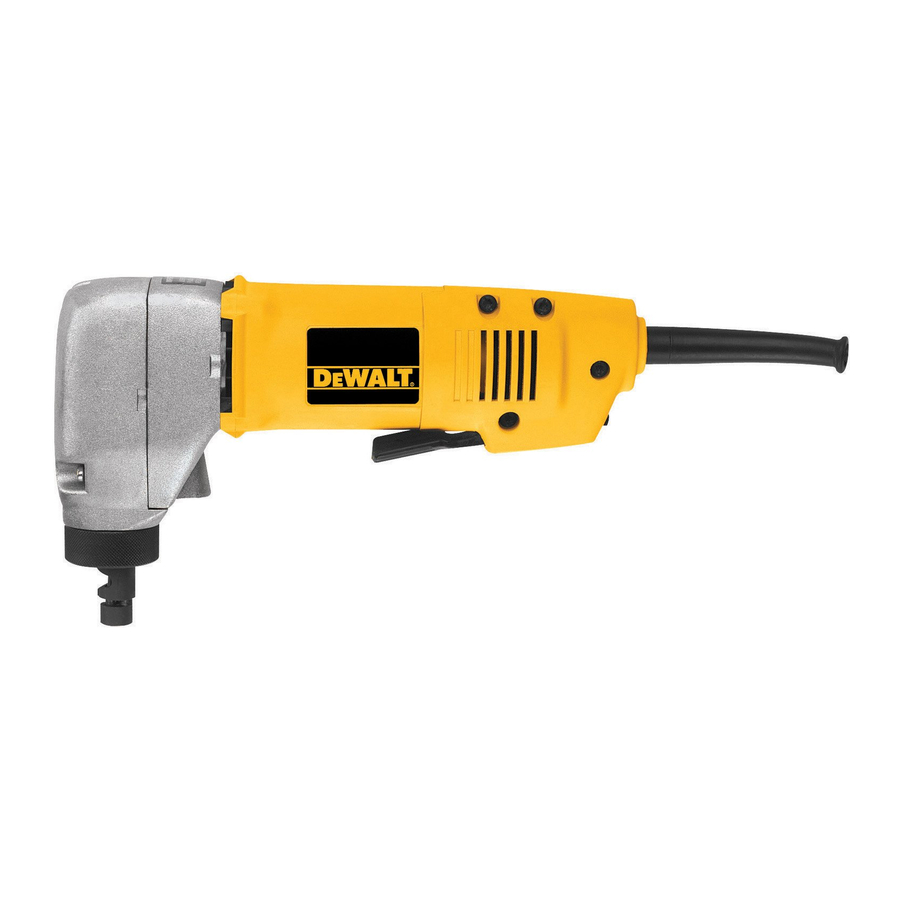
DeWalt DW896 - 16-Gauge Nibbler Manual
- Instruction manual (20 pages) ,
- Nstruction manual (6 pages) ,
- Instruction manual (20 pages)
Advertisement
Important Safety Instructions


When using electric tools, basic safety precautions should always be followed to reduce risk of fire, electric shock, and personal injury, including the following:
READ ALL INSTRUCTIONS
Double Insulation
Double insulated tools are constructed throughout with two separate layers of electrical insulation or one double thickness of insulation between you and the tool's electrical system. Tools built with this insulation system are not intended to be grounded. As a result, your tool is equipped with a two prong plug which permits you to use extension cords without concern for maintaining a ground connection.
NOTE: Double insulation does not take the place of normal safety precautions when operating this tool. The insulation system is for added protection against injury resulting from a possible electrical insulation failure within the tool.

WHEN SERVICING USE ONLY IDENTICAL REPLACEMENT PARTS. Repair or replace damaged cords.
Polarized Plugs
 Polarized plugs (one blade is wider than the other) are used on equipment to reduce the risk of electric shock. When provided, this plug will fit in the polarized outlet only one way. If the plug does not fit fully into the outlet, reverse the plug. If it still does not fit, contact a qualified electrician to install the proper outlet. Do not change the plug in any way.
Safety Instructions For All Tools
- KEEP WORK AREA CLEAN. Cluttered areas and benches invite injuries.
- CONSIDER WORK AREA ENVIRONMENT. Don't expose power tools to rain. Don't use power tools in damp or wet locations. Keep work area well lit. Do not use tool in presence of flammable liquids or gases.
![shock hazard]() GUARD AGAINST ELECTRIC SHOCK. Prevent body contact with grounded surfaces. For example; pipes, radiators, ranges, and refrigerator enclosures.
GUARD AGAINST ELECTRIC SHOCK. Prevent body contact with grounded surfaces. For example; pipes, radiators, ranges, and refrigerator enclosures.- KEEP CHILDREN AWAY. Do not let visitors contact tool or extension cord. All visitors should be kept away from work area.
- STORE IDLE TOOLS. When not in use, tools should be stored in dry, and high or locked-up place — out of reach of children.
- DON'T FORCE TOOL. It will do the job better and safer at the rate for which it was intended.
- USE RIGHT TOOL. Don't force small tool or attachment to do the job of a heavy-duty tool. Don't use tool for purpose not intended.
- DRESS PROPERLY. Do not wear loose clothing or jewelry. They can be caught in moving parts. Rubber gloves and non-skid footwear are recommended when working outdoors. Wear protective hair covering to contain long hair.
- USE SAFETY GLASSES. Also use face or dust mask if operation is dusty.
- DON'T ABUSE CORD. Never carry tool by cord or yank it to disconnect from receptacle. Keep cord from heat, oil, and sharp edges.
- SECURE WORK. Use clamps or a vise to hold work. It's safer than using your hand and it frees both hands to operate tool.
- DON'T OVERREACH.Keep proper footing and balance at all times.
- MAINTAIN TOOLS WITH CARE.Keep tools sharp and clean for better and safer performance. Follow instructions for lubricating and changing accessories. Inspect tool cords periodically and if damaged, have repaired by authorized service facility. Inspect extension cords periodically and replace if damaged. Keep handles dry, clean, and free from oil and grease.
- DISCONNECT OR LOCK OFF TOOLS when not in use, before servicing, and when changing accessories, such as blades, bits, cutters.
- REMOVE ADJUSTING KEYS AND WRENCHES. Form habit of checking to see that keys and adjusting wrenches are removed from tool before turning it on.
- AVOID UNINTENTIONAL STARTING. Don't carry tool with finger on switch. Be sure switch is off when plugging in.
- EXTENSION CORDS. Use only 3-wire extension cords that have 3-prong grounding-type plugs and 3-pole receptacles that accept the tool's plug. Replace or repair damaged cords. Make sure your extension cord is in good condition. When using an extension cord, be sure to use one heavy enough to carry the current your product will draw. An undersized cord will cause a drop in line voltage resulting in loss of power and overheating. The following table shows the correct size to use depending on cord length and nameplate ampere rating. If in doubt, use the next heavier gage. The smaller the gage number, the heavier the cord.
| Minimum Gage for Cord Sets | ||||||
| Volts | Total Length of Cord in Feet | |||||
| 120V | 0-25 | 26-50 | 51-100 | 101-150 | ||
| 240V | 0-50 | 51-100 | 101-200 | 201-300 | ||
| Ampere Rating | AWG | |||||
| More Than | Not more Than | |||||
| 0 | - | 6 | 18 | 16 | 16 | 14 |
| 6 | - | 10 | 18 | 16 | 14 | 12 |
| 10 | - | 12 | 16 | 16 | 14 | 12 |
| 12 | - | 16 | 14 | 12 | Not Recommended | |
- OUTDOOR USE EXTENSION CORDS. When tool is used outdoors, use only extension cords intended for use outdoors and so marked.
- STAY ALERT. Watch what you are doing. Use common sense. Do not operate tool when you are tired.
- CHECK DAMAGED PARTS. Before further use of the tool, a guard or other part that is damaged should be carefully checked to determine that it will operate properly and perform its intended function. Check for alignment of moving parts, binding of moving parts, breakage of parts, mounting, and any other conditions that may affect its operation. A guard or other part that is damaged should be properly repaired or replaced by an authorized service center unless otherwise indicated elsewhere in this instruction manual. Have defective switches replaced by authorized service center. Do not use tool if switch does not turn it on and off.
SAVE THESE INSTRUCTIONS
Product Overview

Motor
Your DEWALT tool is powered by a DEWALT built motor. Be sure your power supply agrees with the nameplate marking. Voltage decrease of more than 10% will cause loss of power and overheating. All DEWALT tools are factory tested; if this tool does not operate, check the power supply.
Switch
To start tool, depress the paddle switch. To turn the tool off, release the paddle. The paddle switch can be locked on by engaging the lock button located near the rear of the tool, while holding the paddle depressed. Always be sure that the tool is not locked on before plugging in. To turn the tool off when it is locked on, squeeze and release the paddle once.

Setting the Cutter
TURN OFF TOOL AND DISCONNECT FROM POWER SUPPLY.
The cutter can be set to cut in any direction relative to the body. Release the set screw in the knurled ring (Figure 2) with key provided and unscrew the ring by rotating in a counterclockwise direction as viewed from the cutter.

Loosen ring just enough to be able to rotate the die. Set the die so that the connecting web is on the opposite side of the direction of cut. Fully tighten the knurled ring and lock by tightening the set screw.

Operation
NOTE: ALWAYS WEAR SAFETY GLASSES.
Make sure the knurled ring (Figure 2) is tight prior to use. Keep fingers away from cutter and other moving parts.
The nibbler cuts a slot in the work 6mm wide so remember to compensate for this when marking out and calculating material requirements.
When starting the cut from an edge, place the nibbler so the slot in the die engages the work and the edge is against the punch, which is the moving part when cutting.

Start the nibbler by depressing the paddle switch. Hold the body parallel to the work surface.
Exert only enough forward pressure to start the nibbler cutting and maintain this pressure. Extra pressure will not increase the rate of cut as the amount of material removed at each cutting stroke is fixed and the rate of cut is dependent only on the speed of the nibbler. The cutting line of the work should be lightly coated with oil to lubricate the punch and die while cutting.
NOTE: Punch and die should be lubricated by immersing in a good quality cutting oil approximately every 30 feet of cutting.
When the cut is to be started or finished within the periphery of the work, a 13mm (1/2") hole must first be drilled in the work at the start or finish point. This enables the die to be entered or withdrawn as it is larger in diameter than the slot being cut in the work.

Circular holes should be cut in the manner shown below, starting at the 13mm (1/2") diameter hole within the circle.

Punch and Die Replacement
After a period of cutting, the punch will become blunted and require replacement. At the same time, check the die for sharpness and replace if necessary.

To remove the die, release the knurled ring.
Having removed the die, rotate the motor by turning the armature fan, accessible through the side cooling slot, until the punch retaining nut is clear of the face of the gearbox. With the spanner provided, release this nut counterclockwise and remove the punch. Assemble in reverse order.

Keep your nibbler as clean as possible by wiping with a clean cloth and occasionally blowing air through it.
Cleaning
Blowing dust and grit out of the main housing by means of air hose is recommended and may be done as often as dirt is seen collecting in and around the ventilator vents. The motor should be running while air is being blown into the air vents.
Lubrication
DEWALT tools are properly lubricated at the factory and are ready to use. Tools should be relubricated regularly every 60 days to 6 months, depending on usage. Tools used constantly on production or heavyduty jobs and tools exposed to heat may require more frequent lubrication. This lubrication should only be attempted by trained power tool repairmen such as those at DEWALT certified service centers.
Motor Brushes
When the brushes on this tool become worn out, the tool will automatically stop and prevent damage to the motor. Brush replacement should be performed by DEWALT service centers.
Accessories
Recommended accessories for use with your tool are available at extra cost from your distributor or local service center.
The use of any non-recommended accessory may be hazardous.
Repairs
To assure product SAFETY and RELIABILITY, repairs, maintenance and adjustment (including brush inspection and replacement) should be performed by authorized service centers or other qualified service organizations, always using identical replacement parts.
Three Year Limited Warranty
For further detail of warranty coverage and warranty repair information, visit www.dewalt.com or call 1-800-4-DEWALT (1-800-433-9258).
IF YOU HAVE ANY QUESTIONS OR COMMENTS ABOUT THIS OR ANY DeWALT TOOL, CALL US TOLL FREE AT: 1-800-4-DeWALT (1-800-433-9258)

Documents / Resources
References
Download manual
Here you can download full pdf version of manual, it may contain additional safety instructions, warranty information, FCC rules, etc.
Advertisement


Need help?
Do you have a question about the DW896 and is the answer not in the manual?
Questions and answers