Advertisement
Quick Links
TABLE OF CONTENTS
1 Warning -------------------------------------------------------------- 2
2 Specifications ----------------------------------------------------- 2
3 Troubleshooting Guide ----------------------------------------- 3
4 Disassembly and Assembly Instructions ---------------- 4
5 Wiring Connection Diagram ---------------------------------11
6 Schematic Diagram ---------------------------------------------12
7 Exploded View and Replacement Parts List -----------13
Model No.
ASIA
PAGE
© Panasonic Electric Works (Thailand) Co., Ltd.
2011. All rights reserved. Unauthorized copying and
distribution is a violation of law.
Order Number PEWT1103A13CE
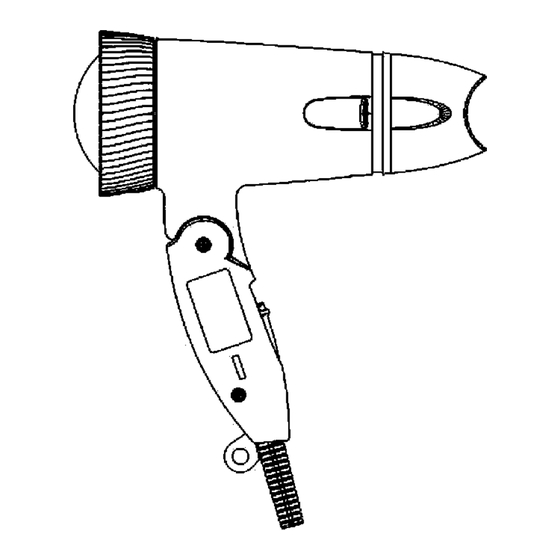
Hair Dryer
EH-NE42
PAGE
Advertisement

Subscribe to Our Youtube Channel
Related Manuals for Panasonic EH-NE42


Summary of Contents for Panasonic EH-NE42
-
Page 1: Table Of Contents
4 Disassembly and Assembly Instructions ---------------- 4 5 Wiring Connection Diagram ---------------------------------11 6 Schematic Diagram ---------------------------------------------12 7 Exploded View and Replacement Parts List -----------13 © Panasonic Electric Works (Thailand) Co., Ltd. 2011. All rights reserved. Unauthorized copying and distribution is a violation of law. -
Page 2: Warning
1 Warning Caution: • Pb free solder has a higher melting point that standard solder; Typical the melting point is 50 - 70°F (30 - 40°C) higher. Please use a soldering iron with temperature control and adjust it to 750 ± 20°F (400 ± 10°C). In case of using high temperature solder- ing iron, please be careful not to heat too long. -
Page 3: Troubleshooting Guide
3 Troubleshooting Guide Refer to WIRING CONNECTION DIAGRAM. -
Page 4: Disassembly And Assembly Instructions
4 Disassembly and Assembly Instructions 4.1. Disassembly instruction 1. Take off nozzle as same direction in figure 4. 2. Remove 2 tapping screws by Plus Driver and 2 torx screws by IEC driver as figure 5. - Page 5 3. Take off an air outlet grill and an air outlet ring by rotating. Take off an air inlet ring by rotating, then pulling a rear cover as figure 6. 4. Take off a handle A from housing A and B as figure 7.
- Page 6 5. Take off a housing A from a housing B as figure 8. 6. Take off a motor heater block from a housing B as figure 9.
- Page 7 4.2. Assembly instruction 1. Install leadwire Black, Yellow, Violet, Orange, Ground lead wire and lead wire brown (from power cord) with a main switch and a capacitor as figure 10. 2. Connecting and soldering a motor heater block with a main switch as figure 11.
- Page 8 3. Assemble discharge covers with a motor heater block. Then assemble them with housing A and B as figure 12, 13.
- Page 9 4. Assemble motor heater block with handle B and housing B as figure 14.
- Page 10 5. Assembly handle A , screws and nozzle as shown figure 15.
-
Page 11: Wiring Connection Diagram
5 Wiring Connection Diagram... -
Page 12: Schematic Diagram
6 Schematic Diagram... -
Page 13: Exploded View And Replacement Parts List
7 Exploded View and Replacement Parts List Model No. : EH-NE42 Exploded View... - Page 14 Model No. : EH-NE42 Parts List Ref. Safety Part No. Part Name & Description Q'ty Remarks EHNE42T0312W TORX SCREW 3*12 2 FOR HANDLE AB *1 EHNE42HDHW HANDLE AB EHNE42MSPHW MAIN SWITCH PLATE INCLUDE 2 INSULATION TUBES (FOR 615,645 EHNE42MSW MAIN SWITCH...
Need help?
Do you have a question about the EH-NE42 and is the answer not in the manual?
Questions and answers