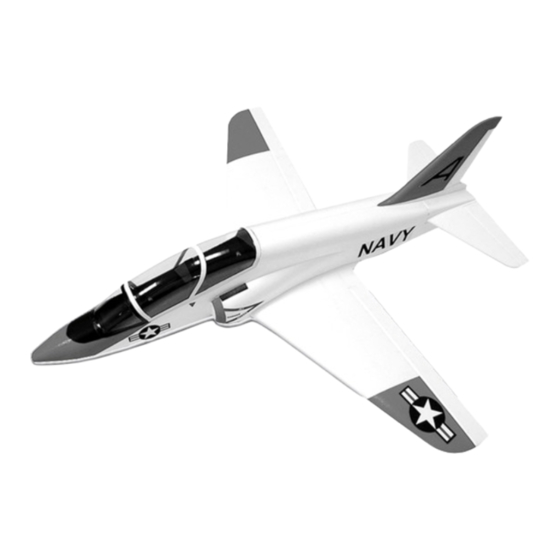
Summary of Contents for Ultrafly Bae HAWK
- Page 4 REQUIRED FOR OPERATION (not included)組裝飛機所需裝備 Battery Rechargable battery 充電電池 (9.6~12v, 1100mAh) 4~8channel receiver 4 8頻道的接受器 2~3 micro servos. Minimum 4~8 channel radio 2 3個微型伺服器 4 8頻道的遙控器 Electronic speed controller. Charger 充電器 15安培的電子變速器 (choose one that matches your battery) (15A continuous capacity and battery eliminator circuit) 遙控系統的組裝...
- Page 6 Use CA glue to fix the M3 nut into the plastic part (make sure CA glue will not flow through the thread). 利用少量快乾膠將M3螺帽固定入塑膠配件中 Use paper tape to hold it when combining the fuselage. (注意不要讓膠流到螺絲孔內)。 Ⅰ.Use the knife to cut the part we marked(like picⅠ.), And leave the gap about 1mm wide.用美工刀在機身接合處(如圖Ⅰ.)劃出約1mm的寬口。 Ⅱ.Apply some foam glue to the plastic part(like pic Ⅱ.), "DO NOT USE IT ON THE THREAD AREA".在剛組合好的配件上塗上適量保麗龍膠(如圖Ⅱ.),勿塗到螺釘處。...
- Page 7 Replace it with the depron aileron that comes with the kit. Use the knife to cut a 1cm deep and wide line at where we marked on aileron and wing(just like pics show), for sealing the hinge later. remodel the aileron like the pic shows. (It's to allow the aileron to work free and well.) Cut the rubber tube in to four equal pieces, then slide two rubber tubes into each aileron linkage wire.
- Page 8 Apply some foam glue on black rubber tube. (only on tube, otherwise your aileron may not function properly) 塗上適量保麗龍膠在黑色套管上將副翼拉桿固定上主翼。 (只塗膠在黑色套管上,不然的話你的副翼將無法使用) None thread/無螺紋 None thread/無螺紋 Use pen mark where arrow points. 用筆在箭頭所指處作記號。 Remember to remove the extra glue that floats out, it will damage or affect flying! Measure and cut the wire(leave extra 5mm for hooking the servo).
- Page 9 ELEVATOR CONTROL SURFACE/尾翼昇降翼 ELEVATOR/尾翼 Elevator/尾翼 Elevator/尾翼...
- Page 10 ower system Ⅰ.Position the plastic gear with proper distance (0.2~0.3mm) from motor mount.
- Page 11 Use scissors to cut off the extra edge part of canopy. Glue the magnet and iron pieces to the canopy(inside) and fuselage. Use tape to assist in gluing the canopy. 利用膠帶協助固定座艙罩。...
- Page 12 Those without numbers feel free to place the stickers as you please.
- Page 13 Cut two 15cm length and 2cm wide tapes from the sticker to cover over on the stick just glued on the elevator. 從貼紙上剪下兩段長15cm寬2cm的膠帶,用來包覆剛才黏上尾翼的強化桿。...
- Page 14 80~85mm The total weight(including battery, and everything when you are ready to fly) should not enceed over 570g, or it might not fly or lose control of your airplane, which leads to accidents!
-
Page 15: Weight Control
I M P O R T A N T N O T E B E F O R E Y O U T E S T F L Y CG location CG location is 95mm after the front edge of the wing at the root. 3 mm back would cause the airplane unstable!! In your first flight please adjust the CG carefully!! Weight Control The total weight of the Hawk should not exceed over 570g(20 Oz) or the airplane may not be able to hand launch.


Need help?
Do you have a question about the Bae HAWK and is the answer not in the manual?
Questions and answers