Philips AJ3122 User Manual
Hide thumbs
Also See for AJ3122:
- Specifications (2 pages) ,
- User manual (12 pages) ,
- User manual (12 pages)

Related Manuals for Philips AJ3122


Summary of Contents for Philips AJ3122
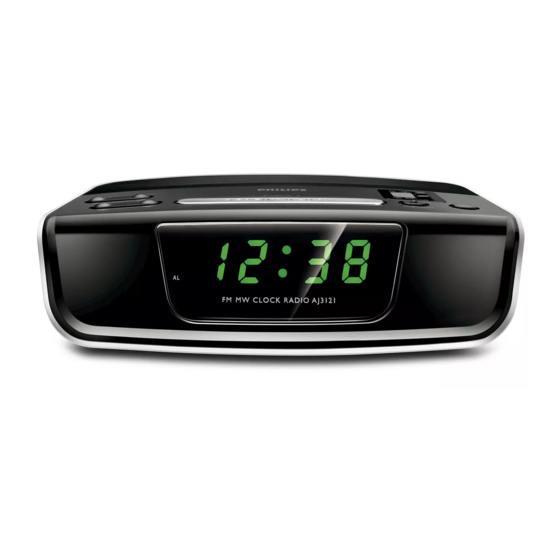
- Page 1 AJ3122 Clock Radio Register your product and get support at www.philips.com/welcome User manual...
-
Page 2: Important Notes For Users In The U.k
Important notes for users in the U.K. Mains plug This apparatus is fitted with an approved 13 Amp plug. To change a fuse in this type of plug proceed as follows: 1 Remove fuse cover and fuse. 2 Fix new fuse which should be a BS1362 3 Amp, A.S.T.A. or BSI approved type. 3 Refit the fuse cover. - Page 4 Congratulations on your purchase and welcome to Philips! To fully benefit from the support that Philips offers, register your product at www.philips.com/welcome. CONTROLS (see fig. 1 ) 1 SET TIME /ALARM SET – sets the clock time – sets the alarm time HR / MIN –...
- Page 5 INSTALLATION POWER SUPPLY 1 Check if the power supply, as shown on the type plate located on the bot- tom of the set, corresponds to your local power supply. If it does not, consult your dealer or service center. 2 Connect the power cord to the wall outlet. 3 To disconnect the set from the power supply completely, remove the plug from the wall outlet.
-
Page 6: Radio
RADIO You can use this set solely as a radio! 1 Adjust RADIO / ALARM 2 Select your waveband by adjusting the FM/MW switch. 3 Adjust TUNING to tune to your desired station. 4 Turn the VOLUME control to adjust the volume level. 5 Adjust RADIO / ALARM To improve reception:... -
Page 7: Alarm Reset
SELECTING THE ALARM MODE To use the alarm, you must set the alarm time first. You can choose from two different alarm modes to wake you up: by radio or buzzer. 1 Select your choice of alarm mode by adjusting BUZZER. -
Page 8: Repeat Alarm
REPEAT ALARM This repeats your alarm call at 9-minute intervals. 1 During the alarm call, press REPEAT 2 Repeat if desired for up to 59 minutes. ™ The alarm indicator (AL) will remain on. SLEEP This set has a built-in timer which enables the set to be automatically switched off during radio playback after a set period of time. -
Page 9: Safety Information
SAFETY INFORMATION • Install the unit near the AC outlet and where the AC power cord plug can be easily reached. • Where the MAINS plug or an appliance coupler is used as the disconnect device, the disconnet device shall remain readily operable. •... -
Page 10: Troubleshooting
TROUBLESHOOTING If a fault occurs, first check the points listed below before taking the set for repair. If you are unable to remedy a problem by following these hints, consult your dealer or service center. WARNING: Under no circumstances should you try to repair the set yourself, as this will invalidate the warranty. -
Page 11: Environmental Information
ENVIRONMENTAL INFORMATION We have reduced packaging to the minimum for easy separation into two materials: paper and cardboard. Your set consists of materials which can be recycled if disassembled by a special- ized company. Please observe local regulations on the disposal of packing materi- als and old equipment. -
Page 12: Class 1 Laser Product
Meet Philips at the Internet http://www.philips.com AJ3122 CLASS 1 LASER PRODUCT Printed in China PDCC-J.W.Wang-0810...
Need help?
Do you have a question about the AJ3122 and is the answer not in the manual?
Questions and answers
No radio on ac or dc suply
The Philips AJ3122 radio may not be working on AC or DC supply due to the following reasons:
1. Volume not adjusted – If the volume is too low, it may seem like the radio is not working.
2. AC power not connected properly – Ensure the plug is securely connected to the wall outlet and the outlet is functioning.
3. Battery backup is not meant for full operation – The self-powered backup only stores settings for up to 3 minutes during power loss; it does not power the full radio operation.
4. Internal fault or damage – If the above points are checked and it still does not work, there may be an internal fault. Do not attempt to repair it yourself, as this can void the warranty and pose a risk of electric shock.
Check the power connection, adjust the volume, and ensure the unit is placed properly. If it still does not work, seek professional service.
This answer is automatically generated