
Related Manuals for TGS DIANA Series


Summary of Contents for TGS DIANA Series
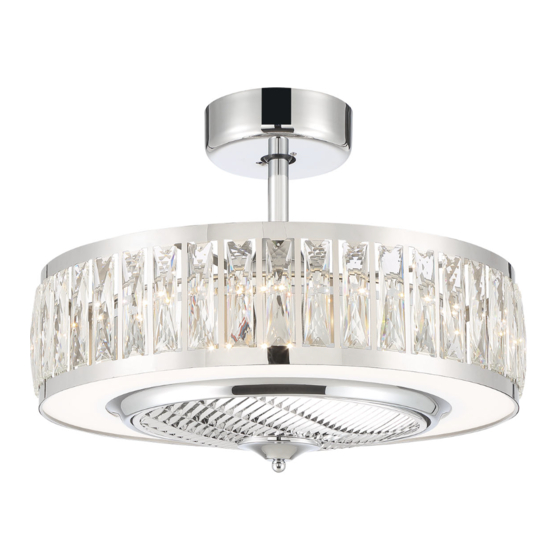
- Page 1 DIANA™ INSTALLATION INSTRUCTIONS 22-INCH INDOOR CEILING FAN www.trulygreensolutions.com...
-
Page 2: Table Of Contents
Table of Contents Table of Contents ..............2 Assembly ................7 Safety Information ............... 2 Operation ................15 Warranty ................3 Care and Cleaning ............. 15 Pre-Installation ..............3 Troubleshooting ..............16 Installation ................6 IC Statement ..............17 Safety Information READ AND SAVE THESE INSTRUCTIONS. -
Page 3: Warranty
Warranty We warrant the fan motor to be free from defects in workmanship and material present at time of shipment from the factory for a period of a lifetime after the date of purchase by the original purchaser. We also warrant that all other fan parts, excluding any glas s or acrylicblades, to be free from defects in workmanship and material at the time of shipment from the factory for a period of one year after the date of purchase by the original purchaser. - Page 4 Pre-Installation (continued) HARDWARE INCLUDED : Hardware not shown to actual size. NOTE Description Part Quantity Canopy screw (not to scale) (preassembled) Wire nuts (not to scale) Hitch pin (not to scale) (preassembled) Lock pin (not to scale) (preassembled) Set screw (not to scale) (preassembled) Wood screw (not to scale) Metal washer (not to scale) www.trulygreensolutions.com...
- Page 5 Pre-Installation (continued) PACKAGE CONTENTS Part Quantity Description Part Quantity Description Mounting bracket Coupling cover Canopy Fan motor assembly Hanger ball (preassembled) Remote control set Downrod 6” and 18” Battery 23A 12V www.trulygreensolutions.com...
-
Page 6: Installation
Installation MOUNTING OPTIONS NOTE: You may need a longer downrod to maintain WARNING: To reduce the risk of fire, electric shock, or proper blade clearance when installing on a steep, sloped personal injury, mount to outlet box marked “acceptable ceiling. The maximum angle allowable is 10° away from for fan support of 15.9 kg (35 lbs) or less”... -
Page 7: Assembly
Assembly - Standard Ceiling Mount Routing the wires Assembling the fan WARNING: CAUTION: To ensure wobble-free operation and to avoid Make sure power is off before attempting damage to the fan, the downrod (D) and the set screw installation. (EE) must be completely tightened. □... - Page 8 Assembly - Standard Ceiling Mount (continued) Hanging the fan Attaching the fan to the electrical box WARNING: To reduce the risk of fire, electric shock □ Carefully lift the fan motor assembly (F) up to the mounting or personal injury, mount to outlet box marked bracket (A).
- Page 9 Assembly - Standard Ceiling Mount (continued) Making the electrical connections WARNING: To avoid possible electrical shock, ensure the electricity is turned off at the circuit breaker or main fuse box before wiring. WARNING: Check to see that all connections are tight, including the ground, and that no bare wire is visible at the wire nuts, except for the ground wire.
- Page 10 Assembly - Standard Ceiling Mount (continued) Mounting the fan WARNING: When using the standard ball/downrod mounting, the tab in the ring at the bottom of the mounting bracket must rest in the groove of the hanger ball. Failure to properly seat the tab in the groove could cause damage to the wiring.
-
Page 11: Operation
Operation OPERATING THE REMOTE CONTROL □ Remove the battery cover on the back of the remote control and install a 12V battery. Reattach the battery cover. □ Slide the code switches on the receiver to the same positions that are set on the remote control. Speed Control □... -
Page 12: Care And Cleaning
Care and Cleaning WARNING: Make sure the power is off before cleaning your fan. □ Because of the fan’s natural movement, some connections may become loose. Check the support connections, brackets, and blade attachments twice a year. Make sure they are secure. It is not necessary to remove the fan from the ceiling. □... -
Page 13: Ic Statement
IC Statement This device contains license-exempt transmitter(s)/receiver(s) that comply with lnnovation, Science and Economic Development Canada’s license-exempt RSS(s). Operation is subject to the following two conditions : □ This device may not cause interference. □ This device must accept any interference, including interference that may cause undesired operation of the device. www.trulygreensolutions.com...
Need help?
Do you have a question about the DIANA Series and is the answer not in the manual?
Questions and answers