Advertisement
Model #
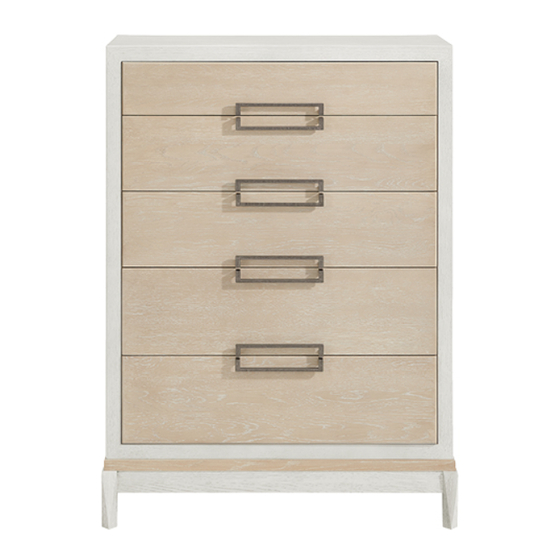
3311SAN
Catalina
5-Drawer Chest
SAN = Sand finish
Thank you for allowing us to help you furnish your
home. We are certain you will be delighted with
your new furniture for many years to come.
If you ever have questions about your furniture, please do not hesitate to contact us. In the unlikely event you need a replacement
part; we can make those parts available through an authorized Whittier Wood Furniture dealer. If you cannot order replacement parts
through your dealer, please contact our customer service department.
P.O. Box 2827
Eugene, OR 97402 USA
CUSTOMER SERVICE
Hours: Our friendly customer service staff can be reached:
Monday-Friday 8:00 a.m. to 5:00 p.m. (Pacific Time).
You may leave a message 24 hours a day, seven days a week.
Customer Service: 800-653-3336 • Outside the U.S.: 541-687-0213
Fax: 541-687-2060• Email: info@whittierwood.com
IMPORTANT NOTES:
•
Wood can be susceptible to changing color over time when exposed to
strong sunlight. Use window shades, drapes or blinds to protect your
furniture. To help the surface age evenly and avoid dark and light
spots, periodically move items to expose the entire surface to an even
amount of light so it may develop a uniform patina.
•
For normal household use only. Not recommended for commercial use.
•
Do not remove or modify the counterweight. It is an important part of
the stability and safety system.
•
Do not overload the drawers.
•
Unload items before you move this unit.
•
This assembly requires two people.
Children have died
from furniture tipover.
To reduce the risk of
furniture tipover:
•
ALWAYS install
Anti-tip device
provided.
•
NEVER put a TV on
this product.
•
NEVER allow
children to stand,
climb or hang on
any drawers, doors
or shelves.
•
NEVER open more
than one drawer at a
time.
•
DO NOT defeat or
remove the drawer
interlock system; it
is an important
stability and safety
system.
•
Place heaviest items
in the lowest
drawers.
Drilling, sawing, sanding or machining wood products can expose you to
wood dust, a substance known to the state of California to cause cancer.
Avoid inhaling wood dust or use a dust mask or other safeguards for
personal protection.
For more information go to: www.p65warnings.ca.gov/wood
This product can expose you to chemicals, including formaldehyde,
which are known to the State of California to cause cancer.
For more information go to: www.p65warnings.ca.gov/furniture
DESIGN SUBJECT TO CHANGE WITHOUT NOTICE.
Production Code:
VN
WARNING
DO NOT remove the interlock
system except for
maintenance as shown.
NEVER use the unit without
the interlock installed
following the instructions.
The snapper arm must be
angled forward in the locked
positions to engage the
interlock system after
removing a drawer. See
diagram below.
Close up
view
of locked
snapper
06/23
Advertisement
Table of Contents

Subscribe to Our Youtube Channel
Related Manuals for Whittier Wood Products Catalina 3311SAN


Summary of Contents for Whittier Wood Products Catalina 3311SAN
- Page 1 Model # IMPORTANT NOTES: 3311SAN • Wood can be susceptible to changing color over time when exposed to strong sunlight. Use window shades, drapes or blinds to protect your furniture. To help the surface age evenly and avoid dark and light spots, periodically move items to expose the entire surface to an even amount of light so it may develop a uniform patina.
- Page 2 3311SAN Catalina 5-Drawer Chest Parts List Please identify the parts and check that quantities received match those on this list. If you need to replace a part, refer to the following letter and part name. Part Description Quantity Case Leg Frame Assembly (attached) Base (attached) Small Drawer Box (inserted) Medium Drawer Box (inserted)
- Page 3 3311SAN Catalina 5-Drawer Chest Parts List Part Description Quantity #8 x 7/8" Black Lo-Profile Screw (inserted) #8 x 1-3/4" Pan Head Screw (inserted) #8 x 1-1/4" Machine Screw Tuscan (installed) Washer (inserted) 1/4" Hex Nut (inserted) 1/4" T-Nut (inserted) 1/4" x 25mm Hex Bolt (inserted) 1/4"...
- Page 4 3311SAN Catalina 5-Drawer Chest Assembly Instructions Tools Required: Phillips Screwdriver, Pencil. Tool Provided: Leveler Adjustment Key in the Zip bag taped to the Owner’s Manual and Safety Guide. Place the unit at its final destination. Use the Leveler Adjustment Key (ZH), found in the Zip bag taped to the Owner’s Manual and Safety Guide to rotate the Slotted Levelers (ZG) on the bottoms of the legs until the unit is level.
- Page 5 3311SAN Catalina 5-Drawer Chest Assembly Instructions This piece of furniture includes two drawer interlock systems, one controlling each vertical bank of drawers. This allows only one drawer in each bank to be open at a time. This safety feature reduces the risk of tip over. Do not defeat or remove the drawer interlock systems. When removing drawers from furniture featuring the Anti-Tip Drawer Interlock System it is important that the drawer be installed in its original location.
- Page 6 3311SAN Catalina 5-Drawer Chest Assembly Instructions The drawer interlock system has two major parts; drawer clips attached to the sides of the drawers and anti-tip snapper arms attached to the side panels as shown in Figure 5. If you want to remove more than one of the secured drawers, you have to change the position of the snapper arm to ensure it is unlocked.
- Page 7 3311SAN Catalina 5-Drawer Chest Assembly Instructions Furniture Tipping Restraint Instructions Safety First! Anchor It! Before you begin this assembly, identify each part and make sure the quantities received match what is on this list. If you need to replace a part, contact Whittier Wood Furniture customer service and refer to the following list for its name and letter code.
- Page 8 3311SAN Catalina 5-Drawer Chest Assembly Instructions If you have a stone or tile floor or do not wish to drive screws into the corner of the baseboard and floor see the instruction included inside the tipping restraint kit for an alternate installation.
Need help?
Do you have a question about the Catalina 3311SAN and is the answer not in the manual?
Questions and answers