Advertisement
Quick Links
Advertisement

Related Manuals for SOUNDIMPRESS Purifi PU400-2CH


Summary of Contents for SOUNDIMPRESS Purifi PU400-2CH
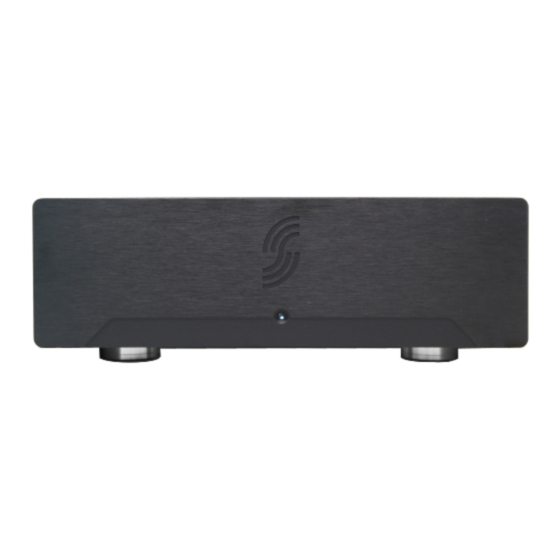
- Page 1 PU400-2CH Assembly Instructions...
-
Page 2: Table Of Contents
TABLE OF CONTENTS Chapter Page Introduction Tools / Parts User Instructions Safety precautions Assembly System information Warranty & Support... -
Page 3: Introduction
INTRODUCTION • SoundImpress DIY Stereo Kit • 2 x 425W • Eigentakt • Powered by • Purifi The Eigentaktimplementation from Purifi is one the best amplifier tech- nologies available. This class D technology meets high standards and gi- ves super performance an any playback level, regardless of load. The... -
Page 4: Tools / Parts
RECOMMENDED TOOLS Recommended tools are not included, unless otherwise indicated... - Page 5 PARTS...
- Page 8 Part number Description Bottom plate Top cover plate Front panel (with LED) Back panel Cable set 1 Neutrik connection Feet Frontplate braces LED module SMPS1200A400 EVAL 1 1 Cable set includes the following cables: SMPS1200A400 EVAL1 1x power cable between &...
-
Page 9: User Instructions
USER INSTRUCTIONS • LED Switch 0 --- LED OFF 1 --- Normal brightness 2 --- Max brightness... - Page 10 • Jumper configuration SMPS1200A400 is by default configured for regulated Vaux. This must be changed to unregulated via jumpers J6 and J7. Position 2-3: Unregulated VAUX If the PSU is configured incorrectly the EVAL1 will not function properly! For the full application note – connecting EVAL1 to SMPS1200A400, follow this link.
-
Page 11: Safety Precautions
SAFETY PRECAUTIONS This unit operates at mains voltage and • Do not overload wall outlets and extension carries dangerous voltages at accessible cords as this can result in a risk of fire or parts. These parts may never be exposed electric shock. -
Page 12: Assembly
ASSEMBLY • IEC socket wiring Connect AC hot Connect AC neutral Connect AC out... - Page 13 • Insert IEC socket into backpanel...
- Page 14 • Place the power supply...
- Page 15 • Attach rear panel...
- Page 16 • Place amp module...
- Page 17 • Screw amp module on rear panel • Place top cover plate...
- Page 18 • Screw top cover plate (rear) • Attach front plates...
- Page 19 • Place front panel...
- Page 21 HAVE FUN LISTENING...
-
Page 22: System Information
SYSTEM INFORMATION 425 watts at 4 ohms Rated power output (RMS) 227 watts at 8 ohms 450 watts at 2 ohms Minimum load 2 ohms Signal-to-noise ratio (SNR) 131 dB Distortion 0.00017 % THD+N at 20-20,000 Hz, 4 ohms, 100 watts Efficiency >... -
Page 23: Warranty & Support
WARRANTY & SUPPORT LIMITED WARRANTY - SoundImports warrants this device for a period of five years after the original date of purchase against defects due to faulty workmanship or materials arising from normal use of the device. The warranty covers working parts that affect the function of the device. It does NOT cover cosmetic deterioration caused by fair wear and tear, or damage caused by accident, misuse or neglect. - Page 24 SoundImports Peizerweg 97a 9727AJ Groningen Netherlands, the Tel: +3185-0711860 Email: info@soundimports.nl VAT identification number: NL861325254B01 Chamber of Commerce number: 78268753...
Need help?
Do you have a question about the Purifi PU400-2CH and is the answer not in the manual?
Questions and answers