Table of Contents
Advertisement
Quick Links
Advertisement
Table of Contents

Related Manuals for LIVINOX LCH-COPPERDC-GM-90


Summary of Contents for LIVINOX LCH-COPPERDC-GM-90
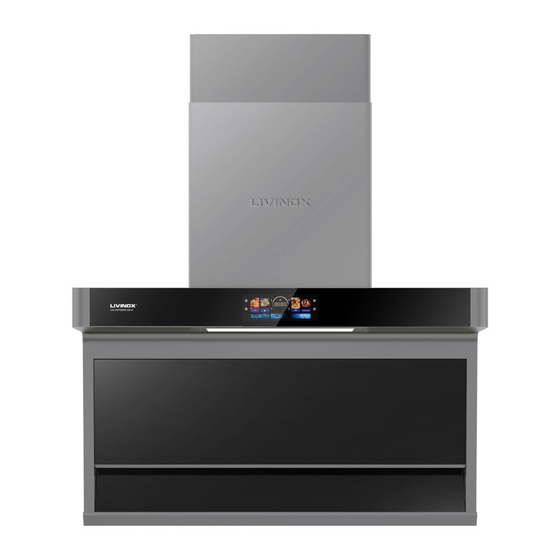
- Page 1 User Manual LCH-COPPERDC-GM-90...
-
Page 2: From The Manufacturer
From the Manufacturer Please read this user manual carefully before attempting to operate the appliance and keep it in a safe place for future reference. This appliance and its packaging are produced by processes that minimize waste and respect the environment. Please help us to continue this effort to protect the environment by using the appliance efficiently and dispose of the packaging in a responsible manner. -
Page 3: Cleaning, Maintenance & Service
Cleaning, Maintenance & Service It is very important to clean and maintain the grease filters regularly (at least once monthly) to improve its efficiency in eliminating heat and contaminated air in the kitchen. Heavy oil deposits is a fire hazard. Hood surface should be cleaned with soft cloth and non-corrosive detergent. -
Page 4: Dimension Diagrams
3. Dimension Diagrams LCH-COPPERDC-GM-90 CLEANING MODE In non-working state, press E for 3 seconds, oil removing function will operate for 10 minutes. The fan will automatically operate at high speed for 1 minute after the 10 minutes cleaning function. - Page 5 Touch control(LCH-COPPERDC-GM-90) Press Turbo,The indicator blinks three times,its indicator light is on and the fan is at booster/highest speed (LED Screen shows “F4”). After running for 3 minutes, it will automatically switch to high speed state. Press again, the motor will stop working, the indicator light will be off, and the range hood will enter non-working state.
-
Page 6: Cleaning And Maintenance
Cleaning & Maintenance ALWAYS SWITCH OFF AND UNPLUG FIRST! SURFACES: Wash with warm soapy water and a soft sponge. Never use abrasive detergent, scouring pads, steel wool or solvents on any part of this appliance as this will cause irreparable damage. ALUMNIUM GREASE FILTERS: Wash in the dishwashers or soak the panels in a degreasing agent for an hour, then rinse off and dry before re- installing. - Page 7 5. Installation Use suitable bolts to mount the appliance on a secure surface. The minimum distance between the supporting surface for the cooking vessels on the hob and the lowest part of the range hood. When the range hood is located above a gas appliance, this distance shall be at least 65 cm.
- Page 8 Slim model Step 1: 1. To install onto the wall drill 2 holes of Ø8mm on a suitable place according with the centre distance of hole in the back of the cooker hood. 2. To insert the nut into the holes. To insert the screws into the nuts and tight.
- Page 9 Notes: The extended pipe is an optional accessory, not included. To take off the protection film before installation. There are 2 methods for ventilation, ' horizontal ventilation' and ' vertical ventilation'. Please pay attention to the ventilation method during installation. Vertical ventilation: See Pic A, please use tool to remove the round cover before installing, the air can be vented from top.
- Page 10 Built-in Mounting Installation Step 1 To ensure the cut-out size is correct before installing the range hood. To install the back draft base to the range hood. Step 2 To secure the undermount into cavity using screws. All screws are to be installed from the bottom of the range hood into the cabinet.
-
Page 11: Important Notes
Activated carbon filter can be used to trap odors. In order to install the activated carbon filter, the grease filter should be detached first. Press the lock and pull it downward. Plug the activated carbon filter into the unit and turn it in clockwise direction. Repeat the same on the other side. -
Page 12: For The Installer
FOR THE INSTALLER 6. Safety Information 1. Electrical connection must be in accordance with the local standards and laws. 2. To ensure that the electrical supply in compliance with the appliance setting, otherwise, do not connect. 3. To ensure the power supply cord is free from any heat source or sharp objects. 4. - Page 13 Problems Possible Cause Action Check that the main switch is turned Not function No power supply Check that the plug is connected Aluminum grease filters clogged Clean the filters and replace when dry Poor airflow Charcoal grease filters clogged Replace charcoal filters with new sets Motor running but no Butterfly valve jammed Contact technician...
Need help?
Do you have a question about the LCH-COPPERDC-GM-90 and is the answer not in the manual?
Questions and answers