Table of Contents
Advertisement
Quick Links
Advertisement
Table of Contents

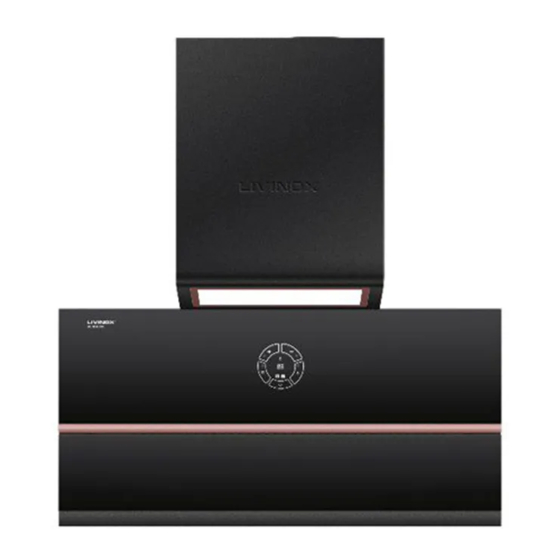
Summary of Contents for LIVINOX LCH-ROSE-90BL
- Page 1 User Manual LCH-ROSE-90BL...
-
Page 2: From The Manufacturer
From the Manufacturer Please read this user manual carefully before attempting to operate the appliance and keep it in a safe place for future reference. This appliance and its packaging are produced by processes that minimize waste and respect the environment. Please help us to continue this effort to protect the environment by using the appliance efficiently and dispose of the packaging in a responsible manner. -
Page 3: Dimension Diagrams
Cleaning, Maintenance & Service It is very important to clean and maintain the grease filters regularly (at least once monthly) to improve its efficiency in eliminating heat and contaminated air in the kitchen. Heavy oil deposits is a fire hazard. Hood surface should be cleaned with soft cloth and non-corrosive detergent. -
Page 4: Cleaning And Maintenance
3. Instructions for use (LED screen shows”F1”). Press it again, delay shutdown Press A : Power turn on and default on low speed function for 1 minute, there will be alarm warning (3 seconds before closing),Press A again to turn off power. Press B : Light will turn on. - Page 5 4. Installation Use suitable bolts to mount the appliance on a secure surface. The minimum distance between the supporting surface for the cooking vessels on the hob and the lowest part of the range hood. When the range hood is located above a gas appliance, this distance should between 300-350mm.
- Page 6 Use a phillips screwdriver to loosen the two pieces of screws on the left and right side and remove chimneys as per below fig.: Install duct cover: Please remove the sponge tape and adhere it under the bottom of the duct cover. Remove the four screws (M4*16mm) from motor outlet, Fix the duct cover onto fan assembly as per below fig.
- Page 7 5) Fix the Fan Assembly & Chamber Assembly by using the 10 pcs M4x8mm screws to tighten it as per below fig. 6) LED light plug must pull out from the hole to enable the connection to LED lamp.
- Page 8 7) Install the Exhaust Duct: Fix the Exhaust Duct and duct cover tightly with 2 pcs ST2.9*12mm screws. Then fix 2pcs M4*10MM screws to each side of the body. Remarks: Do not screw too tight, keep about 5mm gap between the body and M4*10mm screw head as per below fig 8) Install The Hook :Measure a standard hanging height and pre-drill 3 holes by horizontal position on the wall, and drive the plastic expansion bolt into the holes.
- Page 9 9) Install the fan assembly into the chamber assembly and align the second holes with 2pcs M4 screws. Connect LED light plug into fan assembly 10) 1 chimney and ducting cover bracket connection : Use a philips screw driver to fix the ducting cover bracket into the extra chimney with 2 PCS Screws M4*8 mm as below fig.:...
- Page 10 11) Install the cooker hood:Hang the complete set onto the hook firmly. 12) 2nd Chimney installation:Measure a suitable height for 2 Chimney and pre-drill with 2 screws holes by horizontal position on wall. Insert the plastic expansion bolt into the holes and tighten the ducting bracket by 2 pcs ST3.8*25mm screws.
-
Page 11: For The Installer
FOR THE INSTALLER 5. Safety Information 1. Electrical connection must be in accordance with the local standards and laws. 2. To ensure that the electrical supply in compliance with the appliance setting, otherwise, do not connect. 3. To ensure the power supply cord is free from any heat source or sharp objects. 4. -
Page 12: Troubleshooting
6. Trouble shooting Problems Possible Cause Action Check that the main switch is turned Not function No power supply Check that the plug is connected Clean the filters and replace when Aluminum grease filter clogged Poor airflow Replace charcoal filters with new Charcoal grease filters clogged sets Motor running but no...


Need help?
Do you have a question about the LCH-ROSE-90BL and is the answer not in the manual?
Questions and answers