Advertisement
Quick Links
Advertisement

Subscribe to Our Youtube Channel
Related Manuals for Delta ZS1000-A-V2


Summary of Contents for Delta ZS1000-A-V2
- Page 1 ZS1000-A-V2 OTDR User’s Manual...
- Page 3 ■WARNING Any undefined change or modification of this manual will deprive you of the right to operate the equipment. To reduce the risk of fire or electric shock, do not expose the equipment to rain or humidity. To prevent electric shock, please do not open the shell, and it must be rep-aired by qualified personnel.
- Page 4 Avoiding condensation: Sudden changes in temperature should be avoided. Do not use the device immediately after moving the device from the cold area to the hot area, or when the room suddenly heats up, because the device may have conden-sation phenomenon. If the temperature changes abruptly, stop using it and take out the battery, and the power can be switched on after at least an hour.
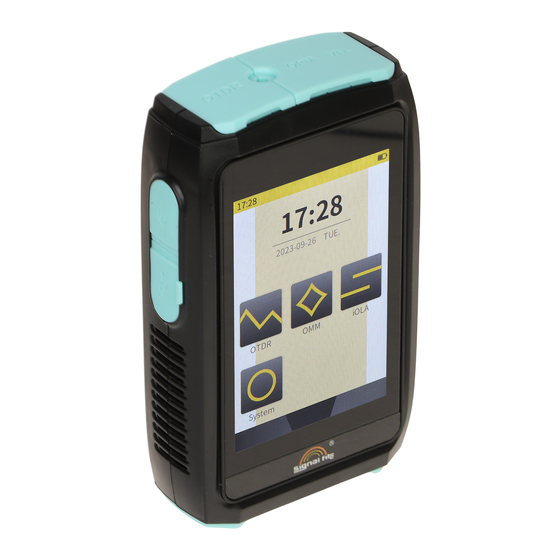
- Page 5 ——————Main Menu————— After booting, the device will enter main menu. · Title bar icon will light up when the corresponding function is turned on. Click the function module to enter the corresponding function interface.
- Page 6 On the main interface of any function module, slide up from the bottom to return to the main menu ——————OTDR————— OTDR measurement interface. Click the " " in the upper right corner to display the hidden icon, click " ", and the options for resetting the cursor and showing/hiding the cursor will appear;...
- Page 7 ——————OTDR--Measurement settings————— Click " " in the OTDR interface to enter the parameter setting interface.Click " " under OTDR/measurement interface to start testing based on current testing parameters. Click " " again to interrupt measurement during measurement.If the real-time analysis function is enabled during...
- Page 8 real-time measurement, an average measurement will be made before stopping. ——————OTDR--Advanced settings————— Click " " in the OTDR interface to enter the advanced setting inte-rface.Slide left/right to check advanced settings options. When " " appears at the bottom of the screen, swipe up from the bottom of the screen to back to the previous interface.
- Page 9 ——————OTDR--Waveform Analysis————— After the measurement or opening a saved waveform, it will display current selected testing overview and events list. Use following function icons to control the waveform zone. Click " " to control the cursor reset, displayed or hidden.
- Page 10 Click " " / " " to zoom in/out the waveform. Users can also zoom in/out the waveform by fingers, and double-click the waveform area to reset. ——————OTDR--File Manager————— Click " " to enter the file management interface. If the Auto save function is turned on, the file name is automatically gene-rated when saving.
- Page 11 deleted.When sor. file selected, it will show waveform thumbnail in the bottom window.Click " " again to check more details of sor. file. ——————iOLA--Interface(OPTIONAL)————— 1 —— Events and the distance between events 2 —— Location of events 3 —— Event list 4 ——...
- Page 12 5 —— Measurement status 6 —— Pass/Fail ——————iOLA--link settings(OPTIONAL)————— In the iOLA interface, click " " to enter the link settings interface.Swipe the screen to the left to enter more settings interface.
- Page 13 ——————iOLA--Event list/file(OPTIONAL)————— Click " " on the iOLA interface, event list interface or measurement setting interface to start the measurement according to the current measure-ment conditions. Click " " to save.
- Page 14 When there is no measurement currently, click the " " button to enter the file manager interface. The iOLA is shared with the file manager interface of the OTDR. When a file is selected, the selected file can be renamed, opened or del-eted.
- Page 15 ——————OMM--OPM—————...
- Page 16 Click " " to enter the OPM setting interface: · Auto wavelength: select the power meter wavelength identification func-tion on/off; · Auto frequence: select the power meter frequency identification function on/off; · Offset setting: If "ON", user can calibrate each wavelength power value as required.
- Page 17 Click " " to change the working status of VFL: On->Glint->Off. User also can control VFL by press VFL button on the right side. ——————OMM--OLS—————...
- Page 18 Connecting the optical fiber to the OLS connector, then perform relevant operations according to the graphical interface. · Change modulation: continuous signal, 270Hz, 1kHz, 2kHz, 1kHz+ Blink, 2kHz+ Blink. · Same wavelength as OTDR. ——————System—————...
- Page 19 Click " "in the main menu to enter the general seeting interface: · Energy saving: when there is no operation, the backlight brightness will be reduced after a specified time (30s-10min). · Auto shut: used to set the time (10min-120min) for automatic shutdown and cancel automatic shutdown.
- Page 20 ——————System—————...
- Page 21 Swipe down from the top of the screen in any interface, and the navigation bar appears: Connect to U-disk, then click to light up the icon, user can read files in the U-disk. Connect to PC, then light up the icon, user can check and transfer the files to PC, meanwhile charging the device.
Need help?
Do you have a question about the ZS1000-A-V2 and is the answer not in the manual?
Questions and answers