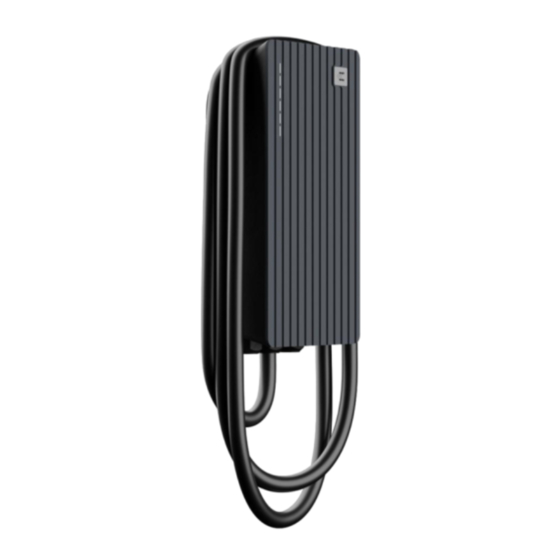
Teltonika TeltoCharge Manual
Hide thumbs
Also See for TeltoCharge:
- Installation manual (79 pages) ,
- Quick user manual (17 pages) ,
- Installation manual (19 pages)
Table of Contents
Advertisement
Quick Links
https://wiki.teltonika-energy.com/view/7.4_kW_TeltoCharge_front-plate_(socket_version)_Functionali
ties
7.4 kW TeltoCharge front-plate (socket
version) Functionalities
Contents
1 Cable lock
2 Authorization
3 NFC
4 Schedule
5 Randomized delay
6 Errors and warnings
7 Live data
8 Connectivity
8.1 WiFi
8.2 Mobile
8.3 OCPP
8.4 Ethernet
8.5 Date & Time
9 Device info
9.1 Diagnostics
10 Installer menu
10.1 Max power from grid
10.2 Supply voltage
10.3 Upper voltage tolerance
10.4 Lower voltage tolerance
10.5 Three phase charging
10.6 Phase priority
10.7 Dynamic load balancing
10.8 Energy meter type selection
10.9 Use data from energy meter
10.10 Use preferred phase
10.11 Connection type
10.12 Use neutral as phase
10.13 Allow simplified charging sequence
10.14 Charging location is ventilated
10.15 Temperature warning
10.16 Factory default settings
10.17 Reboot device
Advertisement
Table of Contents

Related Manuals for Teltonika TeltoCharge


Summary of Contents for Teltonika TeltoCharge
- Page 1 7.4 kW TeltoCharge front-plate (socket version) Functionalities Contents 1 Cable lock 2 Authorization 3 NFC 4 Schedule 5 Randomized delay 6 Errors and warnings 7 Live data 8 Connectivity 8.1 WiFi 8.2 Mobile 8.3 OCPP 8.4 Ethernet 8.5 Date & Time 9 Device info 9.1 Diagnostics...
-
Page 2: Cable Lock
Settings can only be found in socket variant products Authorization There is possibility to turn ON/OFF authorization for TeltoCharge. When authorization is ON, user have to authorize every time he wants to start charging process. Authorization can be done in two different ways: By swiping the Slider in main menu;... -
Page 3: Errors And Warnings
Optional. About possible purchase ask your sales manager To connect TeltoCharge to cellular data first of all nano SIM card have to be inserted to the SIM card port. After that just enable Mobile Internet in the Connectivity tab with the slider. -
Page 4: Date And Time
Dialing number OCPP Open Charge Point Protocol 1.6 is used to connect TeltoCharge to 3rd party Cloud servers. At the moment charger is able to achieve "Core" and "Local auth list management" functions. Before connecting TeltoCharge to any 3rd party Charge point management server, firstly check if server is compatible with OCPP 1.6 JSON. -
Page 5: Installer Menu
Installer menu This is the menu for installer to reach configuration settings. After every installation installer must open this menu and set required parameters. To open installer menu, it is needed to insert Installer code. You can find this code on the sticker, which is placed on the middle plate (under the front plate). - Page 6 By default this setting is set to 10 % Three phase charging With this slider installer have an ability to turn off 3-phase charging (only if 3 phases are connected to the product). By default this setting is turned OFF Not available in North America products Phase priority There is a possibility to select which phase should be prioritized for charging, if 3 phases are...
-
Page 7: Connection Type
There are electrical vehicles which do not use B state to start charging process and charging states goes directly from A to C. For that it requires simplified charging sequence enabled. If this option is turned OFF, TeltoCharge will not start charging with this type of EV connected. By default this setting is turned OFF... -
Page 8: Reboot Device
After this reset yellow LEDs starts blinking which means that charger requires to set-up Installer menu again. Reboot device There is a possibility to reboot charger through the Teltonika Energy app.
Need help?
Do you have a question about the TeltoCharge and is the answer not in the manual?
Questions and answers