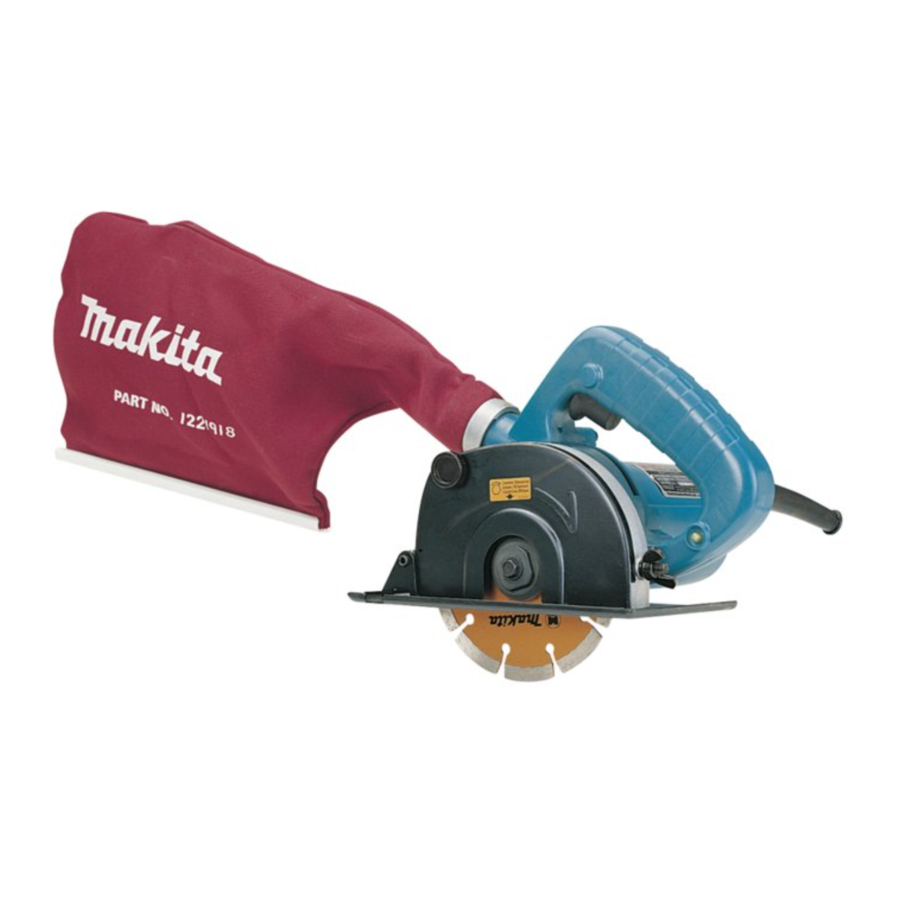
Makita 4105KB - Dustless Cutter Manual
- Instruction manual (33 pages) ,
- Instruction manual (12 pages) ,
- Instruction manual (21 pages)
Advertisement

SPECIFICATIONS
Model 4105KB
Blade diameter 125 mm
Max. cutting capacity 40 mm
No load speed (RPM) 7,500
Overall length 230 mm
Net weight 3.2 kg
- Due to the continuing program of research and development, the specifications herein are subject to change without prior notice.
- Note: Specifications may differ from country to country.
Power supply
The machine should be connected only to a power supply of the same voltage as indicated on the nameplate, and can only be operated on single-phase AC supply. They are double-insulated in accordance with European Standard and can, therefore, also be used from sockets without earth wire.
Safety hints
For your own safety, please refer to enclosed safety instructions.
These symbols mean:
 Read instruction manual.
 DOUBLE INSULATION
ADDITIONAL SAFETY RULES
- Check the wheel carefully for cracks or damage before operation. Replace cracked or damaged wheel immediately.
- Use only flanges specified for this machine.
- Be careful not to damage the spindle, flanges(especially the installing surface) or bolt. Damage to these parts could result in wheel breakage.
- Hold the machine firmly.
- Keep hands away from rotating parts.
- Make sure the wheel is not contacting the workpiece before the switch is turned on.
- Wait until the wheel attains full speed before cutting.
- Stop operation immediately if you notice anything abnormal.
- Do not attempt to lock the trigger in the ''ON''position.
- Never attempt to cut with the machine held upside down in a vise. This can lead to serious accidents, because it is extremely dangerous.
![]()
- Before setting the machine down after completing a cut, be sure that the wheel has come to a complete stop.
SAVE THESE INSTRUCTIONS.
OPERATING INSTRUCTIONS
Removing or installing diamond wheel


- Blade cover
- Wrench
- Diamond wheel
- Outer flange
- Socket wrench
- Tighten
- Loosen
- Inner flange
- Hex bolt
Always be sure that the machine is switched off and unplugged before removing or installing the wheel. Remove the blade cover.
Hold the outer flange with the wrench and loosen the hex bolt clockwise with the socket wrench. Then remove the hex bolt, outer flange and wheel. To install the wheel, follow the removal procedure in reverse.
BE SURE TO TIGHTEN THE HEX BOLT SECURELY.

Use only the Makita wrench and socket wrench to install or remove the wheel.
Adjusting depth of cut

- Wing nut
- Base
Loosen the wing nut on the depth guide and move the base up or down. At the desired depth of cut, secure the base by tightening the wing nut.

After adjusting the depth of cut, always tighten the wing nut securely.
Dust bag

- Dust spout
The use of the dust bag makes cutting operations clean and dust collection easy. To attach the dust bag, fit it onto the dust spout. When the dust bag is about one-third full, remove the dust bag from the machine and pull the fastener out. Empty the dust bag of its contents, tapping it lightly so as to remove particles adhering to the insides which might hamper collection.
Sighting

Align the notch in the front of the base with your cutting line on the workpiece.
Switch action

- Switch trigger

Before plugging in the machine, always check to see that the switch trigger actuates properly and returns to the ''OFF'' position when released.
To start the machine, simply pull the trigger. Release the trigger to stop.
Overload protector

- Restart button
The overload protector automatically cuts out to break the circuit and the button pops out, whenever heavy work is prolonged. Wait 20 – 30 seconds before pressing the restart button to resume operation. Your finger should not be on the trigger when you press the restart button, however.
Operation

Hold the machine firmly. Set the base plate on the workpiece to be cut without the wheel making any contact. Then turn the machine on and wait until the wheel attains full speed. Now simply move the machine forward over the workpiece surface, keeping it flat and advancing smoothly until the cutting is completed. Keep your cutting line straight and your speed of advance uniform.

Be sure to move the machine forward in a straight line and gently. Forcing and exerting excessive pressure or allowing the wheel to bend, pinch or twist in the cut can cause overheating of the motor and dangerous kickback of the machine.
MAINTENANCE

Always be sure that the machine is switched off and unplugged before carrying out any work on the machine.
Replacement of carbon brushes

- Limit mark
- Brush holder cap
- Screwdriver
Replace carbon brushes when they are worn down to the limit mark. Both identical carbon brushes should be replaced at the same time.
After use
After use, remove dust from the inside of the machine by running the machine at an idle for a while. Accumulation of dust in the motor may cause a malfunction of the machine.
To maintain product safety and reliability, repairs, maintenance or adjustment should be carried out by Makita Authorized Service Center.
Makita Corporation
Anjo, Aichi, Japan
Made in Japan

Documents / ResourcesDownload manual
Here you can download full pdf version of manual, it may contain additional safety instructions, warranty information, FCC rules, etc.
Advertisement


Need help?
Do you have a question about the 4105KB and is the answer not in the manual?
Questions and answers