Advertisement
ASSEMBLY INSTRUCTION
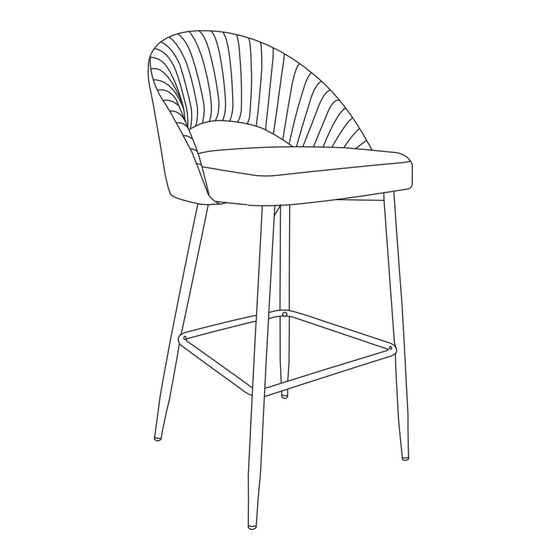
BAR STOOL
Please carefully unpack and identify each component before beginning assembly.
Before you begin, please refer to parts list to make sure that you have all parts. Please
take care when assembling the unit and always place the parts on a clean, soft surface.
If you require assistance with assembly or parts, please call 888-357-7263.
Get social with us and discover more about our products, tips and exclusive discounts!
Advertisement
Table of Contents

Related Manuals for GLITZHOME 1005004488


Summary of Contents for GLITZHOME 1005004488
- Page 1 ASSEMBLY INSTRUCTION BAR STOOL Please carefully unpack and identify each component before beginning assembly. Before you begin, please refer to parts list to make sure that you have all parts. Please take care when assembling the unit and always place the parts on a clean, soft surface. If you require assistance with assembly or parts, please call 888-357-7263.
- Page 3 PRE-ASSEMBLY PREPARATION • CAUTION: Assembly will require at least 2 adults. DO NOT use power tools. Please inspect all items BEFORE assembly. If for any reason you need to return this item,please kindly return it in its original packaging. • WARNING! 1.
- Page 4 STEP-BY-STEP ASSEMBLY PLEASE CAREFULLY UNPACK AND IDENTIFY EACH COMPONENT BEFORE BEGINNING ASSEMBLY. BEFORE YOU BEGIN, PLEASE REFER TO PARTS LIST TO MAKE SURE THAT YOU HAVE ALL PARTS. Assembly Instruction...
- Page 5 STEP 1 Insert the Front Legs (D) and Back Legs (E) to the Top Criss-Cross support (B) and Bottom Criss-Cross support (C) as shown in below diagram, please kindly pay attention to distinguish the front legs and back legs. STEP 2 Please fix the Legs to Criss-Cross Supports as shown in below diagram by using Allen Bolt (G) and Allen Wrench (K), Please tighten the bolts to 90%.
- Page 6 STEP 3 Attach the Bottom Criss-Cross support (C) to the Top Criss-Cross support (B) as shown in below diagram by using Allen Washer (J), Allen Bolt (H) and Allen Wrench (K), Please tighten the bolts to 90%. STEP 4 Attach the Legs (D&E) to the Seat (A) as shown in below diagram by using Allen Washer (J), Allen Bolt (I) and Allen Wrench (K), Please tighten the bolts to 90%.
- Page 7 STEP 5 Attach the Footrest (F) to the Legs (D&E) as shown in below diagram by using Allen Bolt (H) and Allen Wrench (K), Please tighten the bolts to 90%. STEP 6 In this step please make sure the chair legs are flat and all bolts are installed, then please tighten all bolts to 100%.
Need help?
Do you have a question about the 1005004488 and is the answer not in the manual?
Questions and answers