Table of Contents
Advertisement
Quick Links
Advertisement
Table of Contents

Related Manuals for Nanoleaf Skylight


Summary of Contents for Nanoleaf Skylight
- Page 1 Nanoleaf Skylight Smart Modular Ceiling Light Quick Start Guide...
-
Page 2: Still Need Help
• Consultation with a professional electrician is recommended for the installation of this product. Professional • Keep parts away from children. Electrician Ø6mm Still Need Help? Visit go.nanoleaf.me/myskylight for more detailed instructions. Tools Nanoleaf Skylight | Page 1... -
Page 3: What's In The Box
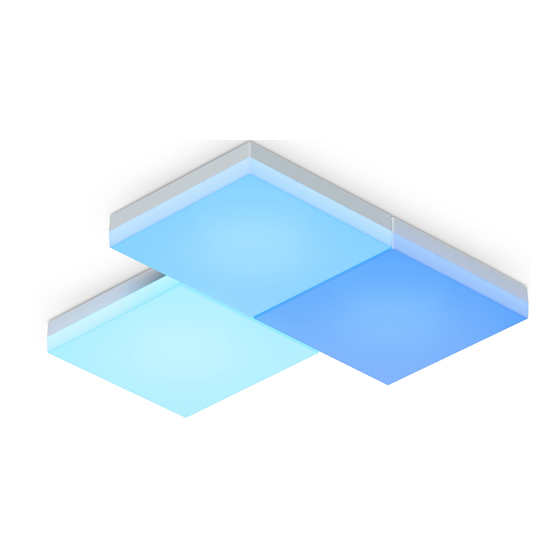
What’s in the Box Ensure you have all the required parts before starting. If items are missing or damaged, please reach out to our Customer Care Team at go.nanoleaf.me/support. Smarter Kit Main Controller Panel Expansion Panel Wing Nut (Attached) Ceiling Plate Screw... - Page 4 Turn the circuit power and the light switch o before you start. To open the Main Controller Panel (A) Pull the clear tape on the panel. Insert a flat head screwdriver into one of the small notches along the seam. Slightly twist the screwdriver. Nanoleaf Skylight | Page 3...
- Page 5 Step 1: Mount the Main Controller Panel (cont.) Remove the L Shape Cover to reveal the terminal block for wiring. Nanoleaf Skylight | Page 4...
- Page 6 Step 1: Mount the Main Controller Panel (cont.) Remove the Ceiling Plate by unscrewing the Wing Nuts (C). Nanoleaf Skylight | Page 5...
- Page 7 Fasten the Ceiling Plate so that it is parallel to Binding Posts (H). Black = Live your desired panel alignment. White = Neutral Make sure the wires are secure and connected to the corresponding wires. Nanoleaf Skylight | Page 6...
- Page 8 Use the electric drill (Ø6mm) to break through the four knockout holes. Positioning the Main Controller Panel (A) at the desired ceiling location and hold it against the ceiling. Take a pencil and mark each screw hole on the ceiling. Nanoleaf Skylight | Page 7...
- Page 9 Now align and mount the Main Controller Panel (A) back to the Ceiling Plate. Make sure the wires have passed through the Ceiling Plate and that the Main Controller Panel (A) sits secure and flat on the plate. Secure the Ceiling Plate with the Wing Nuts (C). Nanoleaf Skylight | Page 8...
- Page 10 Drill a hole of 6mm (OD) then drive the Mounting Screw (E) into the Plaster Anchor (G). *Di erent mounting hardware will be required for installation on structural wood, concrete, and porous masonry surfaces. The correct items are widely available at hardware and home improvement stores. Nanoleaf Skylight | Page 9...
-
Page 11: Step 2: Connect Electrical Wiring
Insert the ceiling wires into any of the slots on the terminal block. Use your finger or a screwdriver to push the clamps when inserting. Make sure the wires are secured in place such that it cannot be pulled out. Black = Live (L) White = Neutral (N) Remove any terminal block knockout holes as needed. Nanoleaf Skylight | Page 10... - Page 12 Drywall Anchors (F) Screw in the four Drywall Anchors (F) to the four spots you previously marked, OR Plaster Anchors (G) Drill a hole of 6mm (OD) then drive the Mounting Screw into the Plaster Anchor. Nanoleaf Skylight | Page 11...
-
Page 13: Step 4: Connect The Wires
Attach the Power Wires (K) to the socket closest to the next expansion panel. Follow the embossed line and wire through the opening to the next panel where the Communication Linker is attached. Repeat this step for additional panels you add. Nanoleaf Skylight | Page 12... -
Page 14: Step 5: Power On
Step 5: Power On Your new Skylight panels will now power on at Turn the circuit power back on and turn the light low brightness. Once the boot-up process is switch on to power the panels. complete, the panels will gradually shift to full brightness to indicate that the system is ready for pairing. - Page 15 QR code on the Quick Start Guide. Follow the in-app instructions to complete pairing* Once Skylight is paired to the app, you can now snap all the covers back on the panels. The clips should snap securely on all sides.
- Page 16 The light source of this luminaire is not replaceable. When the light source reaches its end of life, the whole luminaire shall be replaced. Nanoleaf® light panels are primarily intended for decorative use, with RGBW output function that can dim.
- Page 17 Les articles d'aide et le support client sont toujours disponibles sur https://nanoleaf.me/support.Les produits Nanoleaf® ne sont ni conçus, ni certifiés, ni destinés à être utilisés: dans des endroits fermés qui limitent le flux d'air et/ou piègent la chaleur qui contribue à...
- Page 18 Esta garantía limitada solo se aplica a los componentes de hardware contenidos en el embalaje original. Esta garantía limitada no se aplica a ningún software, incluso si se incluye o se vende junto con los componentes de hardware. Nanoleaf no garantiza que el uso de este dispositivo sea ininterrumpido o libre de errores.
Need help?
Do you have a question about the Skylight and is the answer not in the manual?
Questions and answers