Table of Contents
Advertisement
Quick Links
Advertisement
Table of Contents

Related Manuals for Diamond E17/4PF8-N


Summary of Contents for Diamond E17/4PF8-N
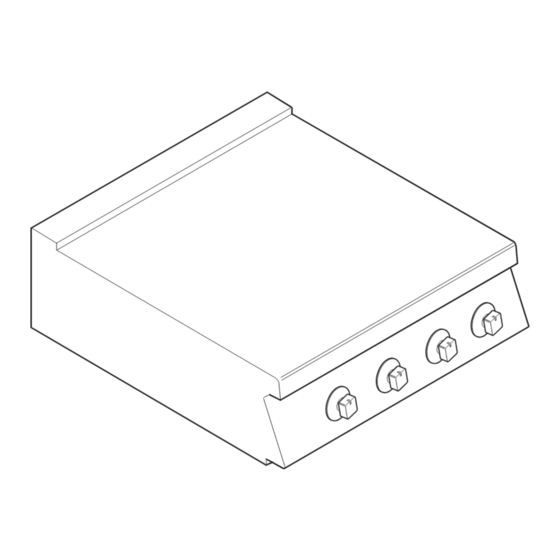
- Page 1 11/2011 Mod: E17/4PF8-N Production code: 373016...
-
Page 2: Table Of Contents
INDEX COMBINING APPLIANCES / TABLES ............................. 2 II. DATAPLATE and TECHNICAL DATA ............................. 17 III. GENERAL INFORMATION ..............................18 IV. THE ENVIRONMENT ................................19 1. PACKING ....................................19 2. USE ....................................19 3. CLEANING ....................................19 4. DISPOSAL ....................................19 V. -
Page 3: Dataplate And Technical Data
II. DATAPLATE and TECHNICAL DATA IMPORTANT This manual contains information relevant to various appliances. See the appliance dataplate located under the control panel in order to identify the appliance (see fig. above). TABLE A - Gas/electrical appliance technical data +7GCGD2C00 +7GCGH4C00 +7GCGL6C00 +7GCGH4CG0... -
Page 4: General Information
III. GENERAL INSTRUCTIONS • Carefully read the instruction handbook before using the appliance. • After installation keep the instruction handbook for future consultation. • FIRE HAZARD - Keep the area around the appliance clear and free from combustible materials. Do not keep flammable materials in the vicinity of the appliance. -
Page 5: The Environment
1. REFERENCE STANDARDS IV. THE ENVIRONMENT • Install the appliance in accordance with the safety regulations and local laws of the country where used. • AUSTRALIA: this appliance shall be installed only by 1. PACKING authorised persons and in accordance with the Packing materials are environment friendly and can manufacturer’s installation instructions, local gas fitting be stored without risk, or burned in a special waste... -
Page 6: Fume Exhaust And Ventilation
3.1. COMBINING APPLIANCES Note! The system must ensure that: a) the fume exhaust is not obstructed; b) the length of the exhaust pipe does not • (Fig.1A) Remove the control panels of the appliances by exceed 3 m. Use the adapter for connecting fume ducts of undoing the 4 fixing screws. -
Page 7: Connections
5.1.4 GAS PRESSURE REGULATOR 5.1.6.1 REPLACING THE MAIN BURNER NOZZLE If the gas pressure is higher than that specified or is difficult (cooktop) to regulate (not stable), install a gas pressure regulator • Unscrew nozzle “C” and replace it with the corresponding (accessory code 927225) in an easily accessed position nozzle for the selected gas (Table. -
Page 8: Safety Thermostat
5.3. EQUIPOTENTIAL NODE AND EARTH 5.1.6.6 REPLACING THE ADJUSTMENT SPRING OF CONNECTION THE PRESSURE REGULATOR Connect the appliance to an earth; it must be included in an • Replace the spring of the pressure regulator with one equipotential node by means of the screw located at the front right under the frame. -
Page 9: Handrail
8.1.3 ELECTROLUX HANDRAIL 8. HANDRAIL • Fix supports “A” to the edge of the top at the holes Marine appliances are equipped with a front handrail that prepared, with screw “B”, plate “C” and respective nuts and can be fitted by drilling the shelf according to the following washer, as shown in the figure. -
Page 10: Instructions For The User
1.2. ELECTRIC MODELS IV. INSTRUCTIONS FOR THE • Equipped with rapid heating electric hot-plates each of 2.6 kW power. USER • To ensure long life of the hot-plates, observe the following: use flat-bottomed pots; do not leave the hot-plates switched on without pots 1. -
Page 11: Oven Use
2. OVEN USE 2.2. ELECTRIC MODELS The heating elements are controlled by a 4-position selector knob “D”, whereas the oven temperature is controlled by a 2.1. GAS MODELS thermostat “E”. The thermostatic valve control knob has the following Use the selector knob to choose the most suitable type positions: of heating, using the appropriate heating elements: Off position... -
Page 12: Cleaning
2. OTHER SURFACES V. CLEANING CAST IRON ELECTRIC HOT-PLATES Clean the hot-plates with a damp cloth, then switch them on CAUTION! for a few minutes to dry rapidly; lastly, lubricate them with a light film of cooking oil. DO NOT pour cold liquids on the hot- Before carrying out any cleaning operation, disconnect the appliance from the power supply. -
Page 13: Maintenance
INSTRUCTIONS FOR REPLACING COMPONENTS (to be VI. MAINTENANCE carried out only by an authorised installer). Remove the front panel to access: 1. MAINTENENCE GAS COCK All the components requiring maintenance are accessible • Unscrew the pilot and thermocouple pipe, unscrew the from the front of the appliance, after removing the control gas inlet and outlet connections.
Need help?
Do you have a question about the E17/4PF8-N and is the answer not in the manual?
Questions and answers