Advertisement
BEFORE THE CONNECTION
For professional installation of a sound system, appropriate wiring kits are available in car audio retail stores. Attend the sufficient profile section (at least 25 mm2), the suitable fuse rating and the conductivity of the cables when you purchase your wiring kit. Clean and remove ruststreaked and oxidized areas on the contact points of the battery and the ground connection. Make sure that all screws are screwed on tight after the installation because loose connections may cause malfunctions, insufficient power supply and interferences.
INSTALLATION INSTRUCTIONS
ELECTRICAL INTERCONNECTION

- GND
Connect this GROUND terminal with a suitable contact ground point on the vehicle's chassis. The ground wire must be as short as possible and must be connected to a blank metallic point at the vehicle's chassis. Ensure that this ground point has a stable and safe electric connection to the negative "-"pole of the battery. Check this ground wire from the battery to the ground point if possible and enforce it, if required. Use a ground wire with a sufficient cross section and the same size like the plus (+12V) power supply wire. - REM
Connect the turn-on signal (e.g. automatic antenna) or the turn-on remote signal of your headunit with the REM-terminal of the amplifier. Use a suitable cable with a sufficient cross section (0.5 mm2). Thereby the amplifier will turn on or off automatically with your headunit. - BATT+12V
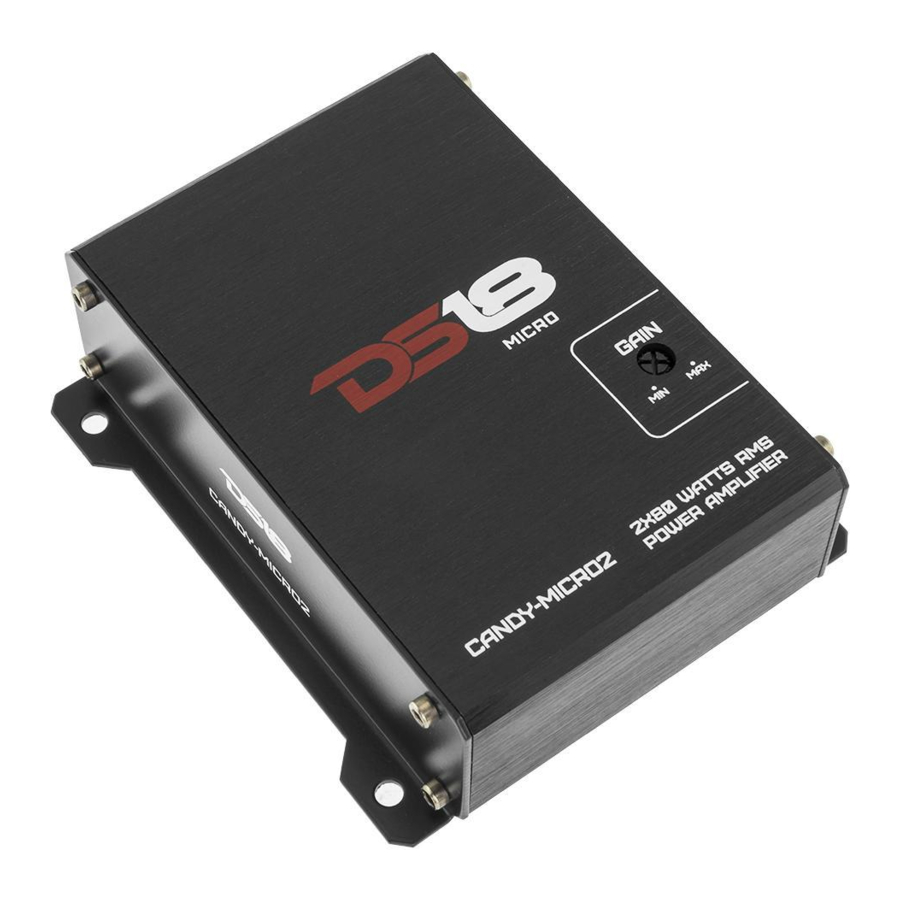
Connect the BATT +12V-terminal with the +12V pole of the vehicle's battery. Use a suitable cable with a sufficient cross section and install a additional in-line fuse. For safety reasons the distance between the fuseblock and the battery must be shorter than 30 cm. Do not install the fuse into the fuseblock until the installation is completed. - The GAIN (LEVEL INPUT) controller adjusts the input sensitivity of the amplifier to align the audio signal from the head unit. The input sensitivity is adjustable from 0.28 to 6.1 Volts.
FUNCTIONS AND OPERATIONAL CONTROLS

- POWER: If the POWER LED lights up, the amplifier is ready for operation.
- The STEREO and MONO BRIDGED switch selects the 2 required operation mode of the amplifier on the STEREO or MONO BRIDGED.
- AUX INPUT: comes with an auxiliary stereo signal input to 3 connect an external source, mp3 player, audio sources. Input sensitivity is adjustable from 0.28 to 6.1 V RMS.
- INPUT LEVEL: The INPUT LEVEL switch selects the required 4 operation mode of the amplifier on the AUX or HIGH.
- CONNECTION: The High Input is suitable to connect the 5 amplifier inputs with speaker wires, if your headunit is not equipped with pre amplifier RCA outputs. Never use the High Level Input and the RCA inputs at the same time.
CORRECTOR WIRING DIAGRAM

AUX INPUT

Auxiliary analog stereo signal.
Sensitivity is adjustable from 0.28 to 6.1 V RMS.

INTERCONNECTION EXAMPLE

INTERCONNECTION
- Connect the left or right speakers with the speaker outputs by using appropriate wires.
- Ensure by any means, that the total impedance load of all speakers is not lower than 2 ohms. Too low impedance causes high temperature and will shut down the amplifier operation.
- Always ensure the correct polarity of the speakers. The interchange of plus and minus can cause a total loss of bass playback and could damage the speakers.
TECHNICAL DATA
CANDY-micro 2
| CANDY-MICRO2 | |
| Channels | 2CH |
| Watts on 4 Ohms | 2 x 65W |
| Watts on 2 Ohms | 2 x 80W |
| Watts on 4 Ohms mono bridged | 1 x 160W |
| Frequency Range-3dB | 19Hz~39kHz |
| Signal To Noise Ratio | >80dB |
| THD&Noise | <0.1% |
| Input Sensitivity | 0.28V - 6. 1V |
| Speaker Impedance | 2-16 Ohm |
| Fuse Size | External Recommended 20A |
| Dimensions (LxHxW) mm | 84 x 39 x 124 3.5 x 1.5 x 4.9 Inches |
#WELIKEITLOUD


Documents / Resources
References
Download manual
Here you can download full pdf version of manual, it may contain additional safety instructions, warranty information, FCC rules, etc.
Download DS18 CANDY-MICRO2 - Power Amplifier will Satisfy any Demands Regarding Sound Manual
Advertisement


Need help?
Do you have a question about the CANDY-MICRO2 and is the answer not in the manual?
Questions and answers