Advertisement
Quick Links
C
ontents of Package
P
lease make sure that following items are in luded in the box, along with the main. If any items missing, contact your deale .
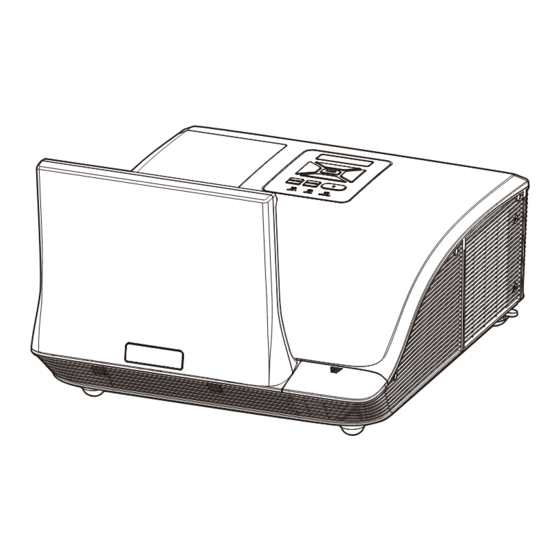
P
rojector
VGA
Q
O
uick Start Guide
wner's Manual
IR
IR
Camera Module
Camera Module
( for 310Wi-P )
A
djusting Projection Image Size
Refer to the graphics and table show as below to determine the screen size and projection distance.
Adjusting the vertical image position
WXGA Series
Screen Size (16:10)
Projection Distance (A)
Diagonal (inch)
mm
Inch
mm
70
1778
20.4
517
80
2032
23.5
596
87.2
2215
25.8
655
90
2286
26.7
677
100
2540
29.9
759
XGA Series
Screen Size (4:3)
Projection Distance (A)
Diagonal (inch)
mm
Inch
mm
60
1524
20.6
522
70
1778
24.3
617
77
1956
27.0
684
80
2032
28.0
712
90
2286
31.6
802
Projection Distance A(mm)=Screen size(mm) x 0.296,Tolerance is around 3.1%
NOTE
Ex: Projection Distance (655mm)=Screen size(2215mm) x 0.296
This table is for user's reference only
1
Quick Start Guide
Multimedia Projector
● Brfore using, read the " Quick Start Guide " and the owner's manual to
ensure correct usage through understanding.
● After reading, store them in a safe place for future reference.
● Do not look into the lens while the projector's power is turned on.
AC Power cord
Cable
R
emote control
L
ight Curtain
( for 310Wi-T )
( for 310Wi-T )
Projection Distance (B)
Inch
mm
7.2
182
10.3
262
12.6
320
Projection Distance (A)
13.5
343
16.7
424
Screen
Projection Distance (B)
Inch
mm
Projection Distance (B)
7.4
187
11.1
282
13.7
349
14.9
378
18.4
468
T
urning On the Projector
1.
Securely connect the power cord and signal cable. When connected, the
Power LED will turn red.
2.
Turn on the lamp by pressing
"
remote control. The Power LED will turn blue.
3.
Turn on your source that you want to display on the screen (computer ,
notebook, video player, etc).The projector will The projector will detect the
S/N : 13350693
source automatically and will display on the screen.
4.
If you connected multiple sources at the same time, press the "Source"
button on the remote control to switch between inputs.
●
A strong light is emitted when the projector's power is on. Do not look into the lens of the projector
WARNING
or look inside of the projector through any of the projector's openings.
A
djusting the Projected Image
Adjusting the Projector's Height
The projector is equipped with elevator feet for adjusting the image height.
● To raise the image:
Use screw in feet to raise the image to the desired height angle and
fine-tune the display angle.
● To lower the image:
Use screw in feet to lower the image to the desired height angle and
fine-tune the display angle.
R
emote Control Battery Installation
1.Press firmly and slide the battery cover off.
●
Use CR2025 type battery.
●
Avoid contact with water or liquid.
WARNING
●
Do not expose the remote control to moisture or heat.
●
Do not drop the remote control.
●
If the battery has leaked in the remote control, carefully wipe the case clean and install new battery.
T
urning Off the Projector
Powering Off the Projector
1. Press the
"
"
button on the control panel or on the remote control
the projector. The following message will be displayed on the screen.
Press the "
" button again to confirm.
2. The Power LED will turn red and blink rapidly after the projector is turned off.
And the fans will continue to operate for about 90 seconds to ensure that the
system cools properly.
3. Once the system has finished cooling, the Power LED will stop blinking and turn
solid red to indicate standby mode.
4. It is now safe to unplug the power cord.
2
button on the control panel or on the
"
2.Install new battery into the compartment.
Remove the old battery
and install new one
(CR2025). Ensure that
the side with a "+" is
facing up.
●
Risk of an explosion if battery is replaced by an incorrect type.
●
Dispose of used battery according to the instructions.
Powering Off the Projector
1. Press the
Press the "
to turn off
POWER
TEMP
LAMP
RESYNC
SOURCE
or
MENU
Elevator Feet
Elevator Feet
Elevator Feet Spacer
1
2
3.
Put the cover.
"
"
button on the control pa
Power Off?
Press power key again.
Advertisement

Subscribe to Our Youtube Channel
Related Manuals for Speechi SPE 310-W-I


Summary of Contents for Speechi SPE 310-W-I
- Page 1 Quick Start Guide urning On the Projector Multimedia Projector Securely connect the power cord and signal cable. When connected, the Power LED will turn red. ● Brfore using, read the “ Quick Start Guide ” and the owner’s manual to ensure correct usage through understanding.
- Page 2 3. Make sure the volume is not set to minimum. the projector will not turn on until the lamp module has 4. Make sure the “ Volume --> Mute” function is set to “off”. been replaced. Need Support ? Email : support@speechi.net...
Need help?
Do you have a question about the SPE 310-W-I and is the answer not in the manual?
Questions and answers