Subscribe to Our Youtube Channel
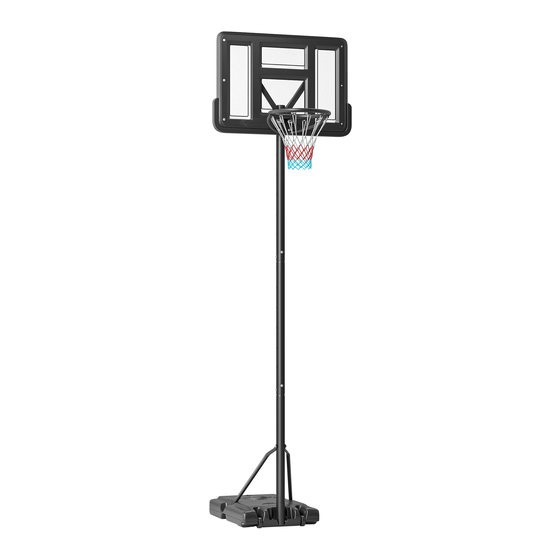
Summary of Contents for Soozier A61-046V00
- Page 1 IN230800234V01_US_CA A61-046V00 60MIN IMPORTANT, RETAIN FOR FUTURE REFERENCE: READ CAREFULLY ASSEMBLY INSTRUCTION...
-
Page 4: Height Adjustment
Height adjustment As shown in the figure, use the screws ‘F1’, ‘F2’ and ‘F3’ to adjust the product’s height. - Page 5 Upper pipe cover Base water cover M8x35mm M8x110mm M8x16mm M8x20mm M8x90mm M10x85mm...
- Page 6 As shown in the right figure, if there are any burrs or defor- mations at the pipe connec- tion, you can use a piece of cardboard wooden board. Simply place beneath the lower pipe and tap it against the narrowed section of the pipe.
- Page 7 As shown in the figure, use the screw combinations (B1 and B4) to connect the bas- kets (J and M) and the claw-shaped bracket (K). Note: The two spring-loaded screw combinations (B4, B5, B6 and B7) must be connected to the two holes on the basket. As shown in the figure, use the screw combinations (C1 and C2) to fix the upper end of the claw-shaped bracket (K) to the rear of the backboard (M), then tighten the screws.
- Page 8 As shown in the figure, use screw combinations (F1, F2 and F3) to fix the upper end of the upper tube (W) in the middle of the claw-shaped bracket (K). Insert the installed upper pipe (W) into the middle pipe (X), then use two screws (F) to secure the middle pipe and upper pipe.
- Page 9 Install Net (L) on Rim (J) as shown. Sand Water Cap Water If you are not moving the product a lot, use sand, not water, in the base to avoid freez- ing and damage. Note: You cannot empty the sand once it is in the base.
-
Page 10: Instructions D'assemblage
IN230800234V01_US_CA A61-046V00 60MIN IMPORTANT - CONSERVEZ CES INFORMATIONS POUR VOTRE CONSULTATION ULTÉRIEURE: LISEZ ATTENTIVEMENT INSTRUCTIONS D'ASSEMBLAGE -10-... - Page 11 -11-...
- Page 12 -12-...
-
Page 13: Réglage De La Hauteur
Réglage de la hauteur Comme indiqué sur la figure, utilisez les vis 'F1', 'F2' et 'F3' pour ajuster la hauteur du pro- duit. -13-... - Page 14 Bouchon Tube supérieur Bouchon Base Eau M8x35mm M8x110mm M8x16mm M8x20mm M8x90mm M10x85mm -14-...
- Page 15 Comme illustré sur la figure de droite, s'il y a des bavures déformations niveau de la connexion des tubes, vous pouvez utiliser un morceau de carton ou une planche en bois. Placez-le simplement sous le montant inférieur et tapez-le contre la section rétrécie du tube.
- Page 16 Comme montré sur la figure, utilisez les combinaisons de vis (B1 et B4) pour relier les paniers (J et M) au support en forme de corne de mouton (K). Remarque : Les deux combinaisons de vis à ressort (B4, B5, B6 et B7) doivent être reliées aux deux trous sur le panier.
- Page 17 Comme montré sur la figure, utilisez les combinaisons de vis (F1, F2 et F3) pour fixer l'extrémité supérieure du tube supérieur (W) au milieu du support en forme de corne de mouton (K). Insérez le tube supérieur (W) installé dans le tube central (X), puis utilisez deux vis (F) pour fixer le tube central et le tube...
- Page 18 Comme illustré, installez le filet (L) sur le cerceau (J). Sable Bouchon Si vous ne déplacez pas beaucoup le produit, utilisez du sable, pas de l'eau, dans la base pour éviter le gel et les dommages. Remarque : Vous ne pouvez pas vider le sable une fois qu'il est dans la base.
- Page 19 -19-...


Need help?
Do you have a question about the A61-046V00 and is the answer not in the manual?
Questions and answers