Table of Contents
Advertisement
Quick Links
This Quick Start Guide describes how to quickly install and connect the G-Cam/EBC-5101 Box IP Camera. For
more information, please refer to the IP Camera Installation/User Guide. shop.geutebrueck.com
Installation Notices
•
The camera must be installed by qualified persons. The installation should comply with local regulations.
•
Do not replace the batteries of the camera independently. There is a risk of explosion if the battery is replaced
with an incorrect type. Used batteries must be disposed of according to local regulations.
If you want to use an external power source, ask the camera manufacturer for a suitable device.
•
Camera's Connectors
No.
Connector
Pin
1
BNC
-
For analogue video output
1
Alarm In 2 +
2
Alarm In –
3
Alarm In 1 +
4
Alarm Out 1 –
2
Alarm I/O
5
Alarm Out 1 +
6
Alarm Out 2 –
7
Alarm Out 2 +
3
Power LED
-
For power connection indication (green light)
1
DC 12V +
Power
2
DC 12V -
4
(DC12V / AC 24V) &
3
D +
RS-485
4
D –
Press the button with a proper tool for at least 20 seconds to restore the
5
Default Button
-
system.
Insert the microSD card into the card slot to store videos and snapshots. Do not
6
microSD Card Slot
remove the microSD card when the camera is powered on.
7
Audio I/O (Line In/Out)
Two-way audio transmission
8
Auto Iris
ABF Model: Auto Iris Lens Connection
-
9
PoE Network
-
For network and PoE connections
10
Network LEDs
-
For network connection and activity indication
G-Cam/EBC-5101 Box IP Camera Quick Guide
ABF Model
Definition
Remarks
Alarm connection
#Do
NOT
connect
power supply to the alarm I/O
connector of the camera.
AC 24V 1
Power connection
AC 24V 2
RS-485 connection
NOTE: It is not recommended to record with the microSD card for 24/7 continuously, as it may not be able to
support long term continuous data read/write. Please contact the manufacturer of the microSD card for
information regarding the reliability and the life expectancy.
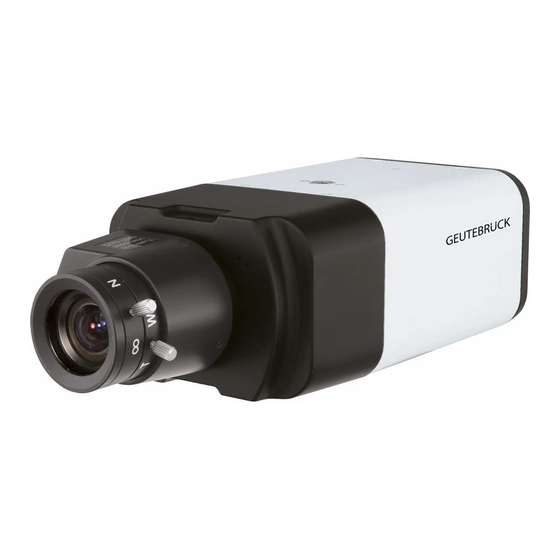
Mounting C/CS Mount Lens
Follow the instructions below to mount the C/CS Mount Lens to the camera.
• Remove the plastic cover from the camera.
• Remove the dustproof protective film from the CMOS image sensor.
• For C Mount Lens, mount the C/CS Mount Adapter to the camera first.
• Attach the lens to the adapter.
Camera Cabling
Please follow the instructions below for cable connections.
Power Connection
Use a DC 12V / AC 24V power adaptor and plug it to the power connector of the camera and the power outlet.
Alternatively, users can use an Ethernet cable and connect it to the RJ-45 connector of the camera and a Power
Sourcing Equipment (PSE) switch.
NOTE: If the device is powered over Ethernet, make sure the PSE is connected to the network.
Connect one end of the Ethernet cable to the RJ-45 connector of the camera and plug the other end of the cable to
the network switch or PC.
NOTE: In some cases, Ethernet crossover cable might be needed when connecting the camera
directly to the PC.
NOTE: Check the status of the link indicator and activity indicator LEDs. If the LEDs are unlit, please check
the LAN connection.
Green Link Light indicates good network connection.
Orange Activity Light flashes for network activity indication.
IMPORTANT: We recommend operating IP cameras only in isolated networks or behind suitable
external
firewalls.
Initial login to the IP camera
The first time you access the IP camera, you will be prompted to change your password. You must perform this
step to continue.
NOTE: Passwords must be at least 12 characters long, with an uppercase letter, a lowercase letter,
and a numeric character or a special character ~@#$%^&*_-+=:;<>
For more information, refer to the user manual of the IP camera.
Advertisement
Table of Contents

Related Manuals for Geutebruck G-Cam/EBC-5101


Summary of Contents for Geutebruck G-Cam/EBC-5101
- Page 1 G-Cam/EBC-5101 Box IP Camera Quick Guide This Quick Start Guide describes how to quickly install and connect the G-Cam/EBC-5101 Box IP Camera. For NOTE: It is not recommended to record with the microSD card for 24/7 continuously, as it may not be able to more information, please refer to the IP Camera Installation/User Guide.
- Page 2 NOTE: Quick start guides for configuring the camera using GEUTEBRÜCK - software (G-Set and GSC-Setup) can be found on our Partner Portal website under Support. support.geutebrueck.com G-Cam/EBC-5101 QIG 09.01.2024 Copyright © 2024 Geutebrück. All rights reserved.
Need help?
Do you have a question about the G-Cam/EBC-5101 and is the answer not in the manual?
Questions and answers