
Related Manuals for March Pumps TE-10KS-MD


Summary of Contents for March Pumps TE-10KS-MD
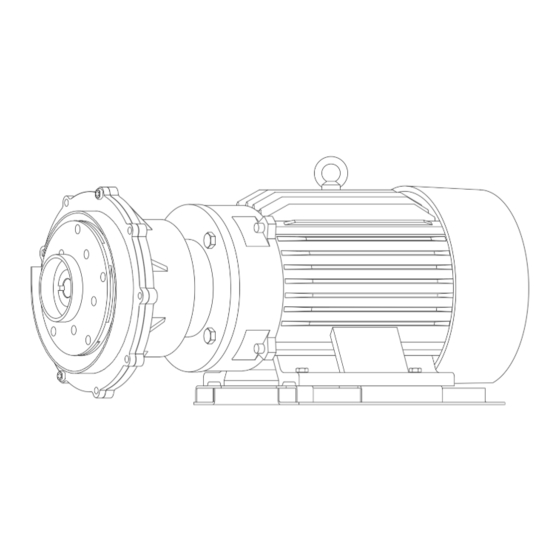
- Page 1 Assembly & Disassembly Manual TE-10KS-MD & TE-10PS-MD MARCH MFG. | www.marchpump.com...
- Page 2 TE-10KS-MD & TE-10PS-MD PURPOSE: This manual is intended to instruct pump users on the assembly and disassembly of the TE-10KS-MD and TE-10PS-MD. CAUTION IN ASSEMBLY & DISASSEMBLY: The magnetic coupling in the pump is strong enough to warrant caution. When servicing the pump, the attraction of the impeller magnet and drive magnet may pull the impeller from your grasp.
- Page 3 TE-10KS-MD & TE-10PS-MD Pump End Disassembly Instructions Unfasten Screws from Wet-End Assembly a. Remove the nine hex head screws (#1) and nine flat washers (#2) with a 1/2" socket. Remove Wet-End Components a. Carefully remove the front housing (#3) by pulling it away from the motor. Be careful to not damage the shaft (#6) as it may fall out when removing the front housing.
- Page 4 TE-10KS-MD & TE-10PS-MD Remove Impeller a. Carefully pull the impeller (#7) away from the rear housing (#8). Due to the strength of the magnetic field, sufficient force is required to separate the impeller and drive magnets. ⚠ Warning: When dislodging the impeller, exercise caution to ensure adequate force is applied during the removal process;...
- Page 5 TE-10KS-MD & TE-10PS-MD Pump End Assembly Instructions Assemble the Wet-End Components a. Place the front housing (#3) on a flat surface with the inlet facing down, as shown. b. Press the gasket (#4) into the front housing groove. Ensure that the gasket is fully seated in the groove.
- Page 6 TE-10KS-MD & TE-10PS-MD Insert Wet-End Assembly into Guide Pins a. Assemble on a flat surface. Do not assemble with the motor bracket overhanging. b. Place two safety wooden boards (Item B) in front of the motor bracket. Warning: Failure to use safety wooden boards can lead to injury.
- Page 7 TE-10KS-MD & TE-10PS-MD Remove Safety Wooden Boards a. Apply force to slide the safety wooden boards to the side. Once the safety wooden boards are removed, the magnetic force will pull the wet-end assembly towards the motor until it hits the motor bracket. Ensure there is no gap between the rear housing and motor bracket.
- Page 8 TE-10KS-MD & TE-10PS-MD Cut Cable Ties and Fasten Two Hex Head Screws and Two Washers a. Cut and fully remove the two cable ties. Do not leave any portion of the cable ties in between the rear housing and motor bracket.
Need help?
Do you have a question about the TE-10KS-MD and is the answer not in the manual?
Questions and answers