Advertisement
Quick Links
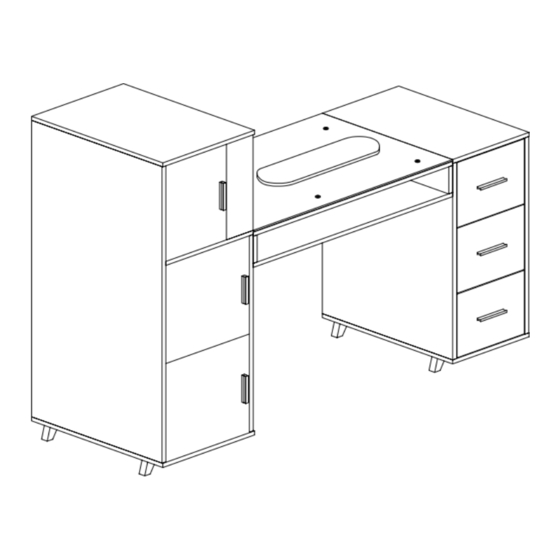
MANICURE NAIL TABLE
USER MANUAL
Thank you for your purchase.
Please contact us if you have difficulty with assembly or need replacement parts.
Omysalon Customer Service is here to assist you.
Email: support@omysalon.com Website: www.omysalon.com
Please attach your User name or Order ID so that we can assist you better.
Advertisement

Related Manuals for OmySalon MANICURE NAIL TABLE


Summary of Contents for OmySalon MANICURE NAIL TABLE
- Page 1 Thank you for your purchase. Please contact us if you have difficulty with assembly or need replacement parts. Omysalon Customer Service is here to assist you. Email: support@omysalon.com Website: www.omysalon.com Please attach your User name or Order ID so that we can assist you better.
- Page 3 Components of furniture Please check the board number and the hole on the board 1 PC 1 PC 1 PC 765×500×15mm 500×100×15mm 735×100×15mm 1 PC 1 PC 1 PC 503×352×15mm 500×335×15mm 463×320×15mm 1 PC 2 PCS 1 PC 503×352×15mm 470×85×15mm 355×85×15mm 1 PC 1 PC...
- Page 4 1 PC 1 PC 1 PC 500×293×15mm 725×500×15mm 1 PC 3 PCS 3 PCS 725×262×15mm 258×240×15mm 208×148×15mm 3 PCS 3 PCS 3 PCS 300×148×15mm 300×148×15mm 297×217×3mm 1 PC 1 PC 1 PC 355×100×15mm 500×100×15mm 763×500×5mm(GLASS) 1 PC 1 PC 765×500×15mm 400×120×38mm Hardware accessories 122 PCS...
- Page 5 12 PCS 12 PCS 6 PCS 3 PCS M4×20mm M5×50mm 105×65×40mm 47×18×15mm 6 PCS 8 PCS 6 PCS 6 PCS LS12’’ 70×60×100mm SLS1316-96mm M3.5×14mm 6 PCS 1 PC φ18mm φ8×30mm "A" Hardware installation example Ⅰ Ⅱ Ⅲ Tool not include "I"...
- Page 6 "G" Accessories function Adjust the depth of the door Adjust the left and right of the door Start Assembling Furniture STEP 1 ③ ② STEP 2 ② ③ ①...
- Page 7 STEP 3 ② STEP 4 ⑳ Please install as shown Cx12...
- Page 8 STEP 5 ⑳ STEP 6 ⑲ ⑳...
- Page 9 STEP 7 ⑲ ⑳ ⑱ STEP 8 ⑲ ⑳ ⑱ Cx28...
- Page 10 STEP 9 ⑪ STEP 10 ⑭ ⑥ ⑪ STEP 11 ⑩ ⑩ ⑬...
- Page 11 STEP 12 ⑬ ⑩ ⑤ STEP 13 ⑬ ⑩ ⑤ ⑭ ⑪...
- Page 12 STEP 14 ⑬ ⑤ ⑪ ⑭ ⑫ STEP 15 ⑧ ⑨ ⑧...
- Page 13 STEP 16 ⑨ ⑩ ⑤ ⑫ ⑪ STEP 17 ④ ⑨ ⑫ ⑪ Ax10...
- Page 14 STEP 18 ⑦ ⑪ ⑫ ④ STEP 19 ⑦ ⑪ ⑫ ④ Cx28...
- Page 15 STEP 20 ⑯ ⑮ ⑰ Cx18 ④ STEP 21 ⑫ ⑰ ⑮ ⑪ ⑯ Cx24...
- Page 16 STEP 22 ④ ⑱ ① ② Note: It is recommended to install it by two people! You can install the screws on one side, tighten the nuts, do not need to tighten them, and then install the other side as well, and finally tighten the screws, which are inconsistent with the height of the cabinets on both sides, and the height difference is about 7mm.
- Page 17 STEP 23 ×3 Please install as shown Cx12 STEP 24 ×3 Fx12 STEP 25 ×3...
- Page 18 STEP 26 ×3 Ax12 STEP 27 ×3 STEP 28...
- Page 19 STEP 29 STEP 30 ①...
Need help?
Do you have a question about the MANICURE NAIL TABLE and is the answer not in the manual?
Questions and answers