Table of Contents
Advertisement
Quick Links
TABLE OF CONTENTS
1 Specifications ----------------------------------------------------- 2
2 Pictorial Wiring Diagram --------------------------------------- 2
3 Schematic Diagram ---------------------------------------------- 2
4 Disassembly Instructions ------------------------------------- 3
4.1. Removal of Rear Handle Cover------------------------ 3
4.2. Removal of Pilot Lamp ----------------------------------- 3
4.3. Removal of Dial Knob ------------------------------------ 3
4.4. Removal of Handle---------------------------------------- 3
100DX) ------------------------------------------------------- 4
4.6. Removal of Rating Plate --------------------------------- 4
Cover --------------------------------------------------------- 4
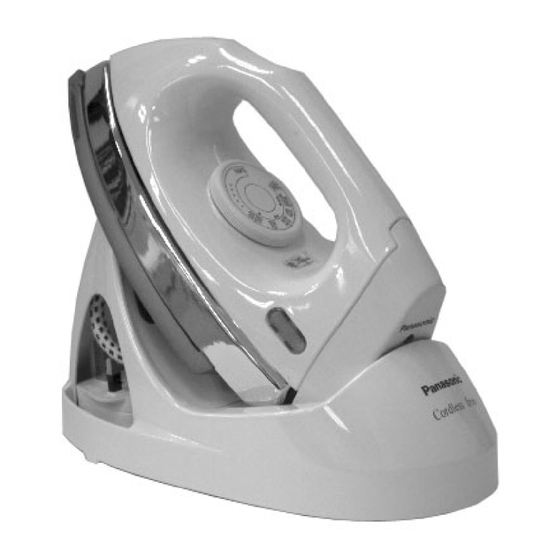
Electric Cordless Dry Iron
Model No.
PAGE
5 Reassembly Instructions---------------------------------------4
5.1. Mounting of Thermostat. ---------------------------------4
5.2. Mounting of Joint Plate -----------------------------------4
5.3. Mounting of Pilot Lamp -----------------------------------5
5.4. Important assembly point --------------------------------5
6 Caution/hints on repairs ----------------------------------------5
7 Standard Temperature Setting--------------------------------6
8 Troubleshooting Guide ----------------------------------------- 7
9 Exploded View and Replacement Parts List -------------8
9.1. Exploded View ----------------------------------------------8
9.2. Packing Instruction ----------------------------------------9
9.3. Replacement Parts List--------------------------------- 10
© 2011 Panasonic Manufacturing Malaysia Berhad
(6100-K). Unauthorized copying and distribution is a
violation of law.
NI-100DX
MEL0310030C3R
PAGE
Advertisement
Table of Contents

Related Manuals for Panasonic NI-100DX


Summary of Contents for Panasonic NI-100DX
-
Page 1: Table Of Contents
4.6. Removal of Rating Plate --------------------------------- 4 9.2. Packing Instruction ----------------------------------------9 4.7. Removal of Cover Shell, Handle and Lamp 9.3. Replacement Parts List--------------------------------- 10 Cover --------------------------------------------------------- 4 © 2011 Panasonic Manufacturing Malaysia Berhad (6100-K). Unauthorized copying and distribution is a violation of law. -
Page 2: Specifications
1 Specifications RATING AC220V - 1000W, AC240V - 1000W WEIGHT 1.4kg DIMENSIONS (D x W x H) 260mm X 129mm X 203.8mm TEMP.CONTROL RANGE 85°C - 210°C HANDLE COLOUR WHITE 2 Wiring Connection Dia- gram 3 Schematic Diagram... -
Page 3: Disassembly Instructions
4 Disassembly Instructions 4.3. Removal of Dial Knob Step 1 Insert thin screwdriver lightly in the right and left sides (2 4.1. Removal of Rear Handle Cover places) of the dial knob. Pressing the handles of both screw drivers downward make the dial knob come off the handle of Step 1 Remove the screw indicated and then pull the Rear the iron. -
Page 4: Removal Of Iron Weight (For Model Ni-100Dx)
4.5. Removal of Iron Weight (For 5 Reassembly Instructions model NI-100DX) • Reassemble the parts in the reverse order of disassem- bly. Step 1 Remove 3 screws indicated and lift the iron weight. 5.1. Mounting of Thermostat. Step 1 Tighten each screw firmly. It should be especially fol- lowed for the thermostat. -
Page 5: Mounting Of Pilot Lamp
5.3. Mounting of Pilot Lamp 5.4. Important assembly point Step 1 Properly wire the lead wire E, F and pilot lamp and Step 1 Wiring screw M3.5 x 5 and M3.5 Washer must be fixed screw tightly. Push the lead wire E and F upward and insert. before using the Stand assembly. -
Page 6: Standard Temperature Setting
7 Standard Temperature Setting Step 1 Attach Ohm Meter Probe across both Plug Prongs. Step 2 Turn the Dial Knob, if the Meter Needle deflect while the Dial Knob is within the Range shown by arrows (A) and (B) then Iron is Working Normal. -
Page 7: Troubleshooting Guide
Step 5b If the Dial Knob causes the meter to deflect before point (A), turn the Adjusting Screw Clockwise. Step 6 After Adjusting, check the Setting Range (Step 3). Step 7 Adjust Till the Needle Deflects within the Range shown by arrows (A) and (B). Caution: Thermostat with Arrontite cannot be adjust. -
Page 8: Exploded View And Replacement Parts List
9 Exploded View and Replacement Parts List 9.1. Exploded View... -
Page 9: Packing Instruction
9.2. Packing Instruction... -
Page 10: Replacement Parts List
9.3. Replacement Parts List Safety Ref. No. Part No. Part Name & Description Remarks i1084KKA240A SOLEPLATE COMPLETE ASS'Y AC240V-1000W (M'sia, S'pore, Kuwait) i1064KKA240A SOLEPLATE COMPLETE ASS'Y AC220V-1000W (Thai, UAE, Oman, Qatar, S.Arabia, Korea) i6264Y-SH32A RATING PLATE AC240V - 100W (M’sia) i6164Y-QH32A RATING PLATE AC230V - 100W (S’pore)
Need help?
Do you have a question about the NI-100DX and is the answer not in the manual?
Questions and answers
How to operate the iron in terms of switching it off