Advertisement
Quick Links
Advertisement

Related Manuals for Otto WF313917AAW


Summary of Contents for Otto WF313917AAW
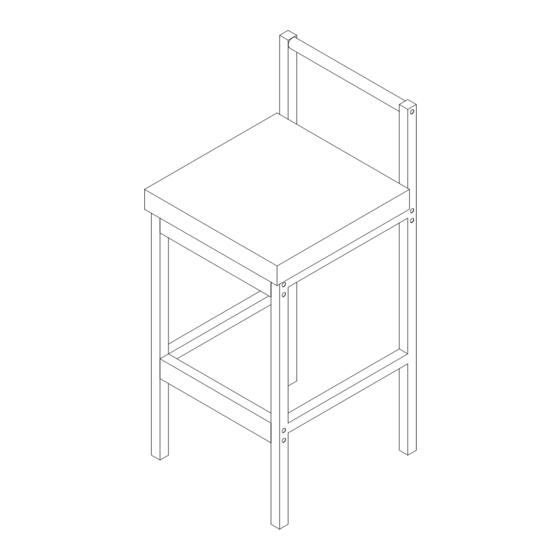
- Page 1 Attention:Don't tighten the screw before all screws are in place USER'S MANUAL WF313917AAW...
- Page 2 Attention Don't tighten the screw before all screws are in place. General Assembly Guidelines Ensure that all parts and hardware are available before beginning assembly. Follow each step carefully to ensure the proper assembly of this product. Two people are recommended for ease in the assembly of this product. The three main types of hardware used to assemble this product are : wood dowels , screws and bolts.
- Page 3 Achtung: Ziehen Sie die Schraube nicht zu 100 % fest, bevor alle Schrauben angebracht sind. Installationsanleitung Stellen Sie sicher, dass alle Teile und Hardware verfügbar sind, bevor Sie mit der Montage beginnen. Befolgen Sie jeden Schritt sorgfältig, um die ordnungsgemäße Montage dieses Produkts sicherzustellen. Zur einfachen Montage dieses Produkts werden zwei Personen empfohlen.
- Page 4 Attenzione: non serrare la vite al 100% prima che tutte le viti siano in posizione. Guida d'installazione Assicurarsi che tutte le parti e l'hardware siano disponibili prima di iniziare il montaggio. Segui attentamente ogni passaggio per garantire il corretto assemblaggio di questo prodotto. Si consigliano due persone per assemblare facilmente questo prodotto.
- Page 6 M6*35 108PCS 24PCS...
- Page 7 Step 1 A 84P CS Step 2 A 24PCS B 24PCS...
- Page 8 Attention:Don't tighten the screw before all screws are in place USER'S MANUAL WF3131918AAW...
- Page 9 Achtung: Ziehen Sie die Schraube nicht zu 100 % fest, bevor alle Schrauben angebracht sind. Installationsanleitung Stellen Sie sicher, dass alle Teile und Hardware verfügbar sind, bevor Sie mit der Montage beginnen. Befolgen Sie jeden Schritt sorgfältig, um die ordnungsgemäße Montage dieses Produkts sicherzustellen.Zur einfachen Montage dieses Produkts...
- Page 12 6PCS 44PCS 6PCS 6PCS M3.5*14 1PCS 1PCS 1PCS 1PCS 8PCS 8PCS 16PCS 2PCS M6*30 M5*40 M6*55 M6*35 1PCS 6PCS 2PCS M4*22 1PCS M6*12...
- Page 14 Step 1 A 6PCS B 36PCS Step 2 L 2PCS...
- Page 15 Step 3 H 2PCS Step 4 E 4PCS...
- Page 16 Step 5 C 6PCS B 4PCS CL 1PCS CR 1PCS Step 6 D 4PCS...
- Page 17 Step 7 F 4PCS Step 8 G 12PCS...
- Page 18 Step 9 K 6PCS Step 10 G 4PCS E 4PCS...
- Page 19 Step 11 J 1PCS B 4PCS D 2PCS F 4PCS I 1PCS...
- Page 20 Step 12...
Need help?
Do you have a question about the WF313917AAW and is the answer not in the manual?
Questions and answers