Advertisement
Quick Links
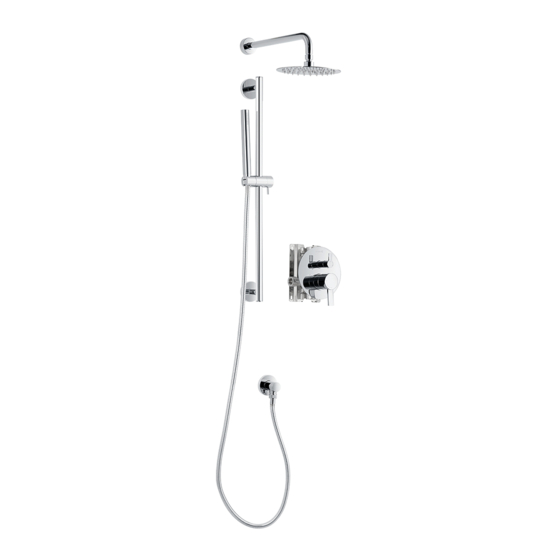
ELITE
Shower post system 3-setting balanced pressure valve
(hand shower only, shower head only or both simultaneously)
Système de barre murale avec valve à pression équilibrée, 3 réglages
(douchette seule, pommeau seul ou les deux simultanément)
Operators' Manual
Guide de l'utilisateur
A QUESTION | A DOUBT | MISSING A PARTS
UNE QUESTION | UN DOUTE | PIÈCE MANQUANTE
Store/Magasin
1 844 666-0155
question@dimex360.com
RD8130CP
RD8130BL
A QUESTION, A DOUBT, MISSING A PARTS, CONTACT US. We're there if you need help.
UNE QUESTION, UN DOUTE, PIÈCE MANQUANTE, CONTACTEZ-NOUS.
Nous sommes à vos côtés si vous avez besoin d'aide.
1 844 666-0155 • question@dimex360.com
2022-12
Advertisement

Related Manuals for Akuaplus ELITE RD8130CP


Summary of Contents for Akuaplus ELITE RD8130CP
- Page 1 ELITE Shower post system 3-setting balanced pressure valve (hand shower only, shower head only or both simultaneously) Système de barre murale avec valve à pression équilibrée, 3 réglages (douchette seule, pommeau seul ou les deux simultanément) Operators’ Manual Guide de l’utilisateur A QUESTION | A DOUBT | MISSING A PARTS UNE QUESTION | UN DOUTE | PIÈCE MANQUANTE Store/Magasin...
- Page 2 A QUESTION, A DOUBT, MISSING A PARTS, CONTACT US. We’re there if you need help. UNE QUESTION, UN DOUTE, PIÈCE MANQUANTE, CONTACTEZ-NOUS. We recommend that you hire a professional plumber to install and repair this product. Refer to the regulations stipulated in the Canadian Plumbing Code and inquire about your municipality’s requirements before proceeding to the installation.
- Page 3 Parts list-Liste de pièces 1 Body Corps 1c Diverter ceramic cartridge Cartouche céramique de l’inverseur 1d Diverter finishing sleeve Manchon de finition de l’inverseur 1e Diverter cartrdige adapter 47.5 mm Adaptateur de la cartouche de l’inverseur 47.5 mm 1f Diverter protection ring Bague de protection de la poignée de l’inverseur 1g Check valve Soupape anti-retour...
- Page 4 40 cm ø 5,5 cm ø 2,2 cm 1,3 cm Suggested position 1/2” Montage suggéré 8 cm 1,9 cm 1/2” Recommended ø 20 cm 7 cm Recommandé 8~9 cm ø 15 cm 82 mm 35 mm 45” (114 cm) MIN 48”...
- Page 5 Ne découpez pas plus grand que le La protection contre les coups de bélier est nécessaire. gabarit de perçage. The valve must be installed in order to Protection against water hammer is necessary. Do not cut larger than the cut guide. place the cut guide even with the ceramic.
- Page 6 Before drilling holes in the shower wall, place product against the wall to mark holes location. Use the appropriate bit to drilling your wall. Avant de percer la cloison, placez le produit contre le mur pour marquer l’emplacement des trous. Utilisez la mèche appropriée pour percer votre mur.
- Page 7 Apply teflon tape. Appliquez du ruban de téflon. Apply teflon tape. Appliquez du ruban de téflon. Apply silicone. Apply silicone. Appliquez du silicone. Appliquez du silicone. If the flow does not have enough pressure, you can remove the flow limiters in the hand shower (A) and the shower head (B).
- Page 8 The model shown in the installation steps may differ from the one in the box. However, the connection type and installation steps remain the same. Le modèle illustré dans les étapes d’installation peut différer du produit en boîte, mais les types de connexions et la marche à suivre sont les mêmes. To replace the pressure balance cartridge •...
-
Page 9: Troubleshooting Guide
This akuaplus® product has been designed to meet high-quality standards and come with a limited lifetime warranty against Ce produit akuaplus® a été conçu pour répondre à des normes de haute qualité très strictes et est assorti d’une garantie à...
Need help?
Do you have a question about the ELITE RD8130CP and is the answer not in the manual?
Questions and answers