Sign In
Upload
Download
Add to my manuals
Delete from my manuals
Share
URL of this page:
HTML Link:
Bookmark this page
Add
Manual will be automatically added to "My Manuals"
Print this page
×
Bookmark added
×
Added to my manuals
Manuals
Brands
TEFAL Manuals
Toaster
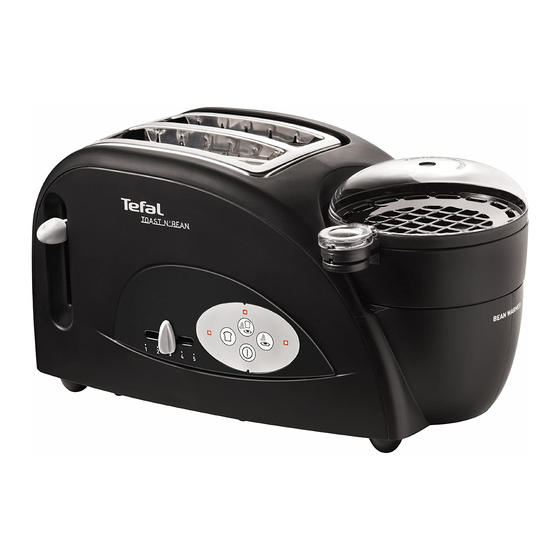
TOAST N' BEAN
Manual
TEFAL TOAST N' BEAN Manual
Hide thumbs
1
2
3
4
5
6
7
8
9
10
11
12
13
14
15
16
17
18
19
20
21
22
23
24
25
26
27
page
of
27
Go
/
27
Bookmarks
Advertisement
Quick Links
Download this manual
EN
TOAST N' BEAN
www.tefal.com
Table of
Contents
Previous
Page
Next
Page
1
2
3
4
5
Advertisement
Need help?
Do you have a question about the TOAST N' BEAN and is the answer not in the manual?
Ask a question
Questions and answers
Related Manuals for TEFAL TOAST N' BEAN
Toaster TEFAL TOAST'N EGG User Manual
(24 pages)
Toaster TEFAL Toast n' Bean Manual
(32 pages)
Toaster TEFAL EXPRESS - TOASTER Manual
(24 pages)
Toaster TEFAL Express TT356630 Manual
(91 pages)
Toaster TEFAL SIMPLY INVENTS Manual
(24 pages)
Toaster TEFAL TT812030 Manual
(41 pages)
Toaster TEFAL TT812131 Instructions For Use Manual
Delight series (41 pages)
Toaster TEFAL TT562E Instructions For Use Manual
(14 pages)
Toaster TEFAL EXPRESS TT 3650 Manual
(9 pages)
Toaster TEFAL CLASSIQUE Manual
(10 pages)
Toaster TEFAL Express TL365ETR Manual
(90 pages)
Toaster TEFAL TT130E11 Manual
(91 pages)
Toaster TEFAL TT132DKR Manual
(91 pages)
Toaster TEFAL REMINISCE TT380351 Manual
(24 pages)
Toaster TEFAL EQUINOX TL330D11 Manual
(62 pages)
Toaster TEFAL TT1118KR Manual
(15 pages)
This manual is also suitable for:
Tt5528
Tt552842
Print
Rename the bookmark
Delete bookmark?
Delete from my manuals?
Login
Sign In
OR
Sign in with Facebook
Sign in with Google
Upload manual
Upload from disk
Upload from URL


Need help?
Do you have a question about the TOAST N' BEAN and is the answer not in the manual?
Questions and answers