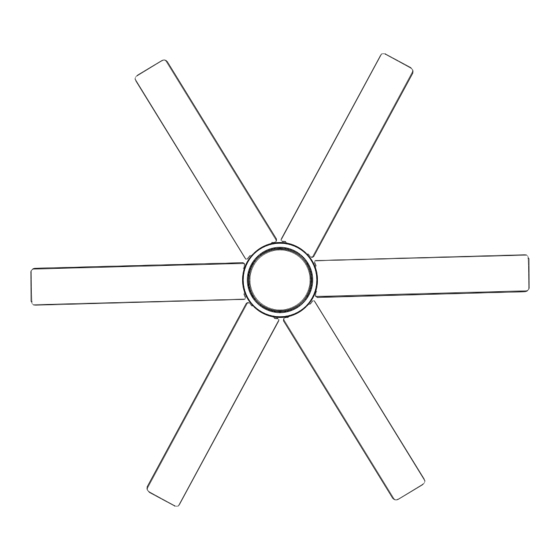
Summary of Contents for atomi smart AT2124
- Page 1 Smart WiFi Outdoor Ceiling Fan AT2124 Let’s get started! Quick Start Guide v1.05/23...
-
Page 2: For Your Safety
FOR YOUR SAFETY WHAT’S IN THE BOX READ AND SAVE ALL INSTRUCTIONS BEFORE USING. WARNING To reduce the risk of personal injury, do not bend the blade brackets when installing the brackets, balancing the blades, or cleaning the fan. Do not insert foreign objects in between rotating fan blades. 2. -
Page 3: Tools Needed For Installation
Unpack and inspect the fan carefully to confirm that all parts are included. Outlet Box Flush Mounting Standard Mounting Pre-assembled. The Atomi Smart Ceiling Fan comes already prepped for this installation option. Angled ceiling maximum 20° angle Ceiling Outlet Box Ceiling Outlet Box 12”... -
Page 4: Installing The Blades
FOR THIS STEP YOU WILL NEED FOR THIS STEP YOU WILL NEED INSTALLING THE BLADES ASSEMBLING THE LIGHT FIXTURE One at a time, insert each blade into the slot on the fan structure. Secure each blade with the screws found in Bag A1. Detach the LED board from the light ring using a screwdriver. -
Page 5: Installing The Standard Bracket
WARNING Only use the provided Atomi Smart ceiling bracket that comes with your fan. Remove any existing brackets from your ceiling prior to installation. Secure the bracket to a ceiling box that is acceptable for fan support of 31.8kg (70lbs). - Page 6 This step is for Standard and Angled Mounting only. For the Flush Mounting (pre-assembled) please go to Step 5. If you have a longer downrod from Atomi Smart, please, follow the same instructions. PREVENT FAN FALLING INJURY OR DEATH: • ALWAYS tighten screws with a screwdriver or a drill.
- Page 7 Remove the clip and pin from the new downrod. Tighten the screws. Insert the canopy and funnel into the downrod, Hold the canopy and funnel up to passing all wires through the downrod. insert the pin and clip back in place. Slide down the funnel.
-
Page 8: Hanging The Fan
FOR THIS STEP YOU WILL NEED HANGING THE FAN WIRING THE FAN Lift and carefully hang the fan on the mounting bracket. Carefully follow these steps to get your fan wired safely and quickly. If you are unfamiliar with wiring or uncomfortable doing it yourself, please contact a qualified electrician. THE CEILING FAN MUST BE GROUNDED. -
Page 9: Installing The Canopy
FOR THIS STEP YOU WILL NEED Tighten the screws. INSTALLING THE CANOPY Lift the canopy into place so that the screw holes are aligned with the housing holes. Insert the screws and loosely secure them. Fit the canopy in place as shown and turn it counter-clockwise. - Page 10 (See page 7). Turn on the circuit breakers to the outlet box associated with the wall switch or go to https:/ /atomismart.com/app/ location, then turn on the wall switch and check if the Atomi Smart WiFi Get the app Register Ceiling Fan has 100% of white light brightness.
-
Page 11: Using The Remote Control
Change Light to Blue WiFi RGB + Password Continue Connect your 2.4GHz WiFi network* Enter or select your local WiFi name, enter your password, then press “Continue”. *Make sure you’re connected to a 2.4GHz WiFi network (Atomi Smart can’t connect to 5GHz networks). - Page 12 FOR THIS STEP YOU WILL NEED Attaching to an existing light switch Note: This is only compatible with toggle switches. Remove the screws from USING THE BALANCE KIT Place the remote control mount Slide the remote control your light switch cover over the cover and attach it with holder in place, then insert (Do not remove the cover).
-
Page 13: Troubleshooting
2, please repeat steps 1 and 2. - Ensure the batteries are installed correctly with Smart device. If not, move your Atomi Smart device and check the fan’s wiring for any connection regard of polarity (+ and -). - Page 14 8. Promo code is not exchangeable for cash. 4. Customers can only use the promo code once. 9. Atomi Smart will not be liable and/or be required to offer For questions or concerns, email us at support@atomiusa.com 5. Atomi Smart reserves the right to cancel or modify any replacement codes, discounts, credits, cash or otherwise Manufactured and marketed by Atomi Inc.


Need help?
Do you have a question about the AT2124 and is the answer not in the manual?
Questions and answers