Table of Contents
Advertisement
Quick Links
Advertisement
Table of Contents

Related Manuals for DÖRR SNAPSHOT MINI 5.0 PRO


Summary of Contents for DÖRR SNAPSHOT MINI 5.0 PRO
- Page 1 SURVEILLANCE CAMERA INSTRUCTION MANUAL SNAPSHOT MINI 5.0 PRO doerr-outdoor.de...
- Page 2 INDEX PAGE 01 | SAFETY HINTS 02 | SAFETY HINTS FOR BATTERIES 03 | PRIVACY POLICY 04 | NOMENCLATURE 05 | ILLUSTRATION OF PARTS 06 | FIRST COMMISSIONING 06.1 Inserting the batteries 06.2 Alternative power supplies 06.3 Inserting the SD/SDHC/SDXC Memory Card ⛔...
-
Page 3: Safety Hints
01 | SAFETY HINTS This device is not a toy! To prevent accidents and suffocation • THANK YOU very much for choosing a quality product by DÖRR. keep the device, the accessories and the packing materials away from children and pets. Please read the instruction manual and the safety hints carefully People with physical or cognitive disabilities should use the •... -
Page 4: Privacy Policy
02 | SAFETY HINTS FOR BATTERIES/ACCUMULATORS 04 | NOMENCLATURE Only use high-quality batteries or accumulators of popular brands. Infrared LEDs When inserting the batteries or accumulators, please respect the LED indicator/light sensor correct polarity (+/-). Do not insert batteries of different types and Motion detector (PIR sensor) always replace all batteries at the same time. -
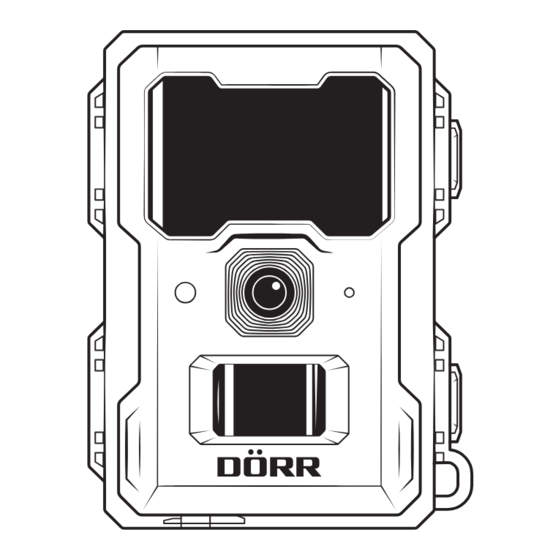
Page 5: Illustration Of Parts
05 | ILLUSTRATION OF PARTS doerr-outdoor.de... - Page 6 06 | COMMISSIONING Lead Battery 12V/12Ah www.doerr-outdoor.de/204347 CAUTION To avoid camera damages, make sure that camera is switched off (slide control 11 = OFF) for the following steps! DÖRR Battery Cable 2m with flat plug www.doerr-outdoor.de/204364 Both the solar panel and an external battery need to be plugged-in to the cameras DC 12V port (15).
-
Page 7: Operation
07 | OPERATION * The camera menu language is factory set to GERMAN. To change the menu language, please go to chapter 08.3. 07.1 Overview home screen Switch the slide control (11) to the middle position SETUP . 07.3 Main Menus To adjust the settings for your purposes, switch the slide control (11) to the middle position SETUP and press the menu button (09) The 3 main menus appear in the top left of the LCD display (08). -
Page 8: Settings & Functions
08 | SETTINGS & FUNCTIONS 08.1 Main Menu Cam Mode ‹ Photo › Selection ‹ Photo ›. The camera takes pictures according to your further, subsequent photo settings. ‹ 5M › 5 MP (3072 x 1728) Image Size Select the desired image resolution. ‹... - Page 9 08.2 Main menu ‹ ON › ‹ › The Passive Infrared Sensor (PIR) triggers upon motion and temperature changes recog- Selection PIR Sensor nised within the detection range. ‹ OFF › PIR Sensitivity Adjust the sensitivity of the motion ‹ Level 1 › detector.
- Page 10 08.2 Main menu Timer 1 Set a fixed working time frame in which Selection ‹ › Camera works 24 h. ‹ OFF › the camera is active. Outside of this After selection ‹ › and pressing the ‹ ON › time, no recordings are made or move- OK button (10) another window opens ments are registered.
- Page 11 08.3 Main Menu Set the date and time. After selection ‹ Enter › and pressing the Date & Time ‹ Enter › OK button (10) another window opens for Date format: DD / MM / YYYY entering the date and time: TIme format: 24-hours Date &...
- Page 12 08.3 Main Menu To ensure an accurate indication of the battery ‹ Alkaline › * * pre-installed Battery Type status, please select whether you have inserted ‹ Ni-MH › alkaline batteries or Ni-MH batteries into the camera. When selecting ‹ ›...
- Page 13 09 | TEST RECORDINGS / VIEW RECORDINGS taking a view test photos (see chapter 09). The camera should be di- rected in a way that the object will appear in the centre of the picture. In SETUP mode (slide control 11 on position SETUP), a test photo, test You may have to re-adjust the camera and take another test shot.
-
Page 14: Optional Accessories
12 | CLEANING AND STORAGE rain and constant exposure to sunlight. After a long period of hu- midity caused by rain or fog, the camera should be placed in a dry area for a few days. Never use aggressive cleansing agents or benzine to clean the device. We recommend a soft, slightly damp microfiber cloth to clean the ou- ter parts of the device. -
Page 15: Technical Specifications
14 | TECHNICAL SPECIFICATIONS Recording capability Photo / Video with audio / Photo+Video with audio Combined picture and video recording Number of LEDs / LED Type 60 invisible infrared LEDs, 940nm 20 m Flash range max. approx. Detection range motion sensor approx. 20 m / 60°... -
Page 16: Weee Information
15.3 DISPOSAL OF THE PACKAGING Dispose of the packaging by type. Give cardboard to the waste DÖRR Surveillance Camera paper, foils to the collection of recyclables. SnapShot Mini 5.0 Pro Item-No. 204501 Made in China 15.4 CONFORMITY WITH ROHS This product complies with the European RoHS Directive on the DÖRR GmbH...
Need help?
Do you have a question about the SNAPSHOT MINI 5.0 PRO and is the answer not in the manual?
Questions and answers