Advertisement
Quick Links
Advertisement

Summary of Contents for Mocka Betti Bobbin
- Page 1 Hello, I’ve arrived! Now that I’m here you are only one your home.
- Page 2 Thank you for supporting us. Here are a few assembly tips before you get started: Make Time Set The Mood Tool Check Room Reveal Tag us @mockaaustralia/@mockaanz Happy flat-packing! t h e M o a T e a m Need help? Need help? Our Support Team are available via live chat, email or phone.
- Page 3 For the most up to date versions please refer to the product page on our website. mocka.com.au/mocka.co.nz mocka.co.nz I mocka.com.au...
-
Page 4: Panel Layout
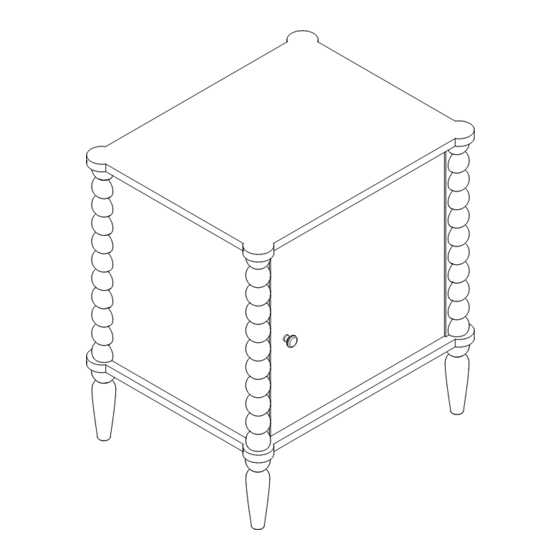
Betti Bobbin Bedside Table Panel Layout Partlist Back Panel Top Panel Bottom Panel Door Shelf Panel Left Side Panel Right Side Panel mocka.co.nz I mocka.com.au... - Page 5 Betti Bobbin Bedside Table dowel screw bolt locking screw screw wedge nut x4 screw plastic block screw hinge handle plastic glide shelf plug HARDWARE SUPPLIED safety screw wall wall washer strap x1 anchor x 1 screw x 1 WALL STRAP...
- Page 6 Betti Bobbin Bedside Table *Please assemble it on a rug or Hardware Needed other soft surface to avoid marking. Hardware Needed mocka.co.nz I mocka.com.au...
- Page 7 Betti Bobbin Bedside Table Hardware Needed mocka.co.nz I mocka.com.au...
- Page 8 Betti Bobbin Bedside Table Hardware Needed TURN OVER mocka.co.nz I mocka.com.au...
- Page 9 Betti Bobbin Bedside Table Hardware Needed Hardware Needed NOTE: If the doors are uneven or there is a gap in the middle, loosen or tighten the screw on the door hinge until they are sitting flush. See last page. mocka.co.nz I mocka.com.au...
- Page 10 Betti Bobbin Bedside Table Hardware Needed Rest the shelf panels [7] onto shelf plug (N). Ensure the shelves are balanced and stable. mocka.co.nz I mocka.com.au...
- Page 11 Betti Bobbin Bedside Table Hardware Needed Hardware Needed wall anchor screw Note: Seek advice from a qualified trades person on how to attach this safety strap to your specific wall. Once assembled lift furniture into place, do not drag.You’re done, enjoy!
- Page 12 HOW TO ADJUST THE HINGES TO ALIGN THE DOORS IF NEEDED. mocka.co.nz I mocka.com.au...


Need help?
Do you have a question about the Betti Bobbin and is the answer not in the manual?
Questions and answers