
Related Manuals for Better Bathrooms Baxenden Series


Summary of Contents for Better Bathrooms Baxenden Series
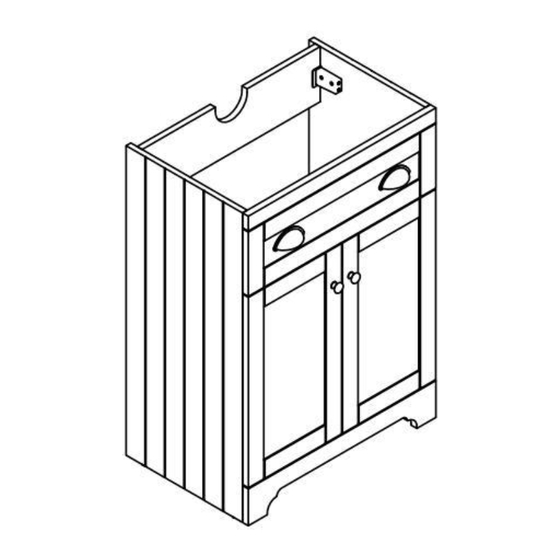
- Page 1 Product name: Baxenden/Sion/Nero series Bathroom Furniture Multi-person assembly Tools required We always recommend using professional tradespeople to install your product V4_2023.3.21...
-
Page 2: Congratulations On Your Purchase
Congratulations on your purchase And welcome to our growing gang of savvy shoppers We're on a mission to bring you extraordinary bathroom products, for less. From modern to traditional style ceramics, plus the gorgeous fixtures, fittings and furniture to match. So, you can fall in love with your space every single day. - Page 3 Contents Product Code Description Description Description Description Description Description Description BeBa_24975A Shell Round Wall Round BeBa_24976A Wall screw Wall plug handle handle Shell bracket handle BeBa_24977A screw screw handle BeBa_24978A Round Shell Wall Shell BeBa_24979A Wall screw Wall plug Round handle handle bracket...
-
Page 4: Maximum Loading
Maximum loading Please noted the maximum loading for unit is 100kgs(Including top/basin weight). Please noted the maximum loading for each shelf is 30kgs. Please noted the maximum loading for each drawer is 15kgs. Parts / Diagrams Shell handle Round handle Handle screw Frame screw... -
Page 5: Tools Required
Tools required... - Page 6 600mm-900mm Basin Cabinet installation: The room in which the unit is being installed, must be well ventilated. Please check for pipes and cables prior to drilling, after the position of the brackets is marked, drill the holes in the wall, using an 8mm drill bit(not supplied), to a depth of approx 50mm.
- Page 8 400mm-600mm Basin Cabinet installation: The room in which the unit is being installed, must be well ventilated. Please check for pipes and cables prior to drilling, after the position of the wall screws are marked, drill the holes in the wall, using an 8mm drill bit(not supplied), to a depth of approx 50mm.
- Page 9 Side Cabinet installation: The room in which the unit is being installed, must be well ventilated. Please check for pipes and cables prior to drilling, after the position of the brackets is marked, drill the holes in the wall, using an 8mm drill bit(not supplied), to a depth of approx 50mm.
- Page 10 WC Cabinet installation: Drill into the wall through the rear plinth of the WC unit. Fit the wall plug. Place the screw through the washers and secure to the wall.Fit brass screw cap to brass washer.
-
Page 11: Troubleshooting
Troubleshooting: DRAWER REMOVAL & INSTALLATION... -
Page 12: Door Handle Installation
Door handle installation: The doors which are to be fitted with handles, either the round or shell type are provided with pilot holes which should be drilled to allow fitting of the handle screw through the door and into the handle. Drill the holes, then place the screw through the unit from inside the door, connect this to be handle and tighten. - Page 13 Maintenance and Cleaning Wipe the product clean and dry regularly, especially when the product is subject to steam or splashes. Do not use harsh chemicals or materials on the product, as this will damage the product and invalidate your guarantee. To clean and maintain the product, wipe using a clean damp cloth and wipe dry with a soft cloth.
- Page 14 Vanity Basin Please note:Image is for illustrative purposes only and may differ slightly to the actual product Single-person assembly Tools required We always recommend using professional tradespeople to install your product V3_12.10.21...
- Page 15 Congratulations on your purchase And welcome to our growing gang of savvy shoppers We're on a mission to bring you extraordinary bathroom products, for less. From modern to traditional style ceramics, plus the gorgeous fixtures, fittings and furniture to match. So, you can fall in love with your space every single day.
-
Page 16: Installation
Installation...
Need help?
Do you have a question about the Baxenden Series and is the answer not in the manual?
Questions and answers