
Related Manuals for RH MARLOW


Summary of Contents for RH MARLOW
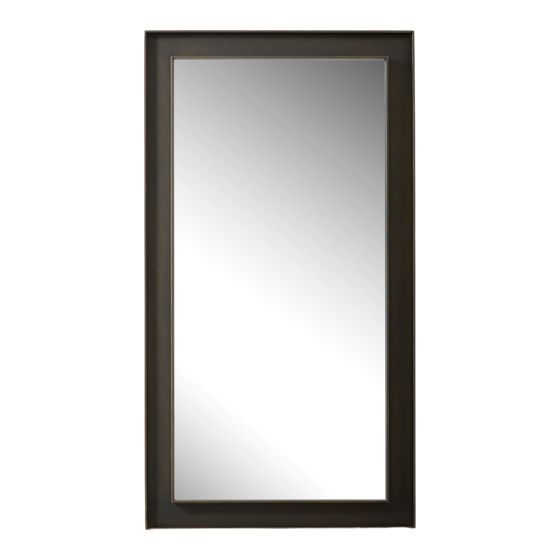
- Page 1 MARLOW MIRROR 30" (77 CM) X 40" (102 CM) A S S E M B LY & I N S TA L L AT I O N I N S T R U C T I O N S E N G L I S H...
- Page 2 (E) Hollow Wall Anchors (M3 x 60 mm) x 4 TOO L S NE E D E D (A) Carpenter’s level (B) Phillips head screwdriver BE FOR E YO U B E GI N Professional installation recommended. REVISION 06-01-22 RH.COM...
- Page 3 SAF E TY I N STR U CTI ON S M IRR O R H A ND L I N G I N ST RU CT IO N S 1. Remove vertically from package. 2. Always carry mirror vertically as illustrated. Carrying flat will cause breakage. REVISION 06-01-22 RH.COM...
- Page 4 (E) to affix to drywall. 5. Carefully hang mirror (A) on wall bracket (B) as illustrated FIGURE3. Mirror may be hung vertically or horizontally. Refer to FIGURE 4. FIGURE 2 Wall Stud FIGURE 4 FIGURE 4 FIGURE 3 REVISION 06-01-22 RH.COM...
- Page 5 Unfortunately, galleries cannot accept returns of furniture or other large items. CA RE I NST R U CT I O N S To maintain and protect the luster of all product clean with a soft damp cloth only. REVISION 06-01-22 RH.COM...
- Page 6 MARLOW MIRROR 26" (67 CM) X 48" (122 CM) A S S E M B LY & I N S TA L L AT I O N I N S T R U C T I O N S E N G L I S H...
- Page 7 (E) Hollow Wall Anchors (M3 x 60 mm) x 4 TOO L S NE E D E D (A) Carpenter’s level (B) Phillips head screwdriver BE FOR E YO U B E GI N Professional installation recommended. REVISION 06-01-22 RH.COM...
- Page 8 SAF E TY I N STR U CTI ON S M IRR O R H A ND L I N G I N ST RU CT IO N S 1. Remove vertically from package. 2. Always carry mirror vertically as illustrated. Carrying flat will cause breakage. REVISION 06-01-22 RH.COM...
- Page 9 (E) to affix to drywall. 5. Carefully hang mirror (A) on wall bracket (B) as illustrated FIGURE 3. Mirror may be hung vertically or horizontally. Refer to FIGURE 4. FIGURE 2 Wall Stud FIGURE 4 FIGURE 3 REVISION 06-01-22 RH.COM...
- Page 10 Unfortunately, galleries cannot accept returns of furniture or other large items. CA RE I NST R U CT I O N S To maintain and protect the luster of all product clean with a soft damp cloth only. REVISION 06-01-22 RH.COM...
- Page 11 MARLOW MIRROR 36" (92 CM) X 48" (122 CM) A S S E M B LY & I N S TA L L AT I O N I N S T R U C T I O N S E N G L I S H...
- Page 12 (E) Hollow Wall Anchors (M3 x 60 mm) x 6 TOO L S NE E D E D (A) Carpenter’s level (B) Phillips head screwdriver BE FOR E YO U B E GI N Professional installation recommended. REVISION 06-01-22 RH.COM...
- Page 13 SAF E TY I N STR U CTI ON S M IRR O R H A ND L I N G I N ST RU CT IO N S 1. Remove vertically from package. 2. Always carry mirror vertically as illustrated. Carrying flat will cause breakage. REVISION 06-01-22 RH.COM...
- Page 14 (E) to affix to drywall. 5. Carefully hang mirror (A) on wall bracket (B) as illustrated FIGURE3. Mirror may be hung vertically or horizontally. Refer to FIGURE 4. FIGURE 2 Wall Stud FIGURE 4 FIGURE 3 REVISION 06-01-22 RH.COM...
- Page 15 Unfortunately, galleries cannot accept returns of furniture or other large items. CA RE I NST R U CT I O N S To maintain and protect the luster of all product clean with a soft damp cloth only. REVISION 06-01-22 RH.COM...
- Page 16 MARLOW MIRROR 42" (107 CM) X 78" (199 CM) A S S E M B LY & I N S TA L L AT I O N I N S T R U C T I O N S E N G L I S H...
- Page 17 (E) Hollow Wall Anchors (M3 x 60 mm) x 12 TOO L S NE E D E D (A) Carpenter’s level (B) Phillips head screwdriver BE FOR E YO U B E GI N Professional installation recommended. REVISION 06-01-22 RH.COM...
- Page 18 SAF E TY I N STR U CTI ON S M IRR O R H A ND L I N G I N ST RU CT IO N S 1. Remove vertically from package. 2. Always carry mirror vertically as illustrated. Carrying flat will cause breakage. REVISION 06-01-22 RH.COM...
- Page 19 2 opiton vertical or horizontal. Wall Stud FIGURE 4 FIGURE 3 1145 mm 480 mm Variable (Min = 380 mm) Variable (Min = 255 mm) Floor Floor Hozirontal Vertical REVISION 06-01-22 RH.COM...
- Page 20 Unfortunately, galleries cannot accept returns of furniture or other large items. CA RE I NST R U CT I O N S To maintain and protect the luster of all product clean with a soft damp cloth only. REVISION 06-01-22 RH.COM...
- Page 21 MARLOW MIRROR 24" (61 CM) X 80" (204 CM) A S S E M B LY & I N S TA L L AT I O N I N S T R U C T I O N S E N G L I S H...
- Page 22 (E) Hollow Wall Anchors (M3 x 60 mm) x 8 TOO L S NE E D E D (A) Carpenter’s level (B) Phillips head screwdriver BE FOR E YO U B E GI N Professional installation recommended. REVISION 06-01-22 RH.COM...
- Page 23 SAF E TY I N STR U CTI ON S M IRR O R H A ND L I N G I N ST RU CT IO N S 1. Remove vertically from package. 2. Always carry mirror vertically as illustrated. Carrying flat will cause breakage. REVISION 06-01-22 RH.COM...
- Page 24 5. Carefully hang mirror (A) on wall bracket (B) as illustrated FIGURE 3. FIGURE 2 Mirror may be hung vertically or horizontally. Refer to FIGURE 4. Wall Stud FIGURE 4 FIGURE 3 1225 mm Variable (Min = 460 mm) Floor REVISION 06-01-22 RH.COM...
- Page 25 Unfortunately, galleries cannot accept returns of furniture or other large items. CA RE I NST R U CT I O N S To maintain and protect the luster of all product clean with a soft damp cloth only. REVISION 06-01-22 RH.COM...
- Page 26 MARLOW MIRROR 54" (137 CM) X 96" (244 CM) A S S E M B LY & I N S TA L L AT I O N I N S T R U C T I O N S E N G L I S H...
- Page 27 (E) Hollow Wall Anchors (M3 x 60 mm) x 14 TOO L S NE E D E D (A) Carpenter’s level (B) Phillips head screwdriver BE FOR E YO U B E GI N Professional installation recommended. REVISION 05-23-22 RH.COM...
- Page 28 SAF E TY I N STR U CTI ON S M IRR O R H A ND L I N G I N ST RU CT IO N S 1. Remove vertically from package. 2. Always carry mirror vertically as illustrated. Carrying flat will cause breakage. REVISION 05-23-22 RH.COM...
- Page 29 2 opiton vertical or horizontal. Wall Stud FIGURE 4 FIGURE 3 1135 mm 595 mm Variable (Min = 614 mm) Variable (Min = 350 mm) Floor Floor Hozirontal Vertical REVISION 05-23-22 RH.COM...
- Page 30 Unfortunately, galleries cannot accept returns of furniture or other large items. CA RE I NST R U CT I O N S To maintain and protect the luster of all product clean with a soft damp cloth only. REVISION 05-23-22 RH.COM...
Need help?
Do you have a question about the MARLOW and is the answer not in the manual?
Questions and answers