Table of Contents
Advertisement
Quick Links
GB
OPERATING MANUAL . . . . . . . . . . . . . . . . . . . . . . . . . . . . . . PAGE 2
D
GEBRAUCHSANWEISUNG . . . . . . . . . . . . . . . . . . . . . . . . . . . . PAGE 16
F
MANUAL D'UTILISATION . . . . . . . . . . . . . . . . . . . . . . . . . . . . PAGE 32
NL
GEBRUIKSAANWIJZING . . . . . . . . . . . . . . . . . . . . . . . . . . . . . PAGE 48
E
INSTRUCCIONES DE USO . . . . . . . . . . . . . . . . . . . . . . . . . . . . PAGE 64
I
ISTRUZIONI D'USO . . . . . . . . . . . . . . . . . . . . . . . . . . . . . . . . . PAGE 78
RS – 240
Advertisement
Table of Contents

Related Manuals for Toyotomi zibro RS-240


Summary of Contents for Toyotomi zibro RS-240
- Page 1 RS – 240 OPERATING MANUAL . . . . . . . . . . . . . . . . . . . . . . . . . . . . . . PAGE 2 GEBRAUCHSANWEISUNG .
- Page 2 Se reporter à la notice jointe à l’appareil et à la plaque de sécurité sur l’appareil Référence et numéro de lot ou de série de l’article : se reporter au produit Distributed in Europe by: TOYOTOMI EUROPE SALES B.V. Doornhoek 4025 5465 TD Veghel, The Netherlands Email: info@toyotomi.eu Website: www.toyotomi.eu En cas d´insatisfaction, consultez d´abord votre revendeur :...
- Page 3 We hope that you’ll enjoy your Toyotomi appliance for years to come! We invite you to read this instruction manual first, to ensure the maximum lifetime for this appliance. Get to know us better…visit us at www.toyotomi.eu for our full line of products. 1 Read the diRections foR Use fiRst.
-
Page 4: General Directions For Use
geneRal diRections foR Use Below you will find the main steps to be taken for using your heater. For more details, please refer to the MANUAL. Remove all packaging materials (refer to Section A, Fig. A). Fill the removable tank and wait 30 minutes before you ignite the heater (refer to Section B, Fig. -
Page 5: What You Need To Know In Advance
What YoU need to KnoW in adVance ALWAYS MAKE SURE THAT THERE IS SUFFICIENT VENTILATION Read this user manual carefully before using the appliance and keep it for future reference. Install this device only when it complies with local/national legislation, ordinances and standards. -
Page 6: Installing The Heater
Using the right fuel is therefore essential for safe, efficient, and comfortable use of your heater. Damage and/or malfunctions of the heater due to the use of other than high quality water-free pure paraffin oil is not covered by the warranty. Always refer to your local dealer for the right fuel for your heater. -
Page 7: Filling Fuel
6 Your heater is now ready for use. FILLING FUEL Fill the removable tank in a suitable place since there can always be some spillage. Follow the procedure below: 1 Make sure that the heater is switched off. 2 Open the upper lid and lift the removable tank out of the heater (Fig. G). Note: Some drops may leak from the tank. - Page 8 Before igniting the heater, always check the fuel indicator to see whether the removable tank needs filling up (Green=full, Red=empty). Always ignite the heater with the knurled wick adjustment knob . Never use matches or a cigarette lighter. Follow the procedure below: 1 Turn the knurled wick adjustment knob ...
- Page 9 MALFUNCTION, CAUSES AND SOLUTIONS If any malfunctioning cannot be solved from the directions below, please contact your dealer. THE HEATER DOES NOT IGNITE The batteries are not positioned correctly in the holder. Check (Fig. N). There is not enough power left in the batteries for the ignition. Replace (Fig. N). ...
- Page 10 MAINTENANCE Your heater needs hardly any maintenance. It is, however, important that you remove dust and stains in time with a damp cloth, because otherwise these may cause stains that are hard to remove. Under normal conditions, only two components are subject to wear: 1.
- Page 11 STORAGE (END OF THE HEATING SEASON) We recommend that you burn up all the fuel in the fuel tank at the end of the heating season and store the heater properly. Follow the procedure on the next page: 1 Ignite the heater outside the living room and let it burn until all fuel is used. 2 Let the heater cool down.
-
Page 12: Tips For Safe Use
WARRANTY PROVISIONS Your heater comes with a 48 months warranty starting on the date of purchase. Within this period all defects in material or workmanship will be repaired without any charge. The following provisions shall apply regarding this warranty: 1 We expressly dismiss all other claims for damages, including consequential damages. - Page 13 Replacement of the WicK ENSURE THAT THE HEATER IS OFF AND COMPLETELY COOL BEFORE STARTING TO REPLACE THE WICK. Open the lid and remove the removable tank. 2 Remove the batteries from the battery holder . 3 Open the front grill. Remove the combustion chamber from the heater.
- Page 14 12 Install the wick to the wick sleeve according to the allo- wed direction engraved on the wick sleeve. 13 Install the wick sleeve (with wick) to the primary air tube. And then turn the wick sleeve clockwise to set in the handle arm.
- Page 15 ✗ ✗ ✓ 1-3 cm.
-
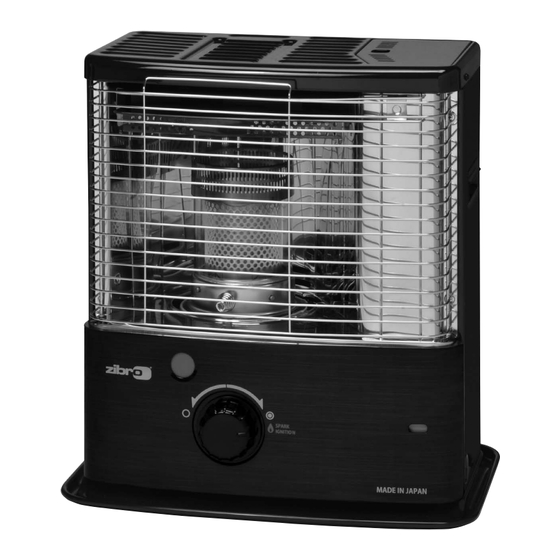
Page 16: Main Components
MAIN COMPONENTS OFF - button Knurled wick adjustment knob Combustion chamber Combustion chamber handle Fuel indicator Grill Lid for removable tank Removable tank Fuel gauge of removable tank ... - Page 17 In caso aveste bisogno di ulteriori informazioni o riscontraste particolari problemi che non sono presi in considerazione nel presente manuale, vi invitiamo a visitare il nostro sito www .toyotomi .eu o contattare la nostra assistenza (il cui numero di telefono é indicato nel nostro sito www .toyotomi .eu)
Need help?
Do you have a question about the zibro RS-240 and is the answer not in the manual?
Questions and answers