Table of Contents
Advertisement
Quick Links
CAUTION: It is important to read the installation instructions before connecting the equipment to the
mains power supply.
Download Product Manual: Product manuals and documentation are available online at
https://www.barco.com/support. The QR code at the bottom of this page leads directly to the G50
product page on the Barco website. Registration may be required; follow the instructions given on
the website.
Remote Control Unit (RCU)
1
3
4
6
8
9
10
12
14
16
18
20
R5916680 /00 | 2023-05-09
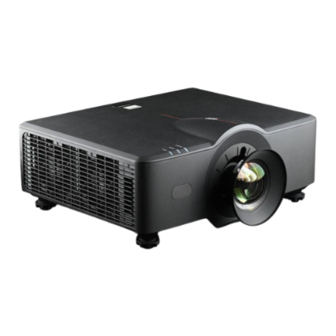
Models G50-W6, G50-W7, G50-W8
2
5
7
11
13
15
17
19
21
Quick Start Guide
1
Power On
2
Power Off (Standby)
3
Number keys 0-9
4
Source information
5
Projector ID setting
6
Auto sync input source
7
Select input source
8
Confirm menu selection
9
Menu navigation
10
Adjust brightness
11
Adjust contrast
12
Open OSD menu
13
Back to parent menu or exit menu
14
Preset color mode
15
Display test patterns
16
Adjust lens shift
17
Adjust focus
18
Adjust horizontal/vertical keystone
19
Adjust image size
20
Shutter
21
User programmable hot key
Default USER 1 = Audio Mute on/off
Default USER 2 = Short cut Audio Volume
menu
ENABLING BRIGHT OUTCOMES
G50
Advertisement
Table of Contents

Related Manuals for Barco G50


Summary of Contents for Barco G50
- Page 1 Download Product Manual: Product manuals and documentation are available online at https://www.barco.com/support. The QR code at the bottom of this page leads directly to the G50 product page on the Barco website. Registration may be required; follow the instructions given on the website.
- Page 2 Dimensions without lens 486 x 376 x 203 mm (W x L x H) Weight without lens G50-W6: 11,0 kg; G50-W7: 11,8 kg; G50-W8: 13,0 kg Air cleanliness Clean office environment, free from hostile airborne particles which may have harmful effects on the internal parts of the projector (e.g., airborne contaminants produced by smoke machines, excessive dust).
- Page 3 Installing the RCU batteries Remove the cover by sliding it in the direction indicated by the arrow. Insert two new AAA batteries (observe the polarity). Reinstall the cover. CAUTION: Replace batteries with the correct battery type. Use AAA size batteries. There is a risk of explosion if the batteries are replaced with an incorrect type.
- Page 4 FOCUS Turn on the projector by pressing the POWER ON button (reference 2) on the remote control or the POWER ON/OFF button (reference 3) on the control panel. The status LED will flash orange. The startup screen will display and the status LED will turn to solid green (reference 4).
- Page 5 LED diagnostics Light LED Status LED AV Mute LED Light LED (1) Status LED (2) AV Mute LED (3) Message Orange Orange Orange Green Green Green Standby State Power On Flashing Warm up Power On & Steady Steady Steady Laser diode on Power Off Flashing Cooling down...
- Page 6 Connecting with a desktop computer or laptop Camcorder Monitor Desktop Laptop Speakers DISPLAY PORT HDBaseT ETHERNET HDMI-2 IN HDMI-1 IN HDMI OUT AUDIO Out 12V Out REMOTE 3D SYNC 3D SYNC RS232 (5V/1.5A) 3D Sync cable DisplayPort cable 3D Sync cable USB cable HDMI cable RS232 cable...
Need help?
Do you have a question about the G50 and is the answer not in the manual?
Questions and answers