YoLink YS7704-UC, YS7704-EC - Door Sensor Manual
- User manual (22 pages) ,
- User manual (17 pages) ,
- User manual (31 pages)
Advertisement
Introduction
Thank you for purchasing YoLink products! We appreciate you trusting YoLink for your smart home & automation needs. Your 100% satisfaction is our goal. If you experience any problems with your installation, with our products or if you have any questions that this manual does not answer, please contact us right away. See the Contact Us section for more info.
Thank you!
The following icons are used in this guide to convey specific types of information:

Very important information
(can save you time!)
Before You Begin
Please note: this is a quick start guide, intended to get you started on the installation of your Door Sensor. Download the full Installation & User Guide by scanning this QR code:

Installation & User Guide
You can also find all guides and additional resources, such as videos and troubleshooting instructions, on the Door Sensor Product Support page by scanning the QR code below or by visiting: https://shop.yosmart.com/pages/door-sensor-product-support

Product Support
Your Door Sensor connects to the internet via a YoLink hub (SpeakerHub or the original YoLink Hub), and it does not connect directly to your WiFi or local network. In order for remote access to the device from the app, and for full functionality, a hub is required. This guide assumes the YoLink app has been installed on your smartphone, and a YoLink hub is installed and online (or your location, apartment, condo, etcetera, is already served by a YoLink wireless network).
In the Box

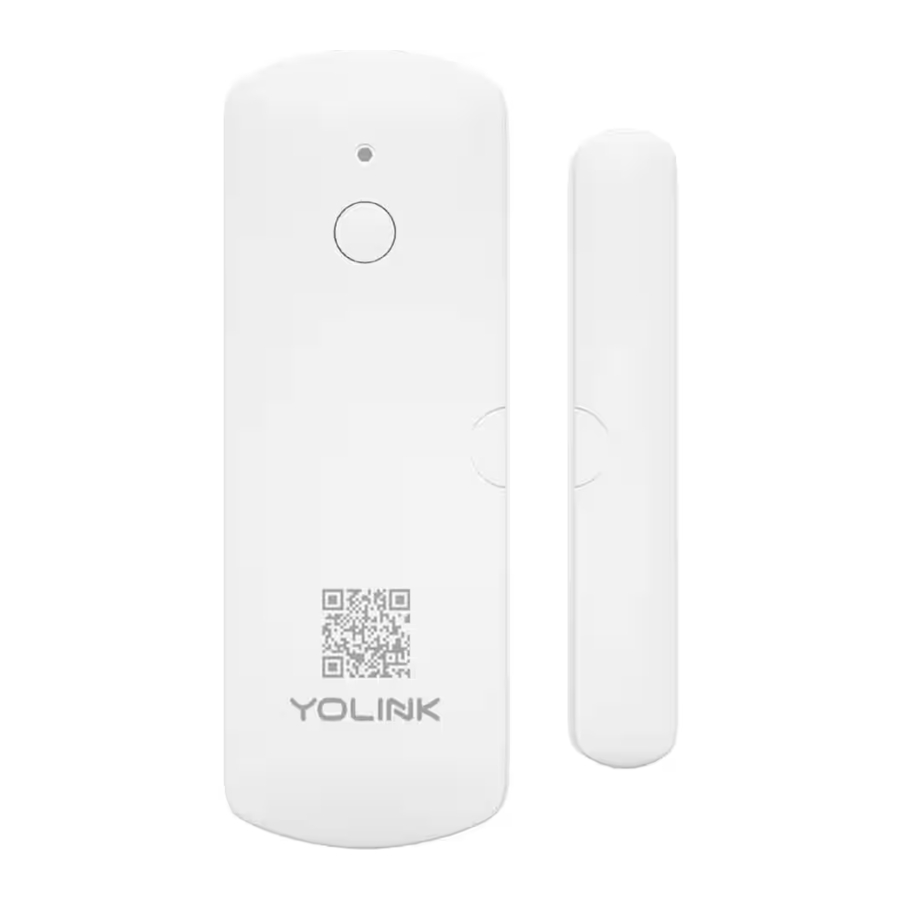
Get to Know Your Door Sensor

Semi-circle
- Used for properly aligning the magnet to the sensor during installation
Back Shell
Includes two AAA non-rechargeable batteries
 | Blinking Red Once, then Green Once Device turned on |
 | Blinking Red And Green Alternately Restoring to Factory Defaults |
 | Blinking Green Connecting to Cloud |
 | Slow Blinking Green Updating |
 | Fast Blinking Green Control-D2D Pairing in Progress |
 | Blinking Red Once Device alerts or device is connected to the cloud and is functioning normally |
 | Fast Blinking Red Control-D2D Unpairing in Progress |
 | Fast Blinking Red Every 30 Seconds Batteries are low; please replace the batteries |
Power Up

Press the SET button briefly
Observe the LED blinks red then green
Install the App
If you are new to YoLink, please install the app on your phone or tablet, if you have not already. Otherwise, please proceed to the next section.
Scan the appropriate QR code below or find the "YoLink app" on the appropriate app store.


Apple phone/tablet iOS 9.0 or higher


Android phone/ tablet 4.4 or higher
Open the app and tap Sign up for an account. You will be required to provide a username and a password. Follow the instructions, to set up a new account. Allow notifications, when prompted.
You will immediately receive a welcome email from no-reply@yosmart.com with some helpful information. Please mark the yosmart.com domain as safe, to ensure you receive important messages in the future.
Log in to the app using your new username and password.
The app opens to the Favorite screen. This is where your favorite devices and scenes will be shown. You can organize your devices by room, in the Rooms screen, later.
Refer to the full user guide and online support for instructions on the use of the YoLink app.
Add the Door Sensor to the App
- Tap Add Device (if shown) or tap the scanner icon:

- Approve access to your phone's camera, if requested. A viewfinder will be shown on the app.

- Hold the phone over the QR code so that the code appears in the viewfinder. If successful, the Add Device screen will be displayed.
- You can change the device name and assign it to a room later. Tap Bind device.
- Refer to the full user guide and/or online resources for additional instructions on using the YoLink app.


Installation
Door sensor basics
Before installing your new Door Sensor, it is best if you understand how it works. The Door Sensor is made up of two parts. The smaller part is referred to as the magnet, while the larger part is typically referred to as the sensor or door sensor. The larger part contains the batteries and the electronics, as well as a reed switch. When the magnet is near the sensor, its magnetic force causes the reed switch to close and signal the sensor that the door is closed.
The door sensor has a maximum distance between it and the magnet, while it will indicate the door is closed. This is often referred to as the "gap". The Door Sensor has a maximum gap of around ¾" or around 19 millimeters. The door material, such as steel versus wood, can adversely impact this distance.
Refer to Figure A. The sensor and magnet each have a semi-circle engraved into the housing. The optimal placement of magnet and sensor will result in the two semi-circles placed next to each other to form a circle. But the magnet can be placed on a higher, or lower, plane (or level), than the sensor, as shown in Figure B. Also, the magnet can be turned at an angle from the sensor, as shown in Figure C (90 degrees, as shown here, or less than 90 degrees, for angled or sloped molding). When determining the appropriate location, placement and orientation of the Door Sensor parts, you can view the status of the door sensor in the YoLink app, as well as use the sensor's LED indicator (which illuminates briefly when the door is opened) to check your installation.

Please note, the Door Sensor is intended for indoor use. Consider our Outdoor Contact Sensor for outdoor locations, such as swing gates. For garage doors, consider our Garage
Door Sensor. For special applications, our Outdoor Contact Sensor can be used in conjunction with specialized contacts, such as chain link fence gate contacts.
Sensor location considerations
The Door Sensor can be used on many types of standard "man" doors, both swing and sliding type, sliding glass doors, windows, lids, hatches, cabinet and pantry doors, and even in or on drawers and boxes.
Refer to the full user guide for additional diagrams and additional tips on sensor placement for popular door and window types.
Before installing the Door Sensor, consider the following:
- The magnet can be on the door, or the sensor can be on the door.
The sensor and magnet can be installed upside-down or sideways; this will not effect the operation. - The Door Sensor should always be installed on the indoor and "secure" side of the door (that is on the locked or private side of the door, which should not be subjected to tampering or disabling by an intruder, etc.).
- Avoid locations where the door sensor will be subjected to physical damage, such as on the bottom of the door (where it might be kicked) or near the handle (where is might be struck by a hand or object).
- With windows and sliding glass or French doors, consider the sliding door or leaf that is fixed, and the one that is moveable, and make sure your sensor is not being installed where it will not allow the door or window to slide fully open.
- Do not place the door sensor too close to the magnet. As materials can shrink or expand with temperature changes, the distance between the two pieces might change later, too, resulting in the two parts colliding.
- Use care to not place your sensor and magnet too far apart. If you have placed the sensor and magnet at their absolute farthest distance from each other, expansion or contraction of the door and frame due to temperature or humidity changes could result in your Door Sensor indicating the door/window is open when it is not. Also, doors or windows with too much play (movement while in the closed position), can contribute to false-open indications.
- Generally avoid placing the sensor on the hinge side of a door. While the sensor can be made to work at these locations, the door itself might be able to be opened significantly before the sensor indicates the door is open.
Refer to the full installation and user guide to complete the setup of your Door Sensor.
Contact Us
We are here for you, if you ever need any assistance installing, setting up or using a YoLink app or product!
Need help? For fastest service, please email us 24/7 at service@yosmart.com
Or call us at 831-292-4831 (US phone support hours: Monday - Friday, 9AM to 5PM Pacific)
You can also find additional support and ways to contact us at: www.yosmart.com/support-and-service Or scan the QR code:
Finally, if you have any feedback or suggestions for us, please email us at feedback@yosmart.com

Documents / Resources
References
Download manual
Here you can download full pdf version of manual, it may contain additional safety instructions, warranty information, FCC rules, etc.
Advertisement


Need help?
Do you have a question about the YS7704-UC and is the answer not in the manual?
Questions and answers