Advertisement
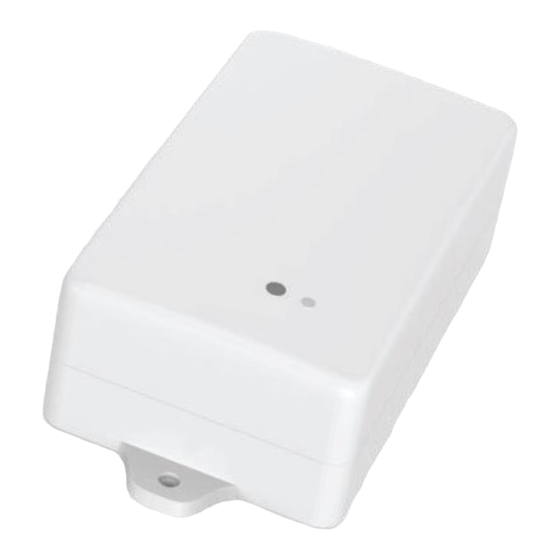
AT3 (AT3-BWR-BAT-LTEM-ATT) Cellular Asset Tracker
5830 Granite Parkway, Suite 1200 Plano, Texas 75024 | P: 972-546-3878 Option 3 |
Step 1: Select a Mounting Location
To ensure ideal performance:
1. Select a mounting location that provides the best sky view.
2. Use a flat horizontal mounting position (facing skyward).
Vertical mounting orientations are acceptable but make sure
the side with the label is facing upwards to the sky to
optimize antenna position.
3. Mount on the flattest and hardest surface possible.
4. Select a mounting location isolating the AT3 from damage.
5. Minimum mounting area required is Length 4.89inch
(124.1.mm), Width 2.23inch (56.6mm), Height 1.33inch
(33.7mm)
6. Thoroughly clean the mounting area, especially for VHB
mounting.
7. Do NOT paint or cover the AT3. Doing so may cover the
antennas and negatively affect product performance and
battery life.
Step 2: Select a Mounting Method
Mechanical Mounting
•
Hex-Head Cap Screws
For installations that have access to the backside of the
mounting surface for securing a nut or bolt.
• Mag-mount
The use of magnets with the AT3 device is okay if a quick
install is needed, with the use of 2x ¼" bolt with nuts, fasten
magnets to both Tabs located on either side of the device.
• Self-tapping Screws
For installations with thinner mounting surfaces where a
quicker less robust install is needed.
Use mounting fasteners made of a material that resists
galvanic corrosion and environmental weathering, such as
stainless steel.
• VHB Adhesive Mounting
For installations that do not require a permanent install the
AT3 can use a strip of Industrial Strength VHB adhesive tape
to "peel and stick" to any clean surface above 50F (10C).
Installation Guide
(1/4" bolt diameter)
(Screws included with
© Geoforce Inc., All Rights Reserved - version 2022-06-24
device)
helpdesk@geoforce.com
Do not overtighten the self-tapping
screws as they will crack the base.
Advertisement
Table of Contents

Related Manuals for Geoforce AT3


Summary of Contents for Geoforce AT3
- Page 1 (124.1.mm), Width 2.23inch (56.6mm), Height 1.33inch (33.7mm) 6. Thoroughly clean the mounting area, especially for VHB mounting. 7. Do NOT paint or cover the AT3. Doing so may cover the antennas and negatively affect product performance and battery life. Step 2: Select a Mounting Method...
- Page 2 4. Contact your Geoforce account service representative if you require assistance Step 4: Initializing the AT3 The AT3 device is shipped ready to operate out of the box and will check-in according with the reporting configuration that was ordered. Step 5: Confirm Functionality The AT3 Cellular Asset Tracker will automatically connect to the wireless network and check in assuming a network is available.
- Page 3 5830 Granite Parkway, Suite 1200 Plano, Texas 75024 | P: 972-546-3878 Option 3 | helpdesk@geoforce.com Caution: Only Use replacement batteries purchased from Geoforce with this device, not doing so can cause damage and affect device performance Opening the Device Carefully remove the 4 enclosure screws on the back of the...
Need help?
Do you have a question about the AT3 and is the answer not in the manual?
Questions and answers