Table of Contents
Advertisement
Quick Links
AT1 Cellular Asset Tracker General Installation and Mounting Guide
Step 1: Selecting a Mounting Location
To ensure ideal performance:
a. Select a mounting location that provides the best sky view.
b. Use a flat horizontal mounting position (facing skyward). Vertical
mounting orientations are acceptable but may affect product performance.
c. Ensure device is mounted on the most solid surface possible ensuring the
device is firmly affixed to the asset.
d. Select a mounting location that isolates the AT1 from damage.
e. Thoroughly clean the mounting area, especially for VHB tape installs.
f. Recommended mounting area size is 5.0" L x 5.0" W.
g. Do NOT paint or cover the AT1. Doing so may cover the antennas and
negatively affect product performance and battery life.
Step 2: Selecting a Mounting Method
Mechanical Mounting
• Socket-Head Cap Screws (1/4" bolt diameter)
For installations that can be drilled and tapped and do not have access
to the backside of the mounting surface.
• Hex-Head Cap Screws (1/4" bolt diameter)
For installations that have access to the backside of the mounting
surface for securing a nut or bolt.
• Self-Drilling Sheet-Metal Screws (1/4" diameter)
For installations with thinner mounting surfaces where a quicker less
robust install is needed. Be sure to clean out all drill shavings.
Use mounting fasteners made of a material that resists galvanic
corrosion and environmental weathering, such as stainless steel. This
is especially important for marine applications.
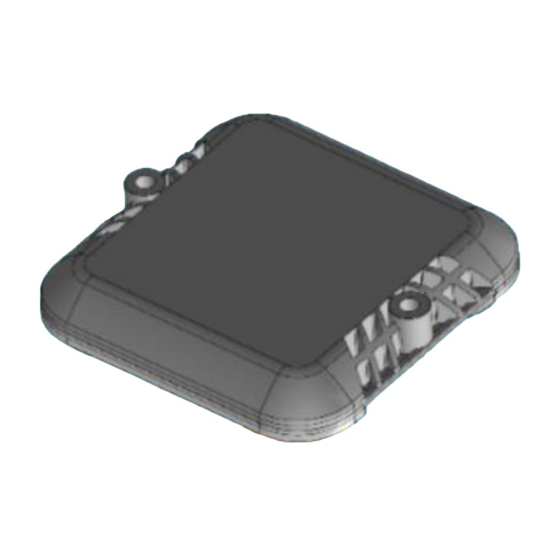
Mounting hole pattern: qty 2 - 0.25in holes spaced 3.75in
Geoforce recommends using blue Loctite on any mechanical fastening operation.
VHB Adhesive Mounting
For installations that are isolated from abuse, extreme weather and
temperatures the AT1 can use a strip of VHB adhesive tape to "peel and
stick" to any clean surface above 50F (10C).
Refer to or request the Geoforce VHB Installation and Removal Guide!
Step 3: Record the Asset and AT1 Serial Numbers
a. Record the AT1 serial number.
b. Record the asset name and serial number (on which the AT1 was installed).
c. Enter the AT1 serial number and asset info into the Track and Trace software
application. Contact your Geoforce account service representative or
helpdesk@geoforce.com
Step 4: Initializing the AT1
The AT1 is shipped ready to operate out of the box.
No initialization is required.
© Geoforce Inc., All Rights Reserved – Model AT1 - Cellular Asset Tracker
if you require assistance.
Page 1 of 2
Advertisement
Table of Contents

Related Manuals for Geoforce AT1


Summary of Contents for Geoforce AT1
- Page 1 Thoroughly clean the mounting area, especially for VHB tape installs. f. Recommended mounting area size is 5.0” L x 5.0” W. g. Do NOT paint or cover the AT1. Doing so may cover the antennas and negatively affect product performance and battery life.
- Page 2 Step 5: Confirm Functionality The AT1 Cellular Asset Tracker will automatically connect to the wireless network and check in to Geoforce upon battery replacement assuming a network is available. Check the Geoforce Track and Trace web application or the Mobile Field Tool application to verify device operation.
Need help?
Do you have a question about the AT1 and is the answer not in the manual?
Questions and answers