Advertisement
Download the driver

 Please download the driver at https://en.j5create.com/pages/drivers
Mac® Users
- Do NOT plug the j5create USB™ Multi-Monitor Adapter into the computer until the driver is completely installed.
Windows® Driver Installation
- Driver will automatically install on Windows® 10 / 8.1 / 7 (Plug & Play requires Internet access)
Step 1.
If you have Internet access, it is highly recommended that you download the latest driver from www.j5create.com. Under Support, scroll down to the product's driver you are installing and download the latest driver for your operating system. (Note: If possible, run as an administrator.)
Step 2.
Follow the prompts to install the driver. (You may have to click on My Computer > downloads and choose j5 USB™ Display Adapter to begin installation.)
Step 3.
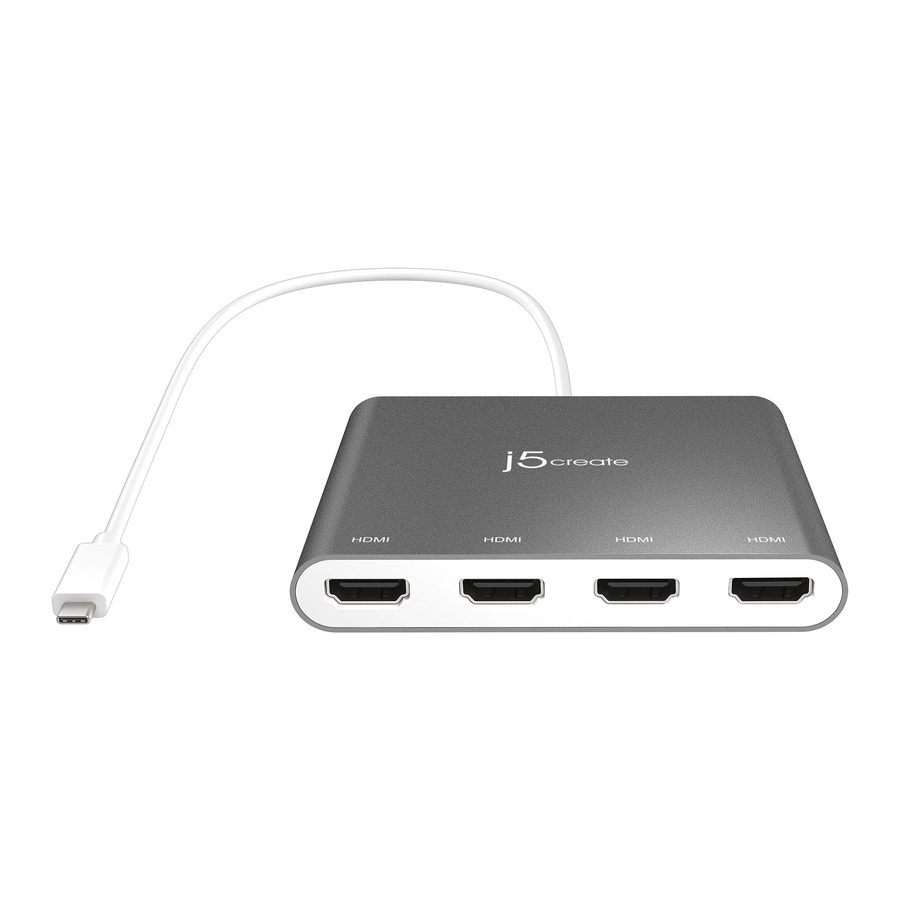
Once initial installation has completed, click "Restart" to finish installing the software. After your computer has restarted, first connect the j5create USB-C® to 4-Port HDMI™ Multi-Monitor Adapter to the HDMI™ port on your device and then to your computer. Now you are ready to use your j5create USB-C® to 4-Port HDMI™ Multi-Monitor Adapter!
Step 4. Display Settings
Windows® 7 / 8.1: Right click on the icon ![]() on the lower right-hand side of the toolbar to open display settings. If your driver automatically installed, you will see a different icon
on the lower right-hand side of the toolbar to open display settings. If your driver automatically installed, you will see a different icon ![]()
This product comes with a free Multi-Monitor Assistant utility software that enables users to move and arrange windows under multi-monitor viewing. For help with using this software, please visit the product website and consult the user guide.
Mac® Driver Installation
- Do NOT plug the j5create USB™ Multi-Monitor Adapter into the computer until the driver is completely installed.
Step 1.
If you have Internet access, it is highly recommended that you download the latest driver from www.j5create.com. Under Support, scroll down to the product's driver you are installing and download the latest driver for your operating system. (Note: If you have trouble downloading this driver, your security settings may need to be adjusted to allow for "downloading from anywhere".)
Step 2.
Choose the correct operating system for your system and follow the prompts to install the driver. (You may have to click on Finder > downloads and choose j5 USB™ Display Adapter to begin installation.)
For v10.12 users: When the pop-up window appears click "Ok". Then go to Security & Privacy > General and click on "Open Anyway" to install the driver.
Step 3.
Once initial installation has completed, click "Restart" to finish installing the software.
After your computer has restarted, first connect the j5create USB-C® to 4-Port
HDMI™ Multi-Monitor Adapter to the HDMI™ port on your device and then to your computer. Now you are ready to use your j5create USB-C® to 4-Port HDMI™ Multi-Monitor Adapter!
Step 4. Display Settings
Go to (  ) and then System Preferences, choose the Display or Arrangement tab to adjust.
System Requirements
- Microsoft® Windows® 10 / 8.1 / 8 / 7
- macOS® X 10.8 or later
- Available USB-C® port
- Office applications / Web CPU: Intel® Core™ i3 Dual Core 2.8 GHz / RAM: 2 GB memory or higher
- One 2K (2048 x 1152 @ 60 Hz) full-screen video playback CPU: Intel® Core™ i5 Quad Core / RAM: 4 GB memory or higher
- One 4K Ultra HD or two 2K (2048 x 1152 @ 60 Hz) full-screen video playback CPU: Intel® Core™ i7 Quad Core / RAM: 8 GB memory or higher Graphics card: Intel® HD Graphics 4000 / ATI™ HD 7xxx / NVIDIA® 5XXM or higher
- Before you upgrade your operating system, update your j5create product driver first to avoid compatibility issues.
- : Extended Mode
![]()
- : Mirror Mode
![]()
- : Primary Mode
![]()
- : Display Rotation
![]()


Documents / Resources
References
Download manual
Here you can download full pdf version of manual, it may contain additional safety instructions, warranty information, FCC rules, etc.
Download J5create JCA366 - USB-C To 4-Port HDMI Multi-Monitor Adapter Manual
Advertisement


Need help?
Do you have a question about the JCA366 and is the answer not in the manual?
Questions and answers