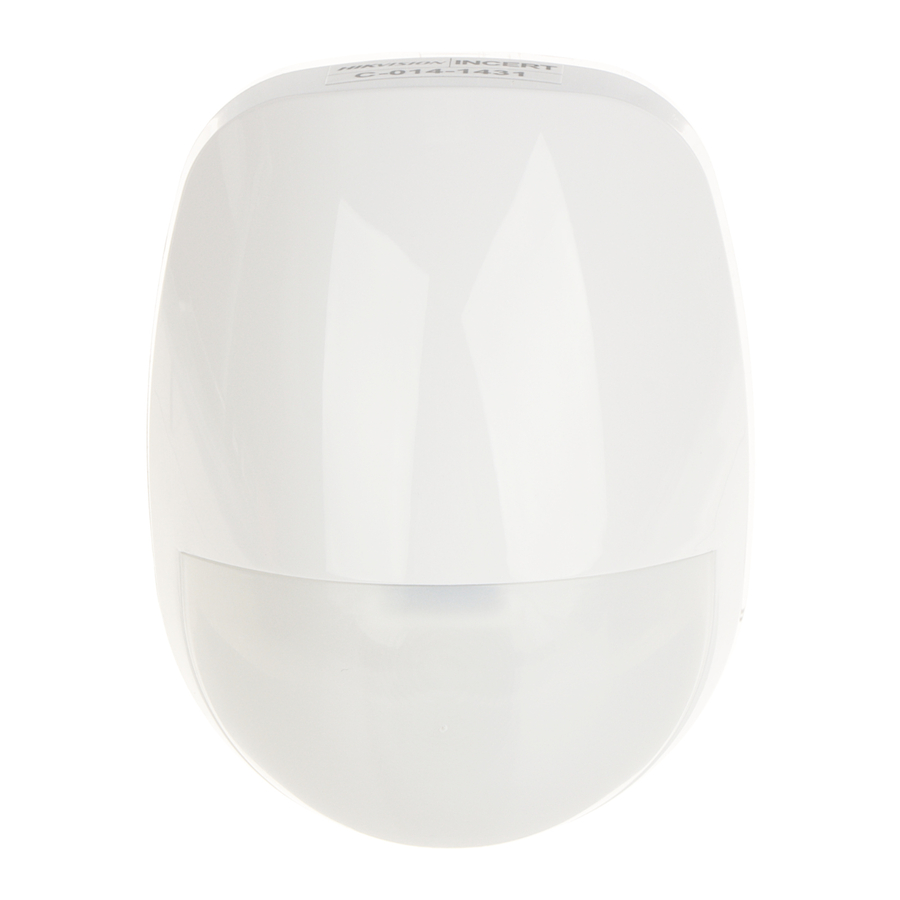
HIKVISION DS-PDP18-EG2 - 18m Digital PIR Detector Manual
- Quick manual (2 pages)
Advertisement
Introduction
The Manual includes instructions for using and managing the Product. Pictures, charts, images and all other information hereinafter are for description and explanation only. The information contained in the Manual is subject to change, without notice, due to firmware updates or other reasons. Please find the latest version of this Manual at the Hikvision website (https://www.hikvision.com/). Please use this Manual with the guidance and assistance of professionals trained in supporting the Product.
Hikvision and other Hikvision's trademarks and logos are the properties of Hikvision in various jurisdictions.
Other trademarks and logos mentioned are the properties of their respective owners.
Disassembling the Detector

The Printed Circuit Board (PCB)
")
Installation Method
Detector Backplane Installation


| Screw Model | number |
| PA_3.5 ×25 | 4 |
Bracket Installation
- Ceiling Bracket Fitting (Non EN compliant)

Note: Brackets are optional. - Wall Bracket Fitting


Installation Hints

The 18 m Lens


To use the pet immunity function, please install a pet mask.

- Detection Range 85.9°
52 zones
4 planes
![]()

PET Table
| Sensitivity mode | High | Auto | Low |
| Weight | 5 kg | 10 kg | 15 kg |
- Mounting Height
Mounting height range from 1.8 m to 2.4 m.
Note: PET immunity is available up to 10 m and at a height that is below the top plane of view.
Resistor Wiring
The detector has two method for resistor wiring:
- Using headers to select the End of Line resistance (Control panel dependent) on the ALARM/TAMPER header pins.
- Select an resistance (Control panel dependent), and add the resistor to ALARM/TAMPER wiring ports of the detector.
Note: If EOL (End of Life) wiring is not used, leave the headers OFF. Of the headers and the header pins does not match, do not force the header, please select the method 2 to wire the resistor. Method 1 and method 2 should not be used on the ALARM/TAMPER at the same time.
- Alarm Resistance
1K,
2K2,
4K7,
5K6,
8K2

- Tamper Resistance
5K6,
4K7,
2K2,
1K


Choose the Connection Type
- Normally Closed
- Alarm Control Panel

- Detector
- Alarm Control Panel
- Single End of Line Wiring
- Alarm Control Panel

- Detector
The connection shows the example:- Normal: 1K
- Alarm: Infinite
- Tamper: 0 K
- Alarm Control Panel
- Double End of Line Wiring
- Alarm Control Panel

- Detector
The connection shows the example:- Normal: 1K
- Alarm: 2K
- Tamper: 0 K or infinite
- Alarm Control Panel
- Two Double End of Line Detectors to One Input
- Alarm Control Panel

- Alarm Control Panel


Powering up

After powering on, the indicator flashes rapidly. Once the detector self test is completed, the LED indicator will go out until the detector detects movement.
Dimension and Weight

Technical Specification
| Detection range | 18m, 85.9° |
| Detection speed | 0.3 ~ 2 m/s |
| Sensitivity | High, Auto, Low |
| Auto sensitivity | Yes |
| Onboard EOL | Yes |
| Digital temperature compensation | Yes |
| Technology | Digital microprocessor based |
| Sealed optics | Yes |
| Creep zone protection | Yes |
| Tamper protection | Front |
| LED indicator | Blue (alarm) |
| Pet immunity | See PET Table above |
| Power supply | 9 to 16 VDC (standard: 12 VDC) |
| Current consumption | 11mA quiescent, 8mA Alarm |
| Operating temperature | -10°C to 55°C (14°F to 131°F) -10°C to 40°C (14°F to 104°F) Certified |
| Storage temperature | -20°C to 60°C (-4°F to 140°F) |
| Operating humidity | 10% to 90% |
| Installation height | 1.8 to 2.4m |
| Detector Dimension (H × W × D) | 86.8mm x 65.4mm x 45.5mm |
| Weight | 68 g |
| Bracket | Optional wall & ceiling accessory |
For more information see: www.recyclethis.info

Documents / Resources
References

Download manual
Here you can download full pdf version of manual, it may contain additional safety instructions, warranty information, FCC rules, etc.
Download HIKVISION DS-PDP18-EG2 - 18m Digital PIR Detector Manual
Advertisement


Need help?
Do you have a question about the DS-PDP18-EG2 and is the answer not in the manual?
Questions and answers